
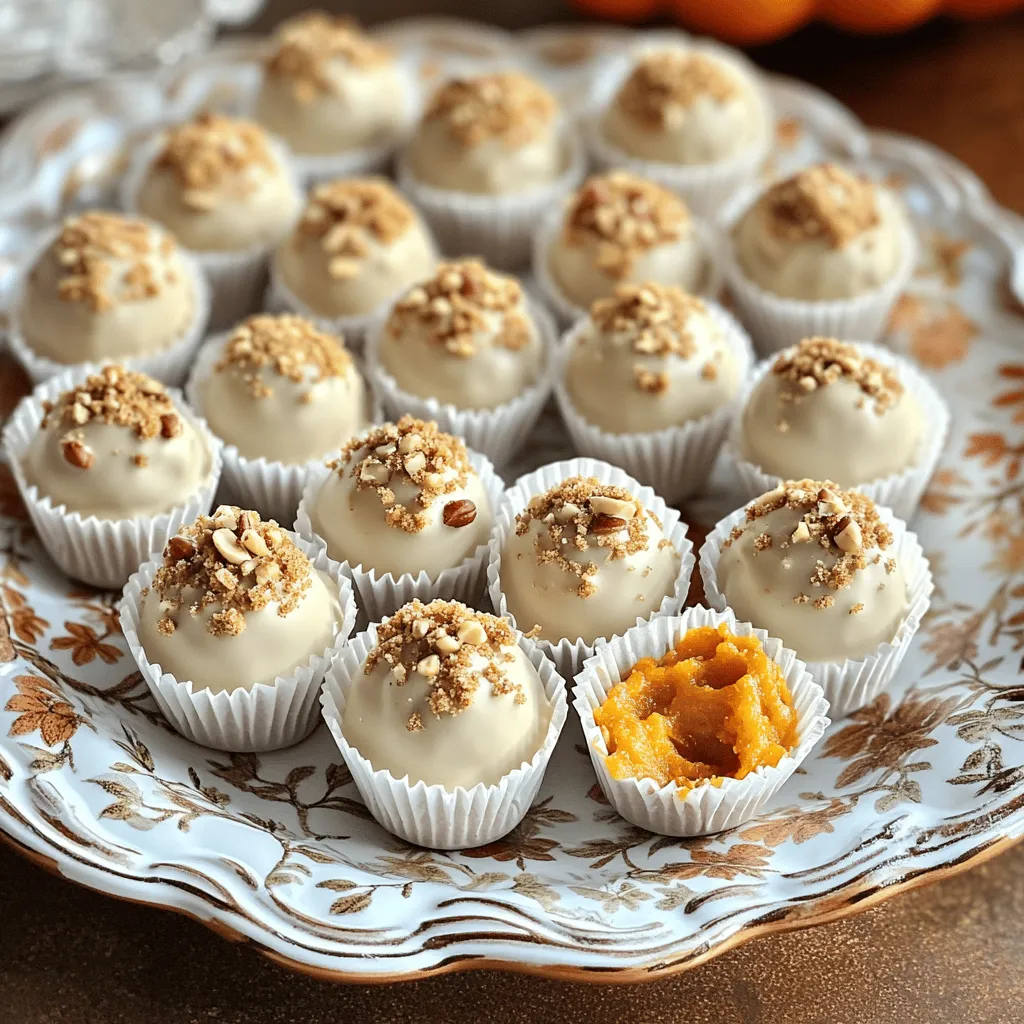
Fall is here, and what better way to celebrate than with No-Bake Pumpkin Pie Truffles? These easy treats capture all the flavors of pumpkin pie without any fuss. You’ll love how simple they are to make and how delicious they taste. Let’s dive into the ingredients, step-by-step instructions, and creative variations that will impress your friends and family. Get ready to enjoy a delightful fall treat!
Ingredients
Key Ingredients for No-Bake Pumpkin Pie Truffles
For these tasty truffles, you will need:
– 1 cup pumpkin puree
– 1 cup graham cracker crumbs
– 1/2 cup cream cheese, softened
– 1/2 cup powdered sugar
– 1 teaspoon pumpkin pie spice
– 1/4 teaspoon vanilla extract
– 1 cup white chocolate chips
These ingredients create a rich, creamy base. The pumpkin puree gives a warm fall flavor. The graham cracker crumbs add texture and sweetness. Cream cheese makes the truffles smooth.
Optional Ingredients for Coating
To coat your truffles, consider these options:
– Crushed nuts like walnuts or pecans
– Extra graham cracker crumbs
These coatings add crunch and flavor. You can mix and match to find your favorite.
Substitutions and Variations
You can change ingredients based on your needs:
– For a dairy-free version, use vegan cream cheese.
– If you want a different flavor, try adding maple syrup.
– Use dark chocolate chips instead of white for a bolder taste.
These swaps keep the truffles fun and fresh. Feel free to experiment and find what you love!
Step-by-Step Instructions
Mixing the Pumpkin Mixture
Start by gathering a large mixing bowl. Add 1 cup of pumpkin puree, 1/2 cup of softened cream cheese, and 1/2 cup of powdered sugar. Sprinkle in 1 teaspoon of pumpkin pie spice and 1/4 teaspoon of vanilla extract. Use a whisk or an electric mixer to blend everything until it’s smooth. This mixture should be creamy and well combined.
Shaping the Truffles
Once your mixture is ready, take about a tablespoon of it. Roll it into a ball using your hands. Place each ball on a parchment-lined baking sheet. Make sure they are spaced apart so they do not stick together. Keep rolling until you shape all of the mixture into truffles.
Melting the White Chocolate
Now, let’s melt the white chocolate. Measure out 1 cup of white chocolate chips and place them in a microwave-safe bowl. Heat them in the microwave in 20-second bursts. Stir the chocolate after each interval. Stop when the chocolate is completely melted and smooth.
Coating the Truffles
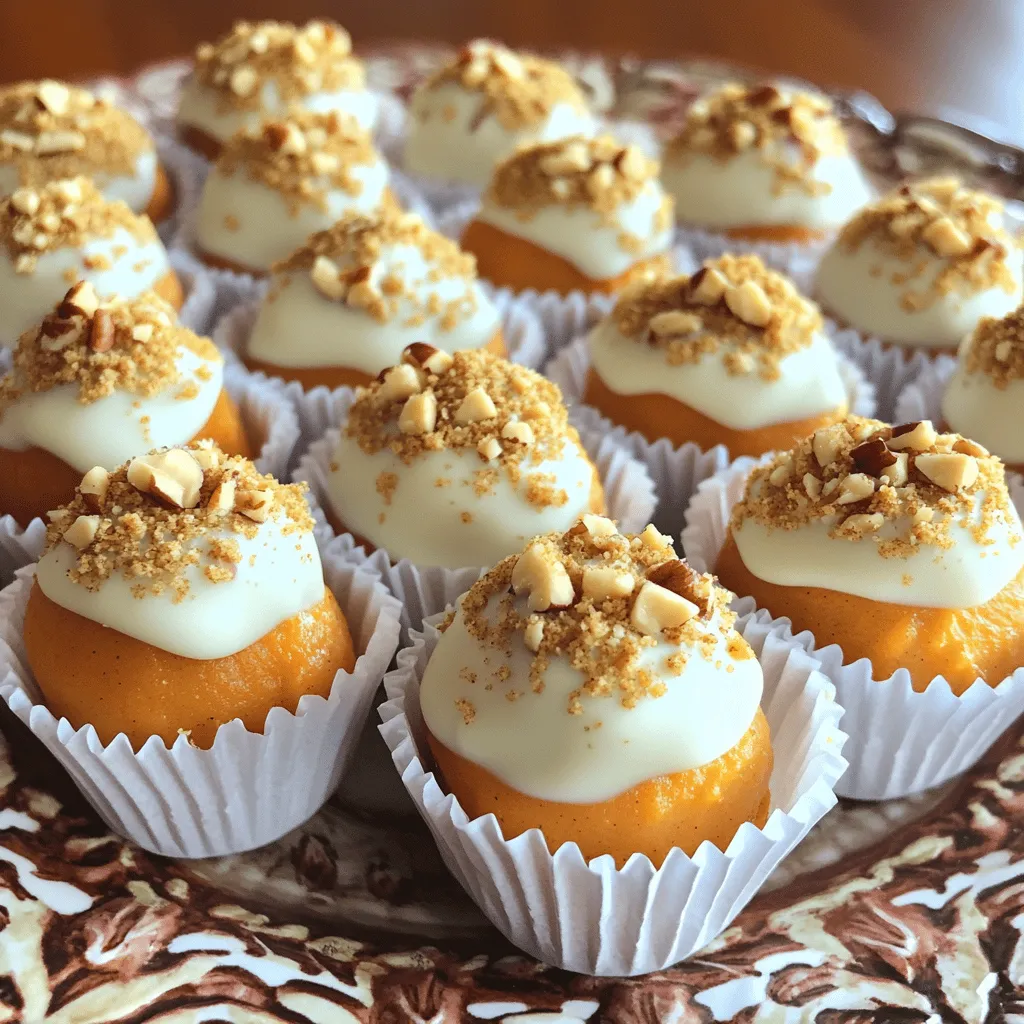
Take the chilled truffles from the freezer. Dip each truffle into the melted white chocolate. Make sure the truffle is fully coated. Allow any extra chocolate to drip off before moving to the next step. Roll each coated truffle in crushed nuts or extra graham cracker crumbs for added taste and texture.
Chilling and Serving Suggestions
Return the coated truffles to the baking sheet. Place them in the fridge for 30 more minutes to set the chocolate. Once they are set, you can serve the truffles chilled or at room temperature. To make them look extra special, arrange them in mini cupcake liners. A sprinkle of nutmeg or cinnamon on top adds a lovely finish!
Tips & Tricks
Tips for Perfectly Shaped Truffles
To make your truffles look great, keep your hands moist. This stops the mixture from sticking to your fingers. Use a small cookie scoop to get even-sized truffles. Make sure to roll them gently to keep a smooth shape. Once shaped, chill them in the freezer for about 30 minutes. This helps them hold their form when you dip them in chocolate.
How to Avoid Chocolate Seizing
Chocolate can seize if you add too much heat too fast. Melt it slowly in the microwave. Start with 20-second bursts, stirring in between. If the chocolate gets too thick, add a tiny bit of vegetable oil. This helps thin it out. Always keep moisture away from the chocolate. Even a drop of water can cause it to clump up.
Storage Tips for Freshness
Store your truffles in an airtight container. This keeps them fresh and tasty. You can keep them in the fridge for up to a week. If you want to save them longer, freeze them. Just make sure to layer them with parchment paper, so they don’t stick together. Enjoy your truffles cold or at room temp for the best taste!
Variations
Different Coating Options
You can coat your truffles in many fun ways. Here are some options:
– Crushed nuts: Walnuts and pecans add a nice crunch.
– Graham cracker crumbs: This keeps the classic flavor of pumpkin pie.
– Coconut flakes: Sweet coconut brings a tropical twist.
– Colored sprinkles: Use these for a festive look, especially for parties.
Each coating gives a new texture and taste. Try different ones to find your favorite!
Flavor Variations: Add-Ins and Spices
You can mix in extra flavors to make your truffles unique. Consider these add-ins:
– Chocolate chips: Mini dark chocolate chips add richness.
– Dried fruit: Raisins or cranberries give a sweet chew.
– Nutmeg or cinnamon: A pinch can boost the fall spice vibe.
– Maple syrup: This adds extra sweetness and a hint of maple flavor.
Feel free to experiment! Your taste buds will thank you.
Dietary Alternatives: Vegan and Gluten-Free Options
You can easily adapt these truffles for different diets. Here’s how:
– Vegan: Use vegan cream cheese and dairy-free chocolate.
– Gluten-Free: Make sure to use gluten-free graham crackers.
– Nut-free: Skip the nuts or use seeds like sunflower seeds.
These swaps keep the flavor while meeting dietary needs. Enjoy your tasty truffles, no matter your diet!
Storage Info
Best Practices for Storing Truffles
To keep your No-Bake Pumpkin Pie Truffles fresh, store them in an airtight container. Place parchment paper between layers to avoid sticking. Keep the container in the fridge. This will help maintain their taste and texture.
How to Freeze No-Bake Pumpkin Pie Truffles
You can freeze these truffles easily. First, let them firm up in the fridge. Then, place them on a baking sheet and freeze for about 1 hour. Once frozen, transfer them to a freezer-safe bag. Make sure to remove as much air as possible before sealing.
Shelf Life and Signs of Spoilage
These truffles last up to two weeks in the fridge. In the freezer, they can last up to three months. Watch for changes in smell or texture. If they look dry or have an off smell, it’s best to toss them. Enjoy your sweet treat while they are still fresh!
FAQs
Can I use canned pumpkin for this recipe?
Yes, you can use canned pumpkin. It saves time and adds great flavor. Just make sure it is pure pumpkin puree, not pumpkin pie filling. This choice keeps your truffles smooth and tasty.
How long do no-bake pumpkin pie truffles last?
These truffles last about one week in the fridge. Store them in an airtight container. If you freeze them, they can last for up to three months. Just let them thaw in the fridge before serving.
Can I substitute the cream cheese?
You can use mascarpone cheese or Greek yogurt instead. Both options give a similar creamy texture. If you want a lighter version, Greek yogurt works well and adds a nice tang.
What if I don’t have white chocolate chips?
If you lack white chocolate, try milk chocolate or dark chocolate chips. You can also use yogurt coating for a different flavor. Each option brings a unique twist to your truffles.
How can I make these truffles dairy-free?
To make dairy-free truffles, use vegan cream cheese and dairy-free chocolate chips. Look for brands that offer these options. This way, you can enjoy a delicious treat that fits your dietary needs.
You now have a clear guide to making delightful no-bake pumpkin pie truffles. We covered key ingredients, easy steps, and helpful tips. Remember, you can customize the truffles with different coatings and flavors. Store them properly to keep them fresh. Enjoy these tasty treats with friends and family. Making truffles is fun and simple. So, gather your ingredients and get started. Savor the joy of creating delicious snacks that everyone will love!
