FREE DINNER EBOOK!
Get your copy!
Cookie Policy
GDPR Policy
Disclaimer
Terms Of Use
Visit my other site:
Fun Cookie Recipes
Home
Dinner
Desserts
Drinks
Appetizers
Contact
About
Privacy Policy
Home
Dinner
Desserts
Drinks
Appetizers
Contact
About
Privacy Policy
Cookie Policy
GDPR Policy
Disclaimer
Terms Of Use
Visit my other site:
Fun Cookie Recipes
HOME / CATEGORIES /
Latest
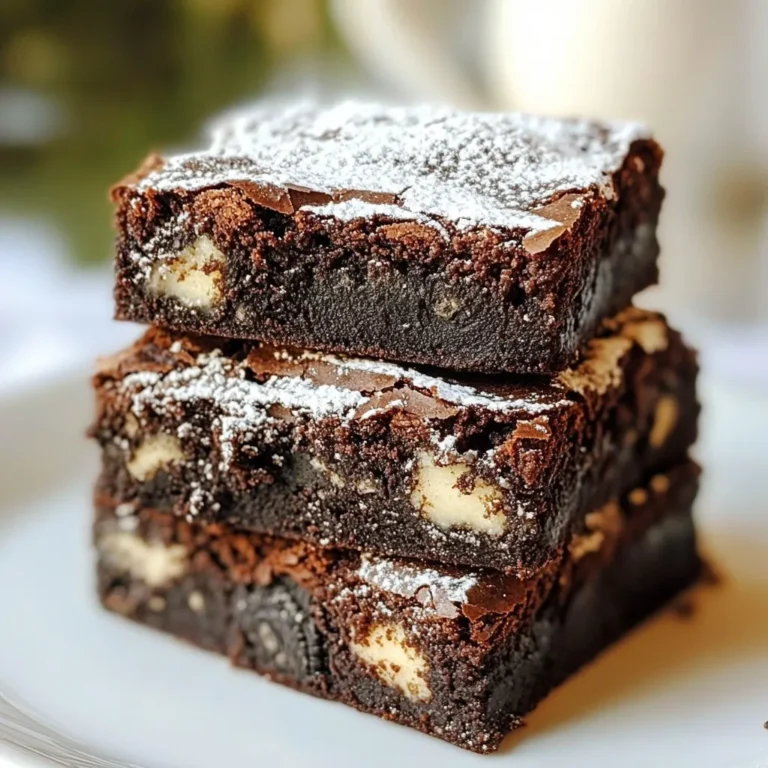
Oreo Stuffed Brownies Irresistible Chocolate Treat
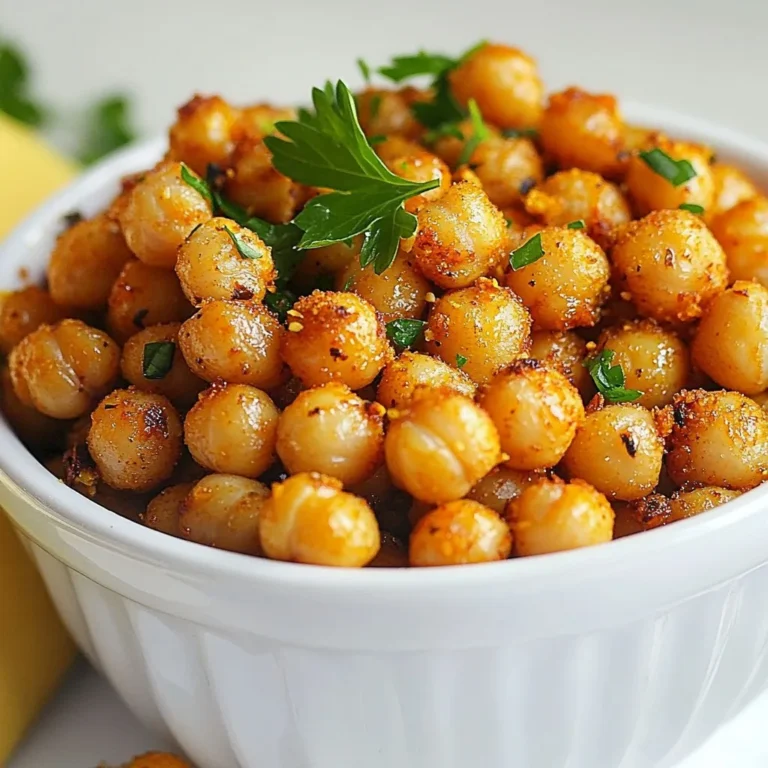
Spicy Cajun Roasted Chickpeas Crunchy Flavor Boost
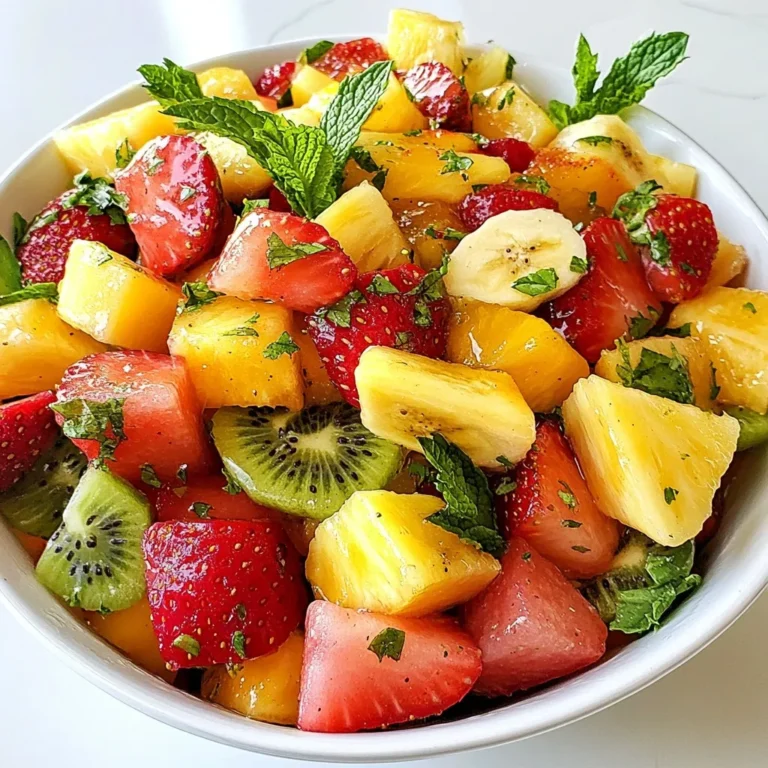
Honey Lime Fruit Salad Refreshing and Simple Recipe
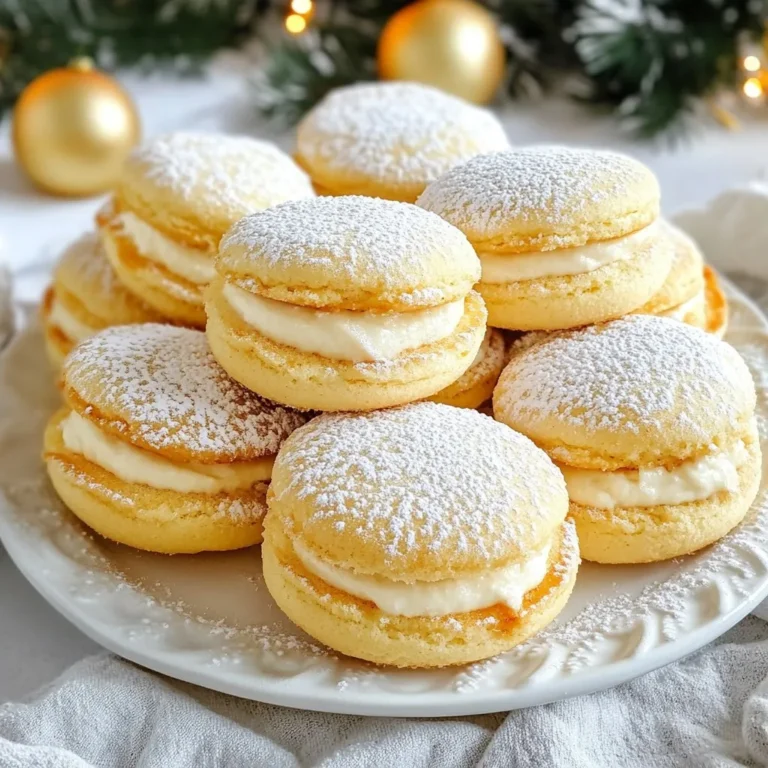
Eggnog Whoopie Pies Delightful Holiday Treats
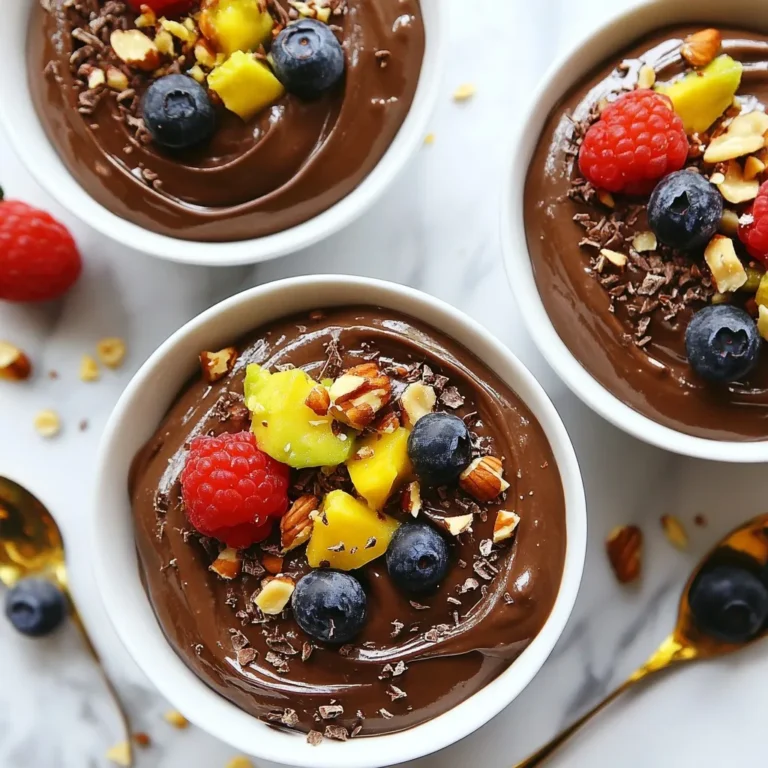
Avocado Chocolate Pudding Creamy and Healthy Dessert
Thai Coconut Curry Meatballs Flavorful and Easy Recipe
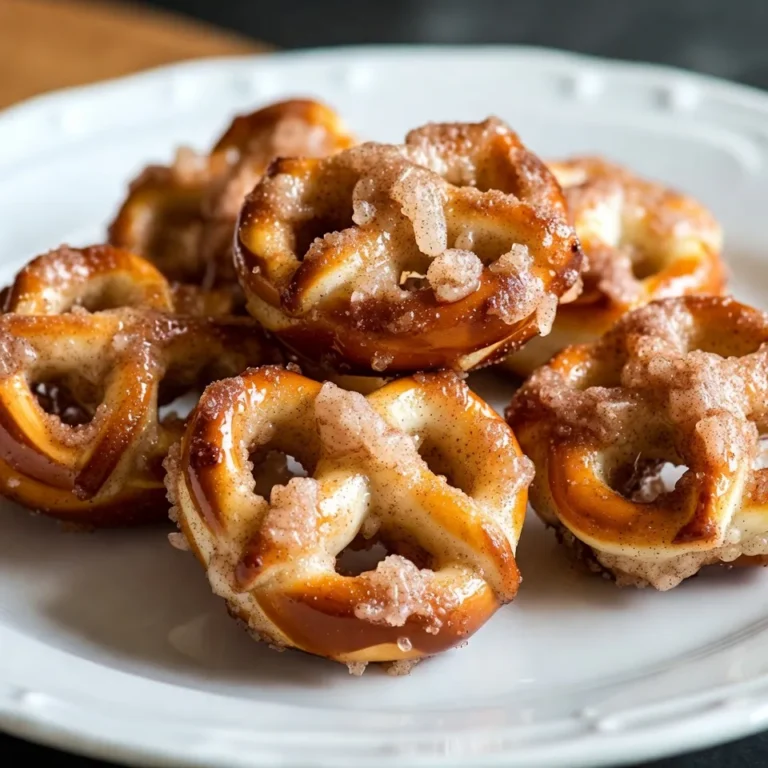
Cinnamon Sugar Pretzel Bites Sweet and Simple Treat
Chocolate Chip Zucchini Bread Quick and Easy Recipe
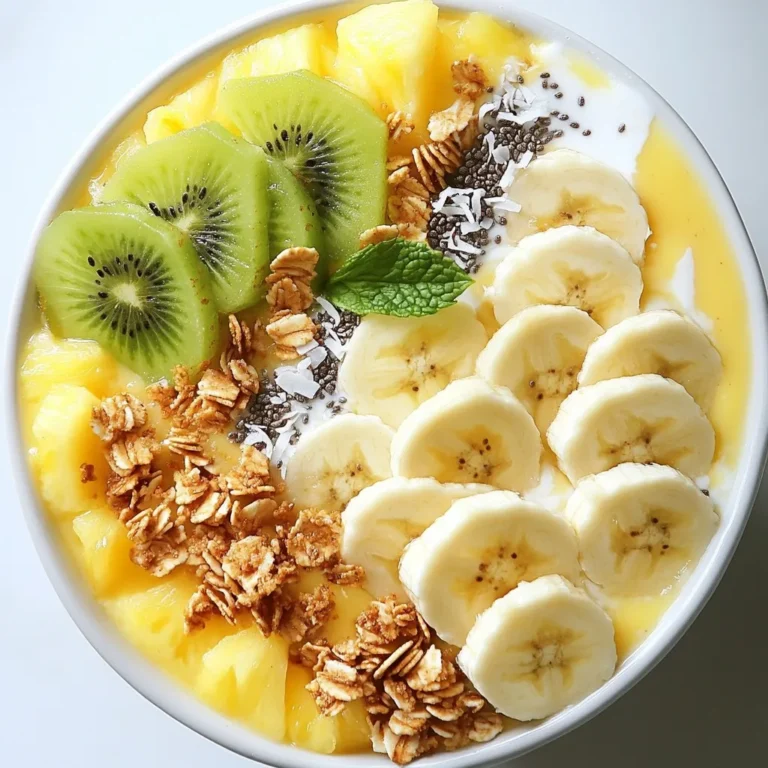
Pineapple Coconut Smoothie Bowl Refreshing and Healthy
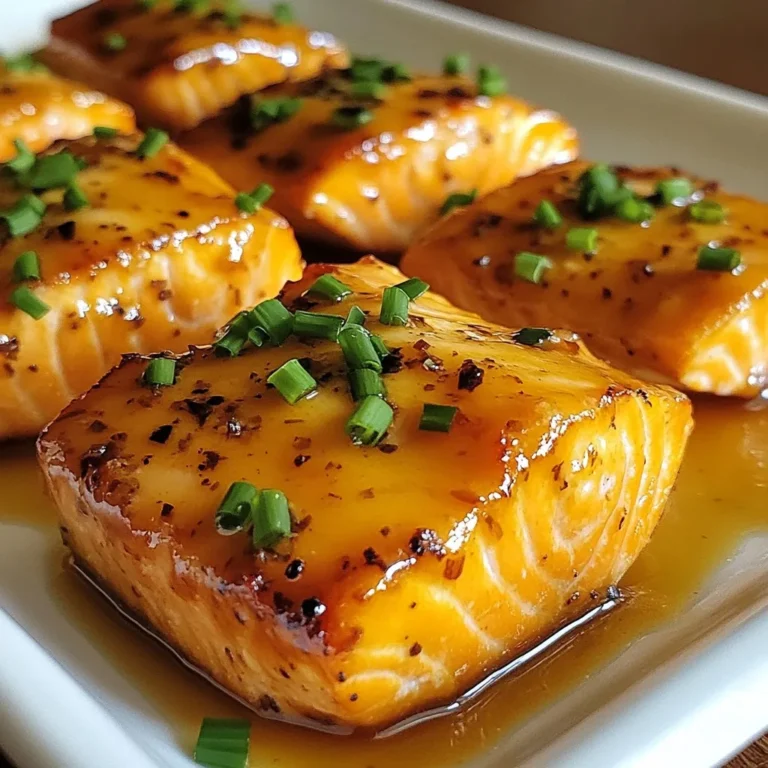
Maple Glazed Salmon Simple and Flavorful Recipe
PREV
1
2
3
4
…
49
NEXT