FREE DINNER EBOOK!
Get your copy!
Cookie Policy
GDPR Policy
Disclaimer
Terms Of Use
Visit my other site:
Fun Cookie Recipes
Home
Dinner
Desserts
Drinks
Appetizers
Contact
About
Privacy Policy
Home
Dinner
Desserts
Drinks
Appetizers
Contact
About
Privacy Policy
Cookie Policy
GDPR Policy
Disclaimer
Terms Of Use
Visit my other site:
Fun Cookie Recipes
HOME / CATEGORIES /
Latest
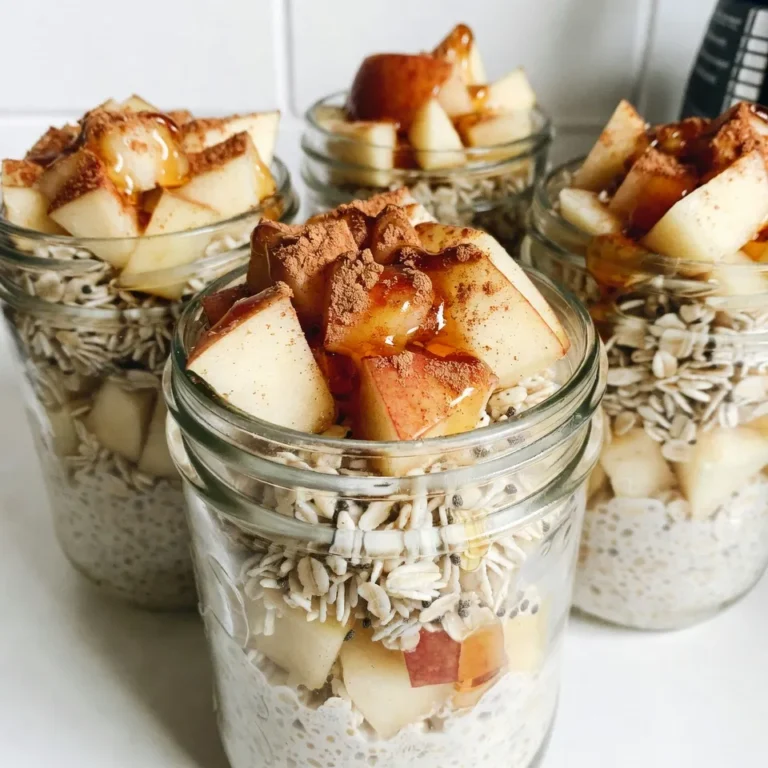
Apple Cinnamon Overnight Oats Easy and Tasty Recipe
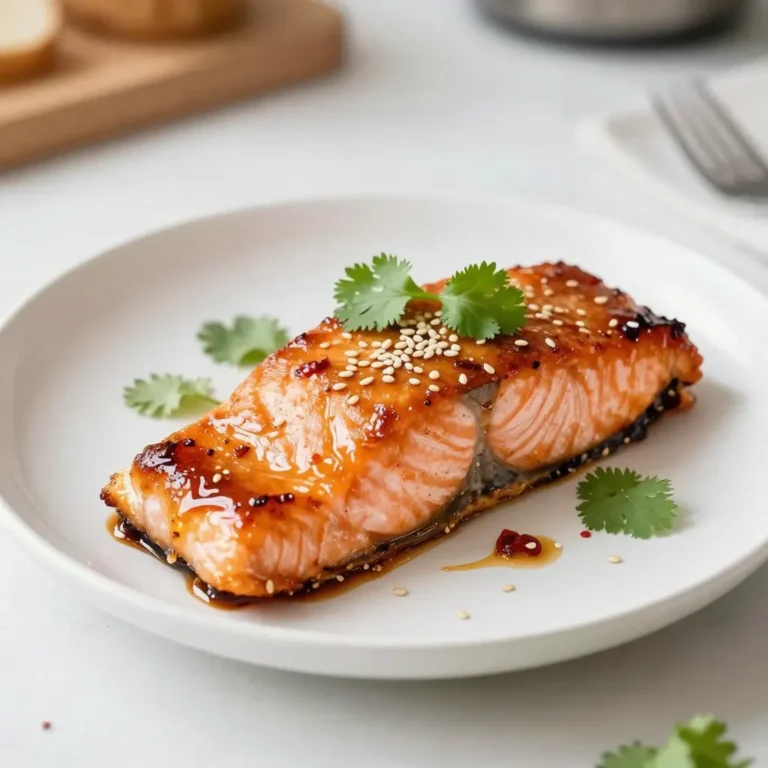
Sweet Chili Glazed Salmon Tasty and Simple Recipe
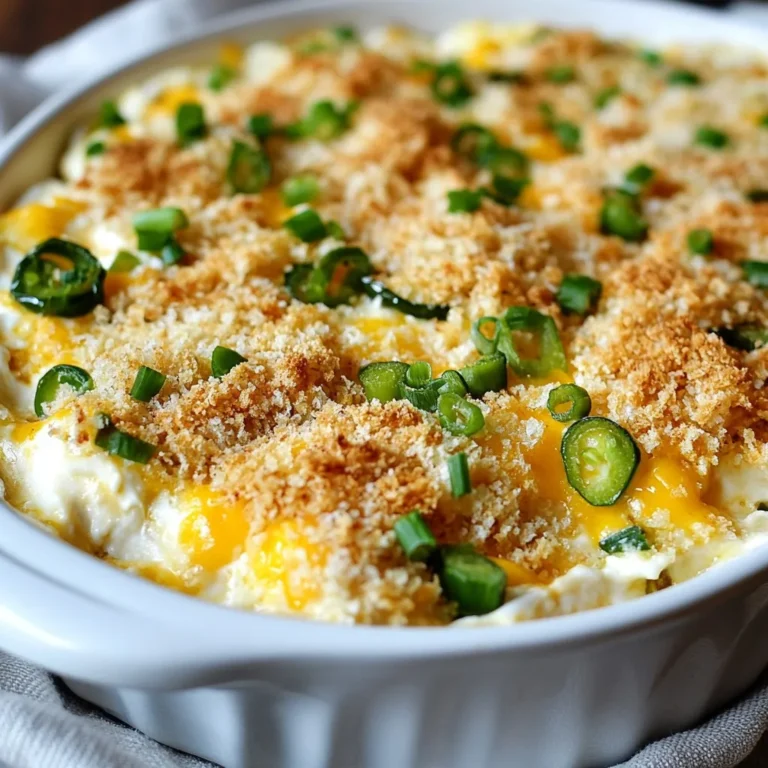
Jalapeño Popper Dip Tasty and Simple Party Recipe
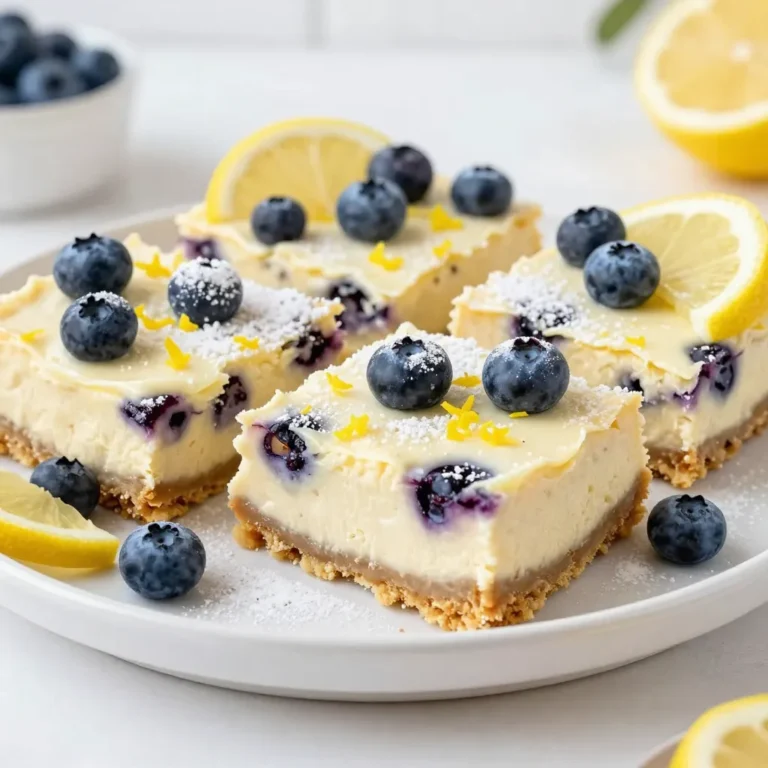
Lemon Blueberry Cheesecake Bars Delightful and Easy Recipe
Lemon Herb Grilled Shrimp Flavorful and Easy Recipe
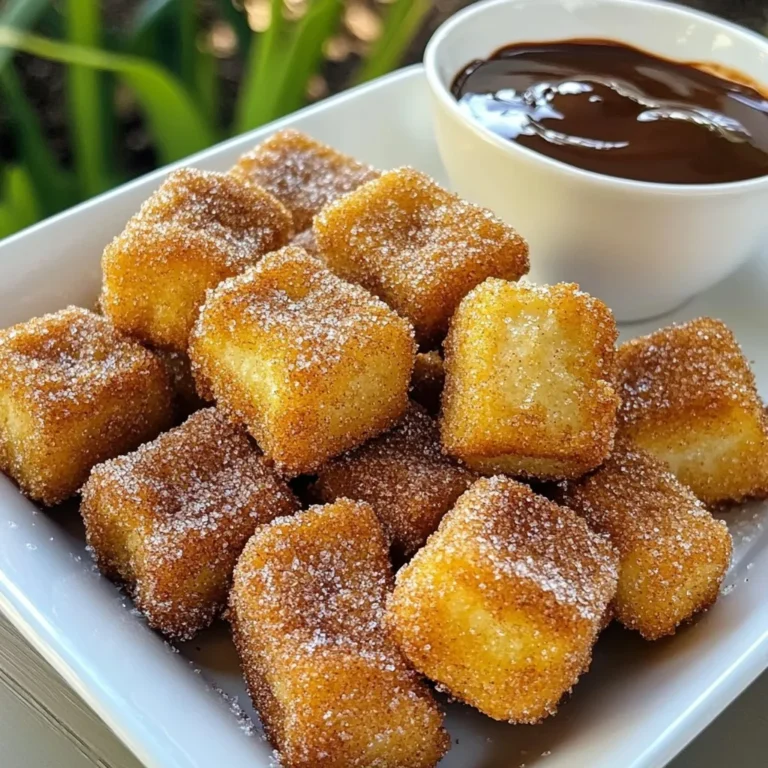
Air Fryer Churro Bites Scrumptious and Easy Recipe
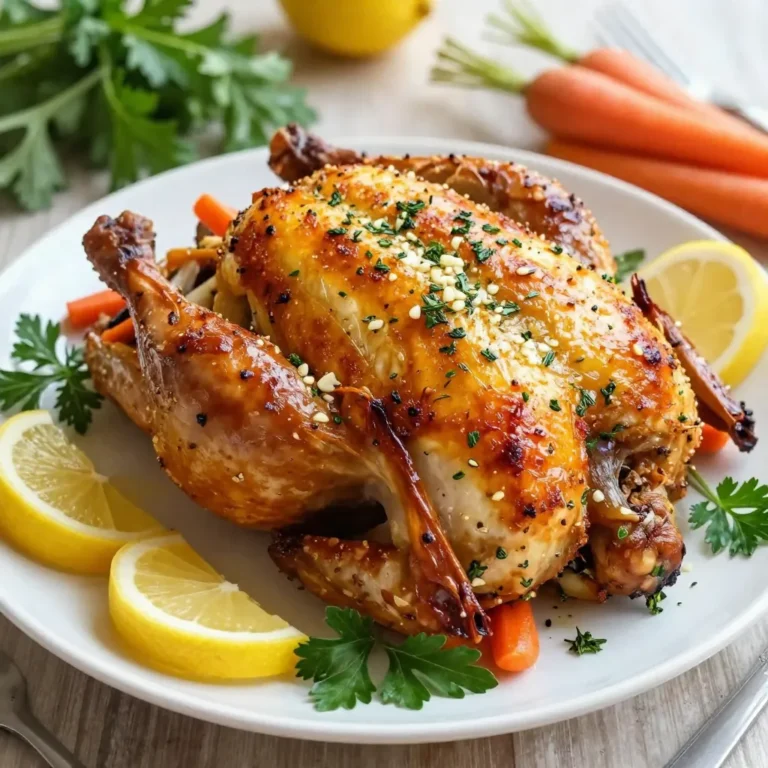
Garlic Herb Roasted Chicken Flavorful Family Feast
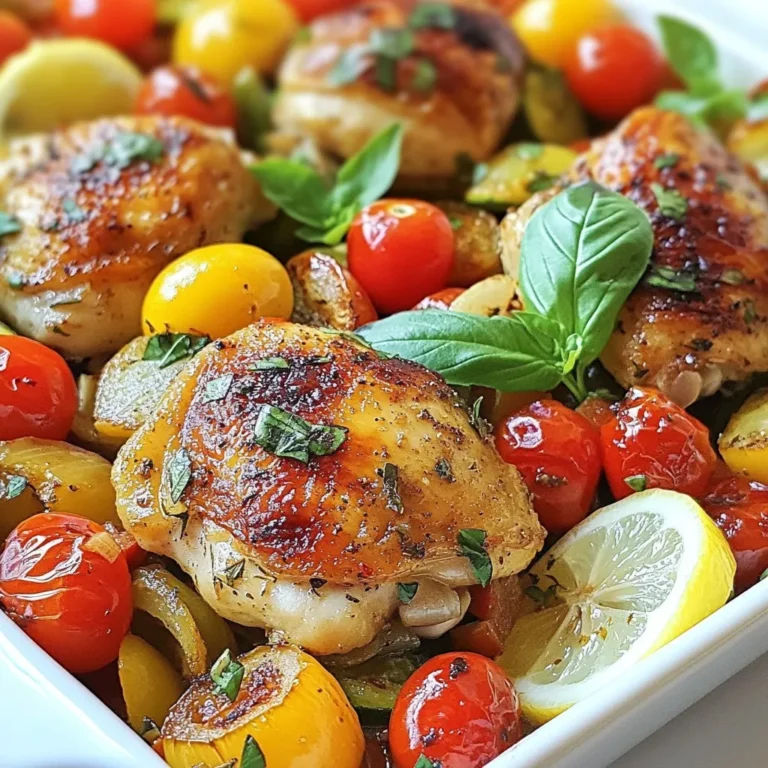
Mediterranean One-Pan Chicken Quick and Tasty Meal
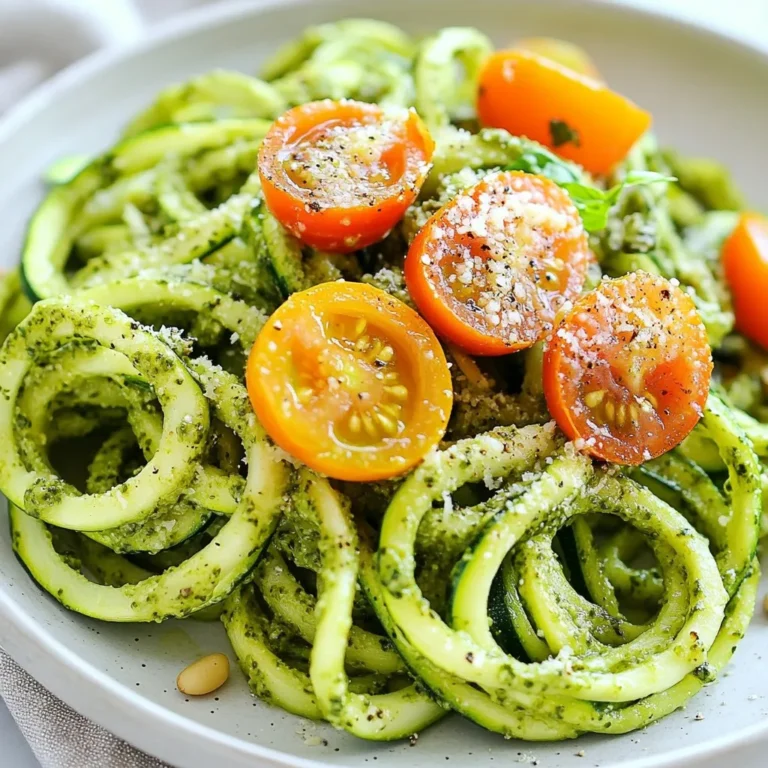
Pesto Parmesan Zucchini Noodles Flavorful and Light Meal
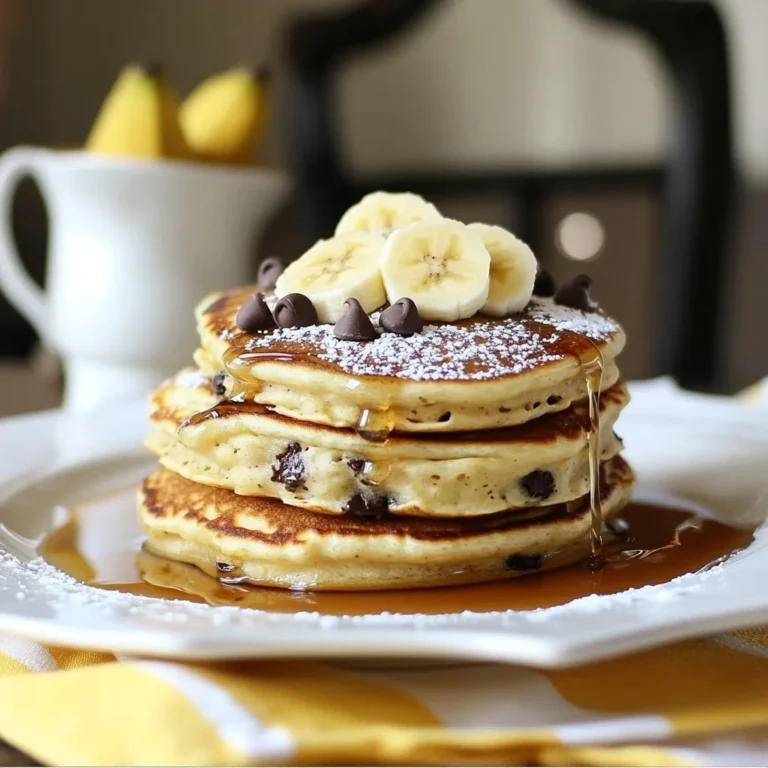
Chocolate Chip Banana Pancakes Delightful Breakfast Treat
PREV
1
…
3
4
5
…
49
NEXT