FREE DINNER EBOOK!
Get your copy!
Cookie Policy
GDPR Policy
Disclaimer
Terms Of Use
Visit my other site:
Fun Cookie Recipes
Home
Dinner
Desserts
Drinks
Appetizers
Contact
About
Privacy Policy
Home
Dinner
Desserts
Drinks
Appetizers
Contact
About
Privacy Policy
Cookie Policy
GDPR Policy
Disclaimer
Terms Of Use
Visit my other site:
Fun Cookie Recipes
HOME / CATEGORIES /
Latest
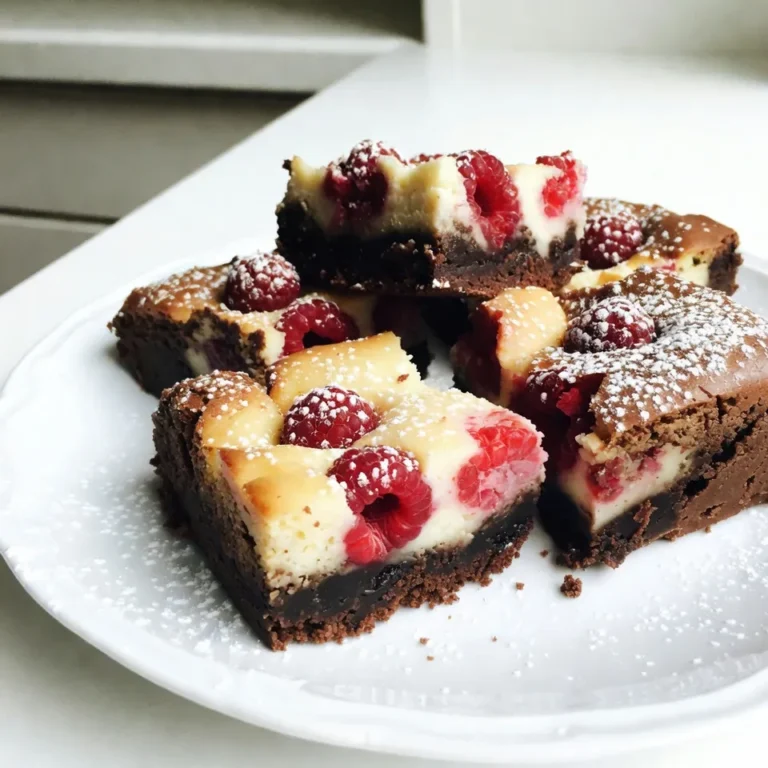
Raspberry Cheesecake Brownies Delightfully Rich Treat
Spicy Sesame Cucumber Salad Crunchy and Delicious Dish
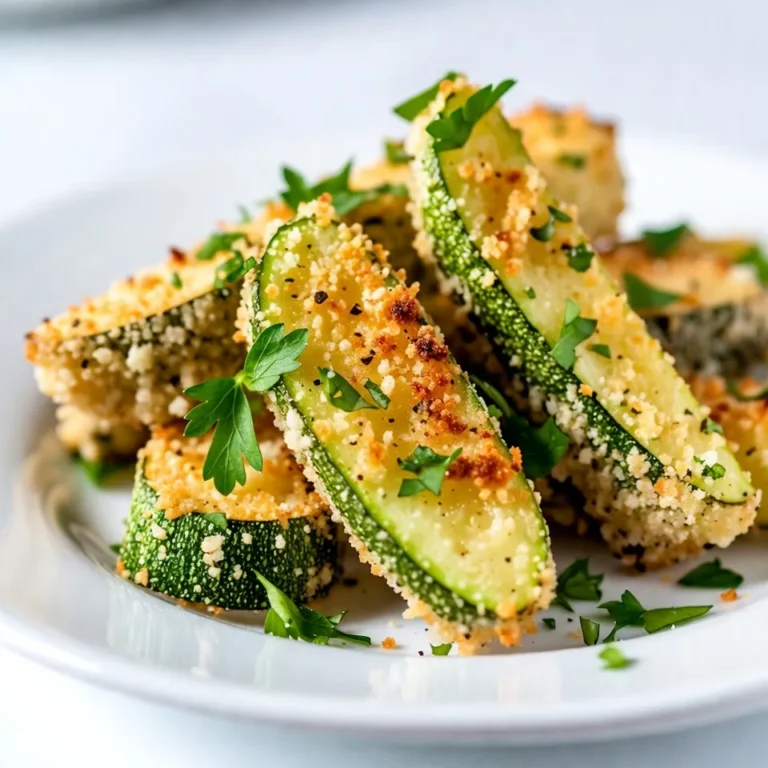
Garlic Parmesan Zucchini Fries Crispy and Delicious
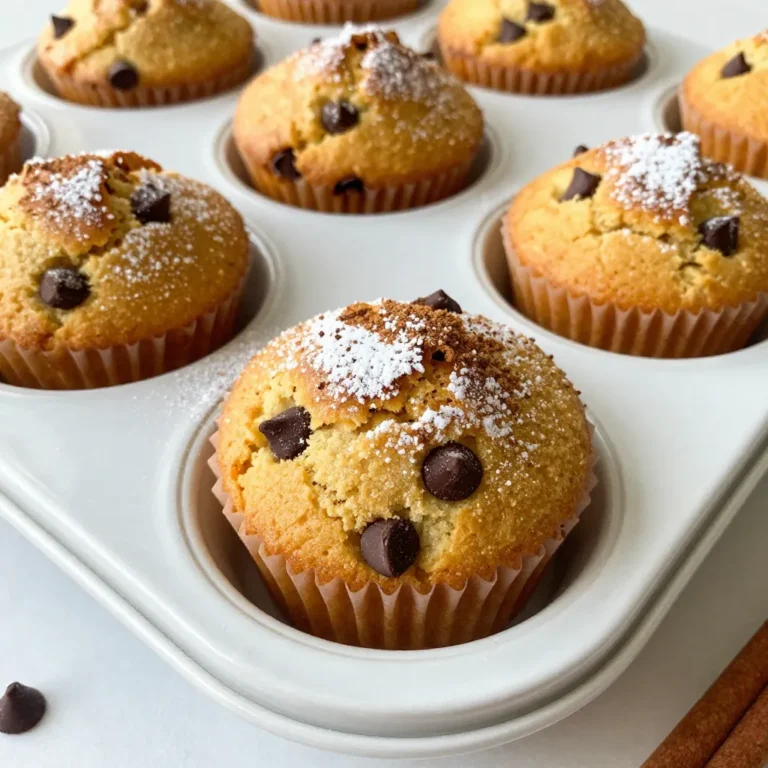
Pumpkin Spice Latte Muffins Irresistible Fall Treat
Garlic Herb Roasted Sweet Potatoes Flavorful Side Dish
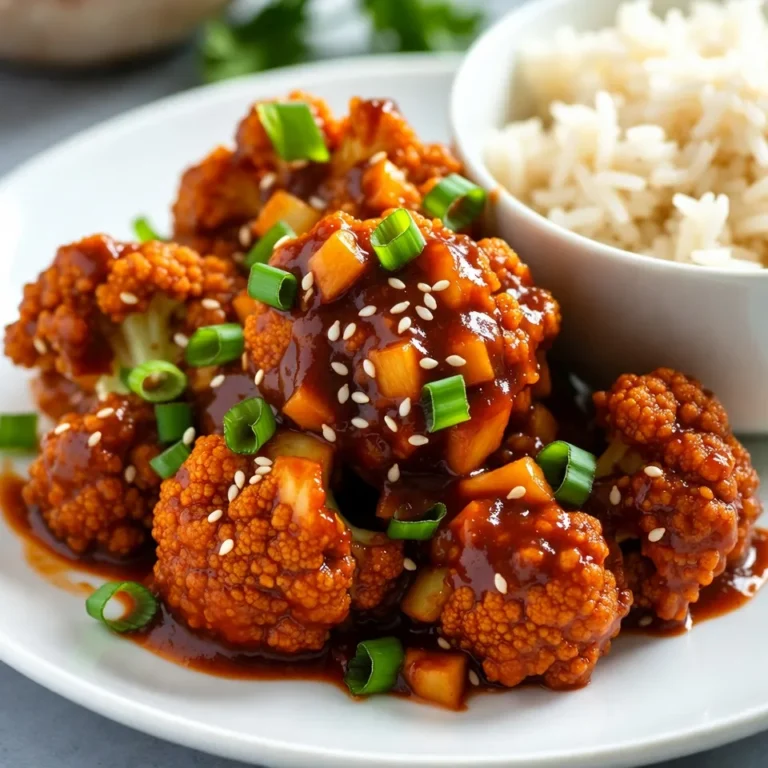
Crispy General Tso’s Cauliflower Flavorful Vegan Dish
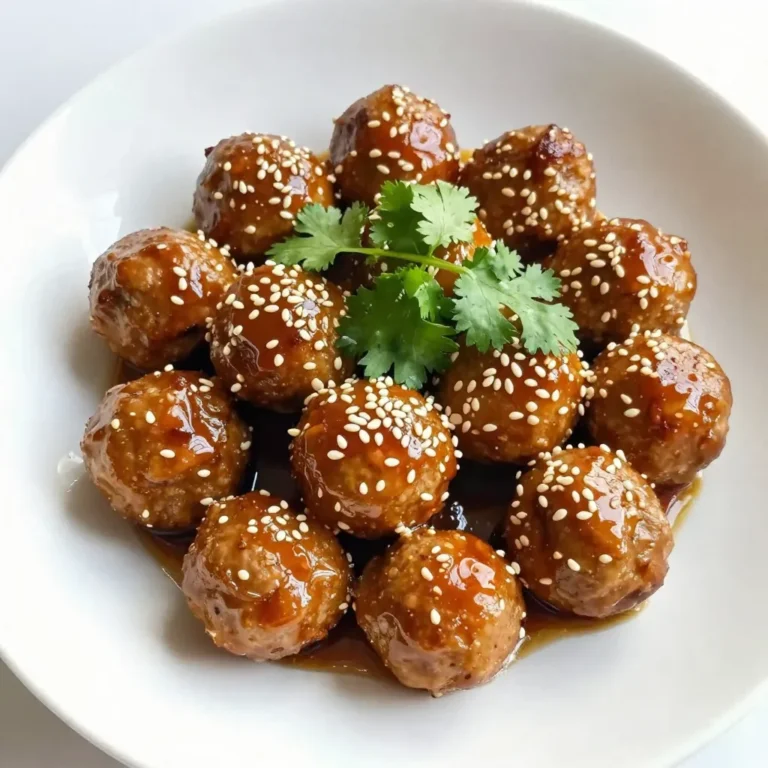
Honey Garlic Sesame Meatballs Flavorful and Easy Recipe
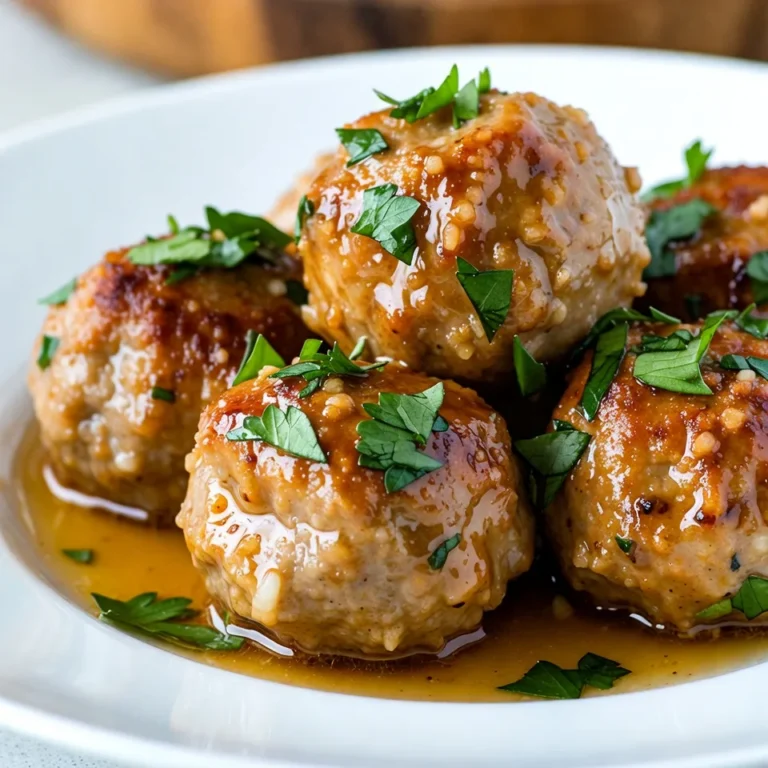
Garlic Butter Chicken Meatballs Simple Dinner Delight
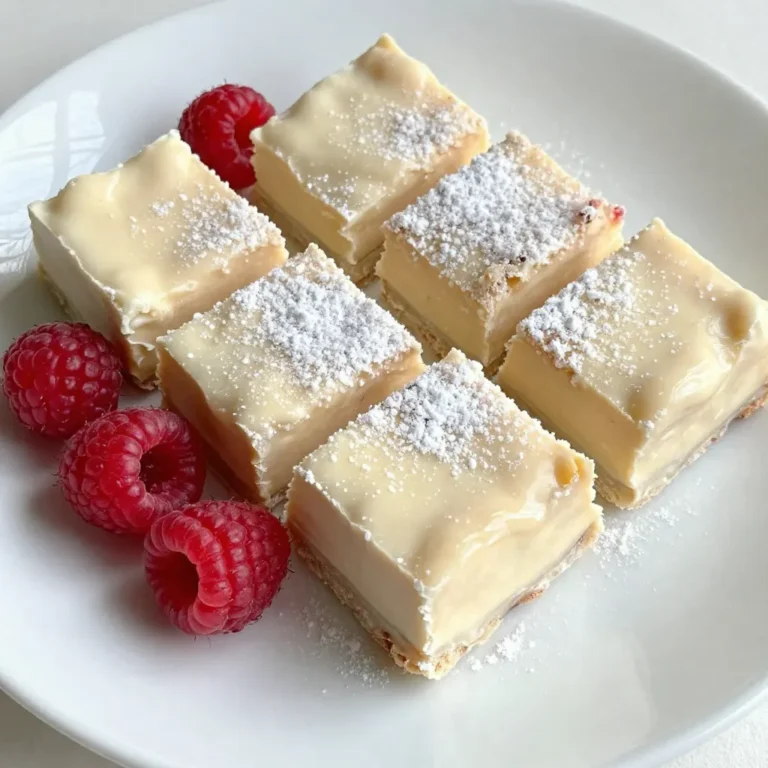
Creamy White Chocolate Raspberry Fudge Delight
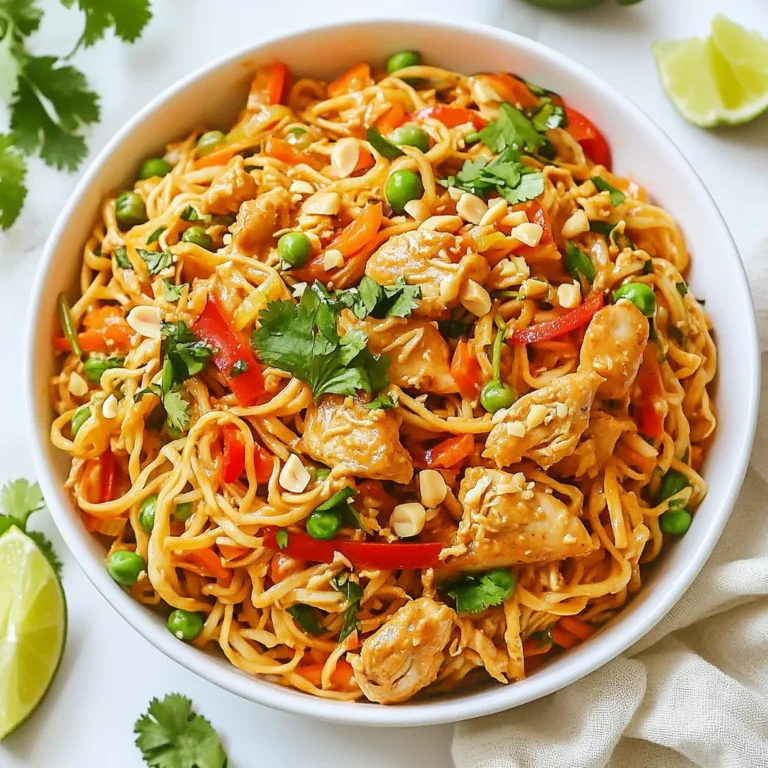
Thai Peanut Chicken Noodles Flavorful and Easy Recipe
PREV
1
…
4
5
6
…
49
NEXT