FREE DINNER EBOOK!
Get your copy!
Cookie Policy
GDPR Policy
Disclaimer
Terms Of Use
Visit my other site:
Fun Cookie Recipes
Home
Dinner
Desserts
Drinks
Appetizers
Contact
About
Privacy Policy
Home
Dinner
Desserts
Drinks
Appetizers
Contact
About
Privacy Policy
Cookie Policy
GDPR Policy
Disclaimer
Terms Of Use
Visit my other site:
Fun Cookie Recipes
HOME / CATEGORIES /
Latest
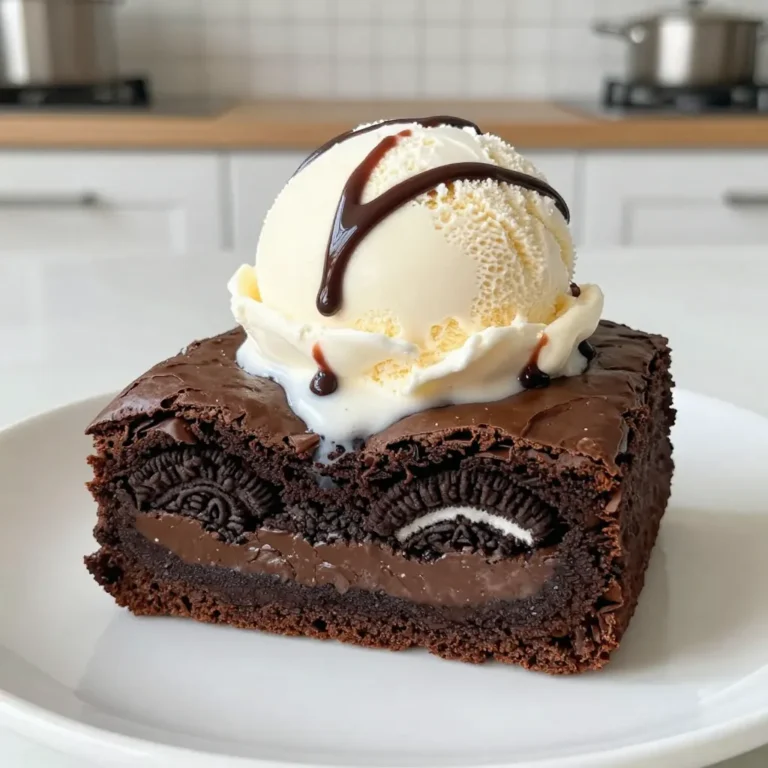
Oreo Stuffed Brownies Decadent and Easy Dessert Recipe
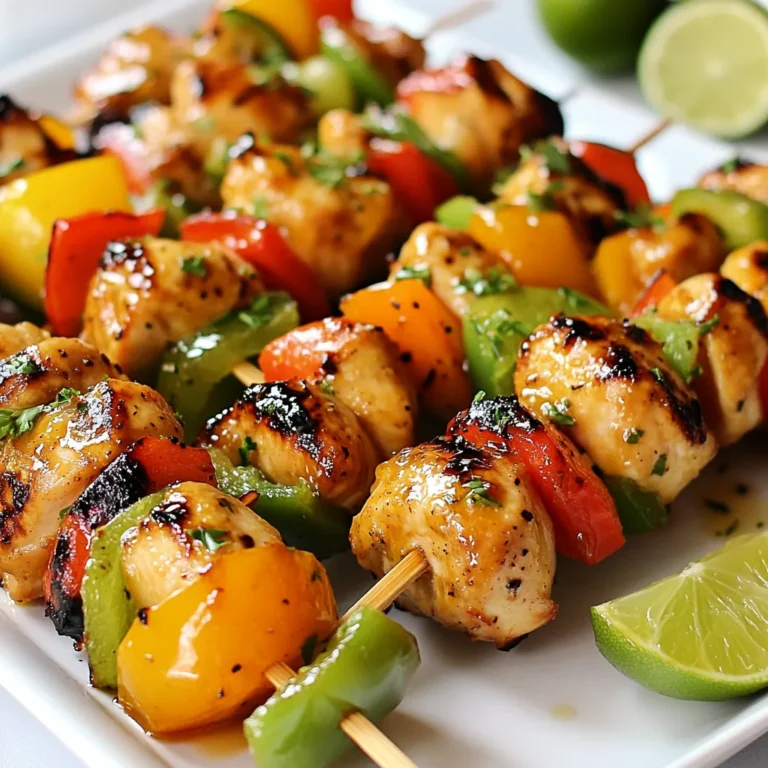
Honey Lime Chicken Kabobs Flavorful Grilled Delight
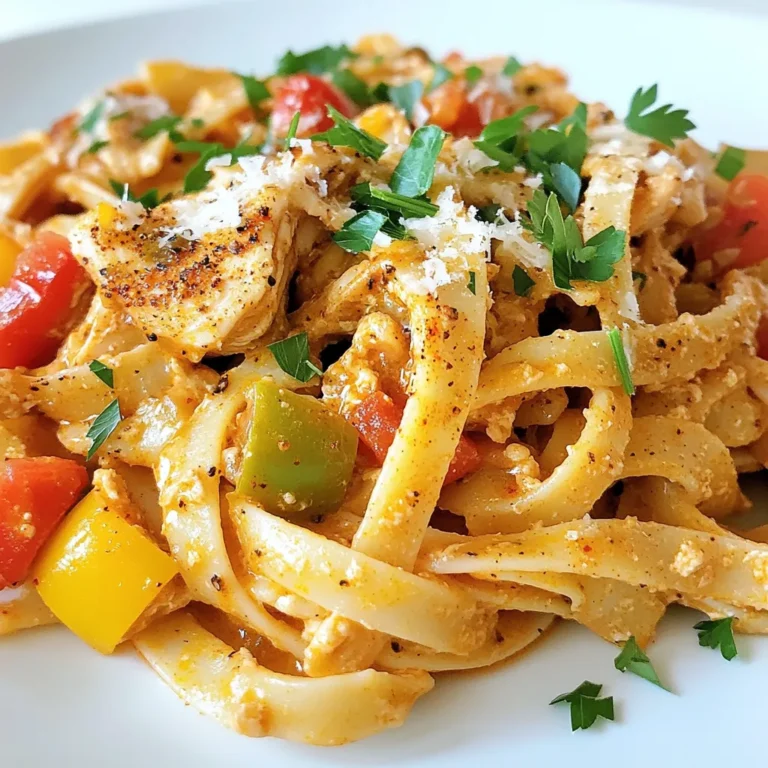
Savory Slow Cooker Cajun Chicken Pasta Recipe
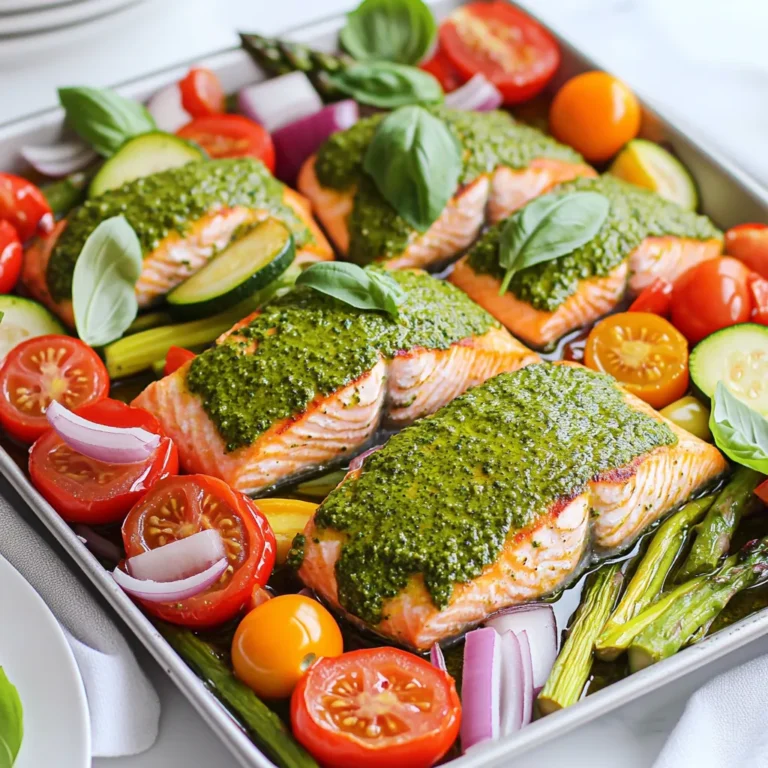
Sheet Pan Pesto Salmon Veggies Quick and Tasty Meal
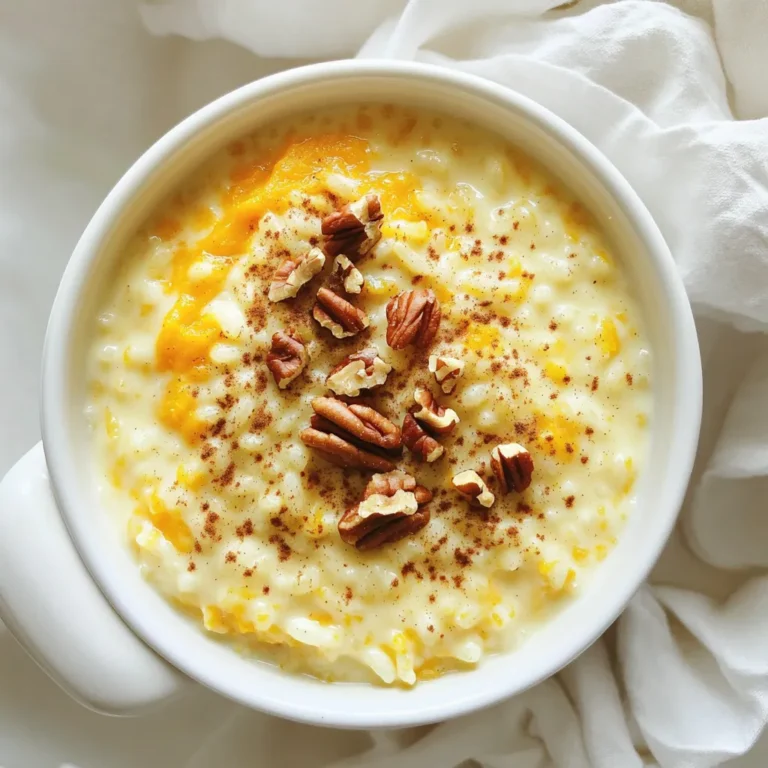
Pumpkin Spice Rice Pudding Creamy Comfort Food
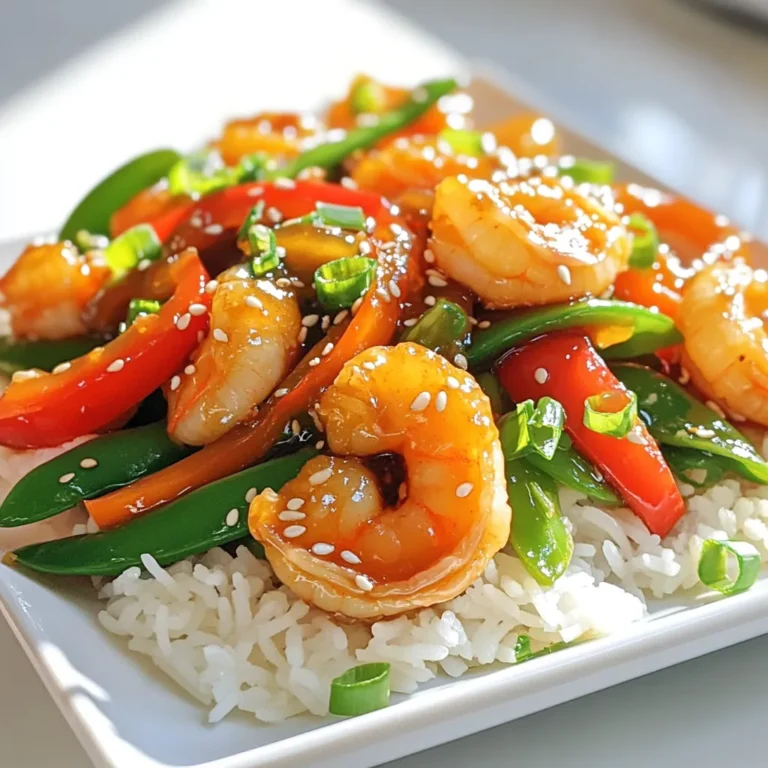
Garlic Honey Shrimp Stir Fry Quick and Tasty Meal
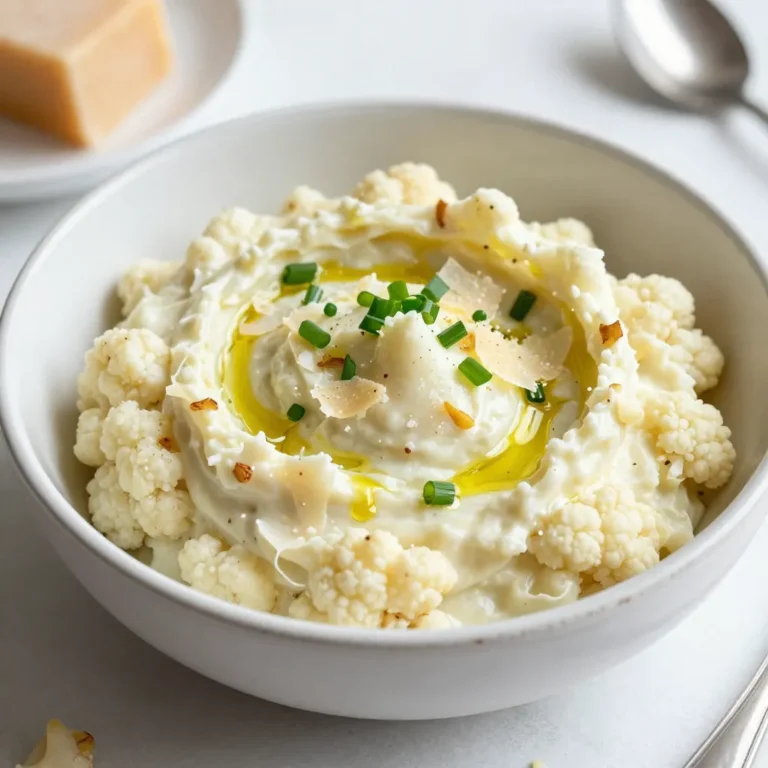
Garlic Parmesan Mashed Cauliflower Delightful Side Dish
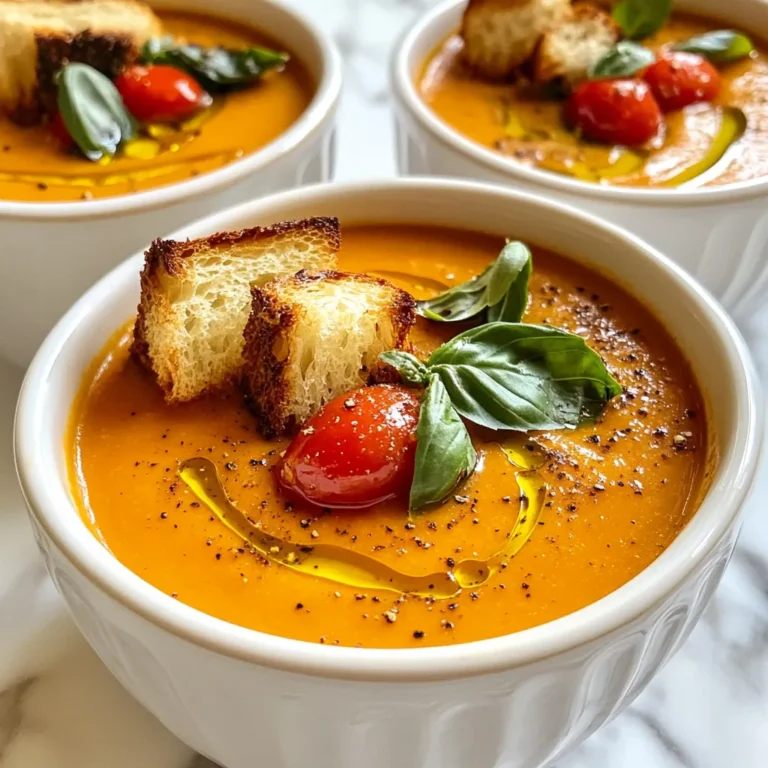
Roasted Tomato Basil Soup Flavorful and Simple Recipe
Cinnamon Roll Overnight Oats Protein Recipe Delight
Creamy Sun-Dried Tomato Pasta One Pot Delight
PREV
1
…
7
8
9
…
49
NEXT