FREE DINNER EBOOK!
Get your copy!
Cookie Policy
GDPR Policy
Disclaimer
Terms Of Use
Visit my other site:
Fun Cookie Recipes
Home
Dinner
Desserts
Drinks
Appetizers
Contact
About
Privacy Policy
Home
Dinner
Desserts
Drinks
Appetizers
Contact
About
Privacy Policy
Cookie Policy
GDPR Policy
Disclaimer
Terms Of Use
Visit my other site:
Fun Cookie Recipes
HOME / CATEGORIES /
Latest
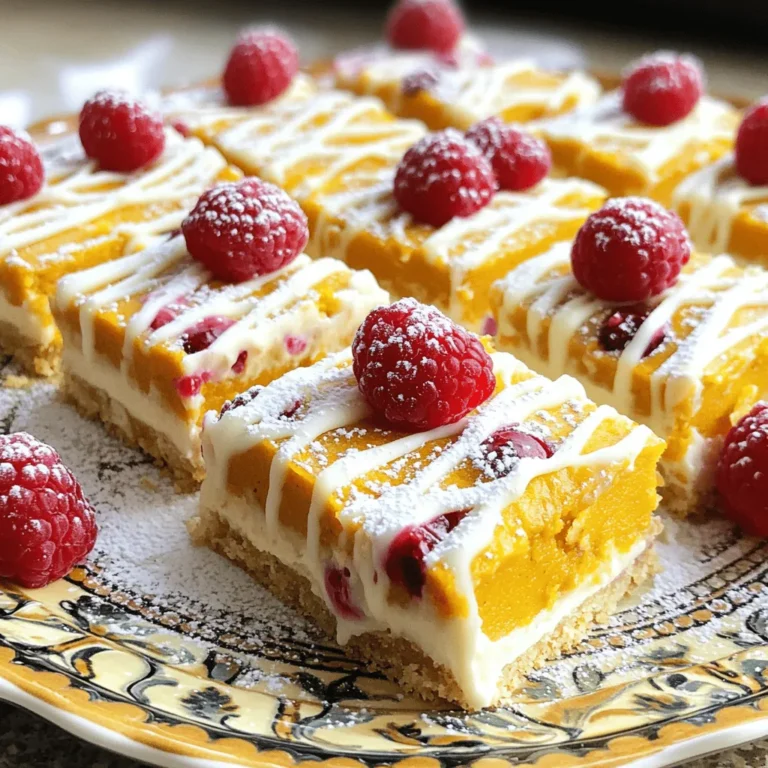
White Chocolate Raspberry Pumpkin Bars No Bake Delight
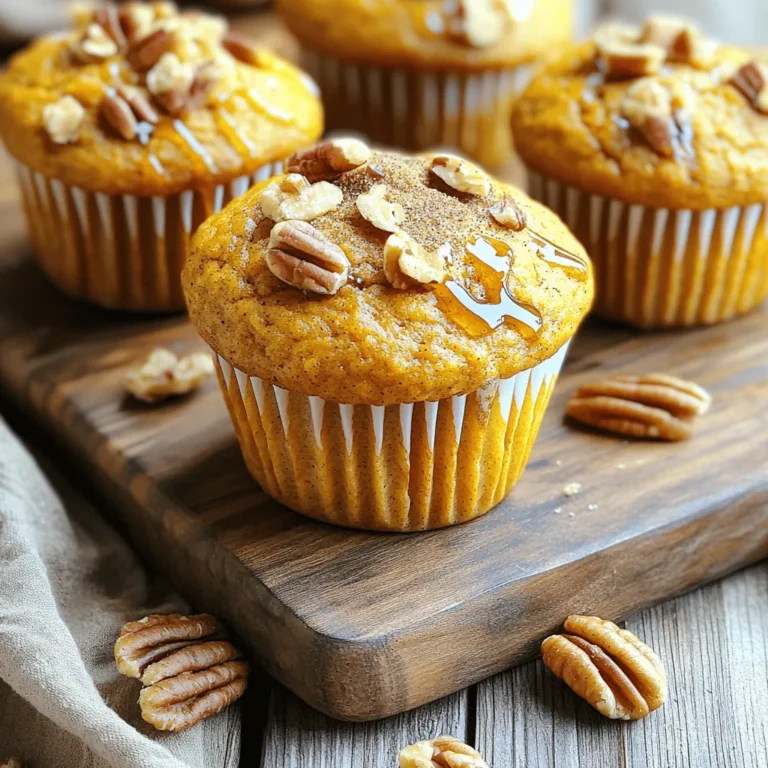
Pumpkin Maple Pecan Muffins Bakery Delight Recipe
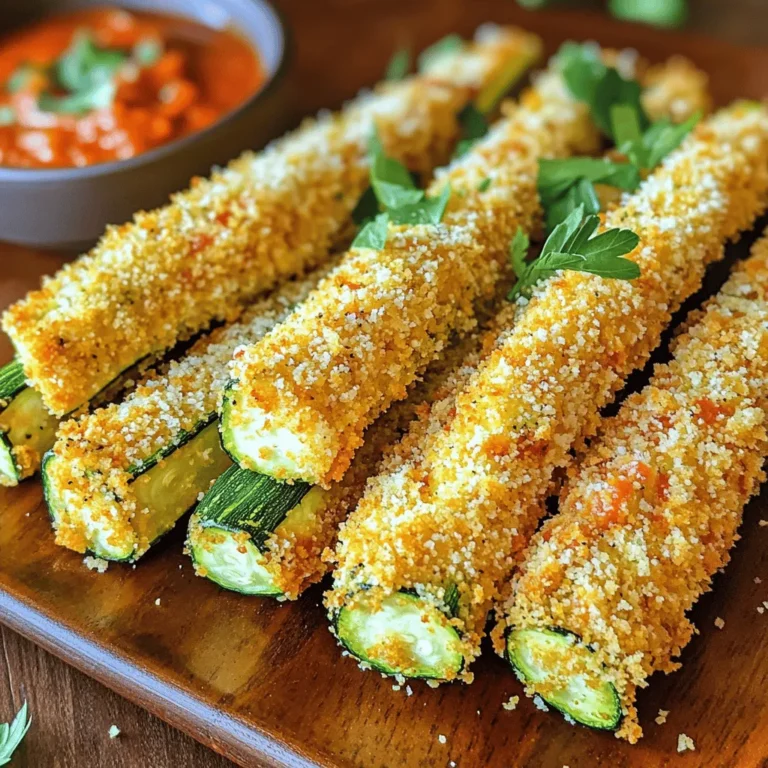
Air Fryer Parmesan Zucchini Fries Crunchy and Delicious
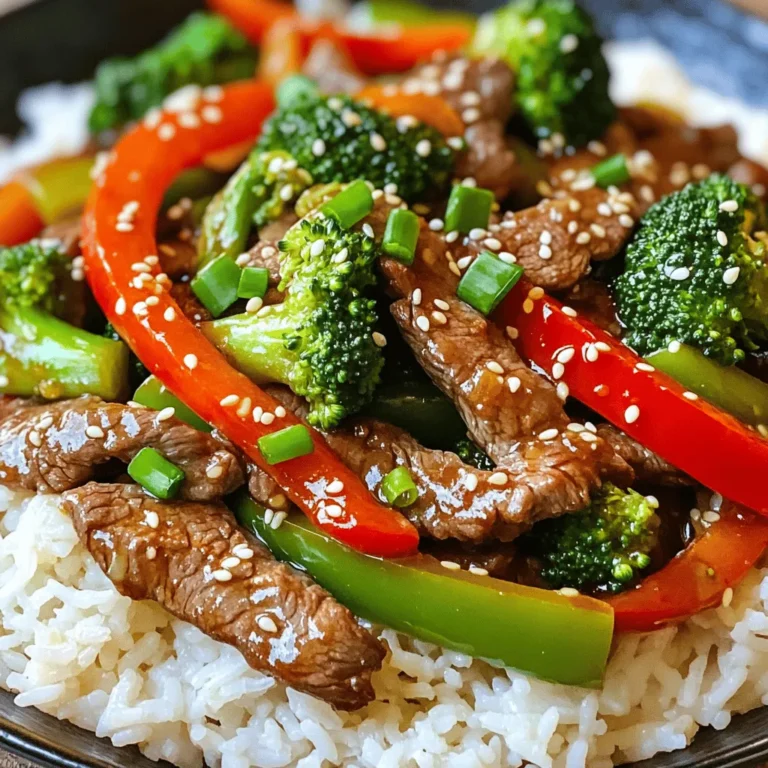
Better-Than-Takeout Garlic Ginger Beef Stir-Fry Delight
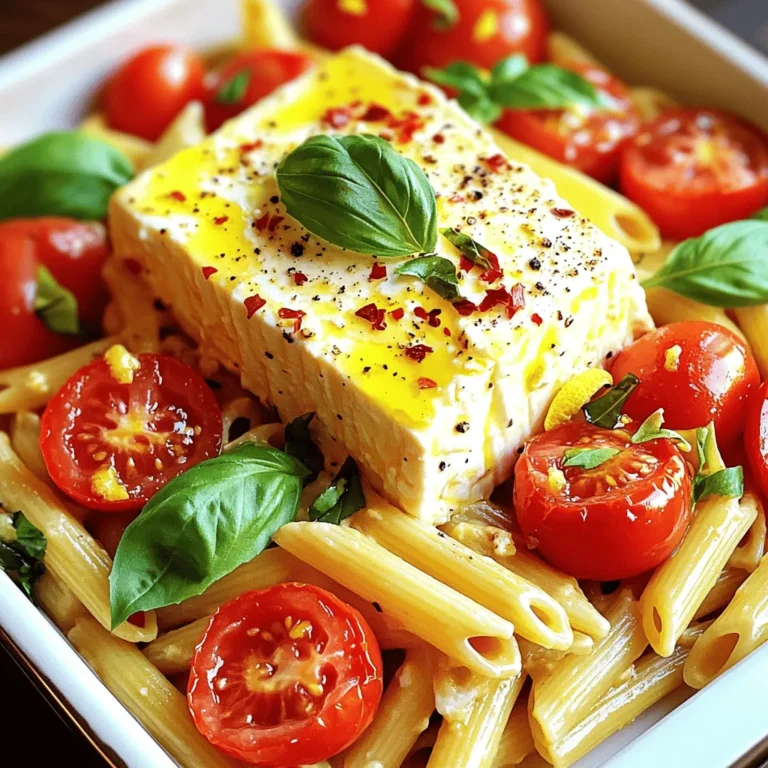
TikTok Baked Feta Pasta Easy and Delicious Recipe
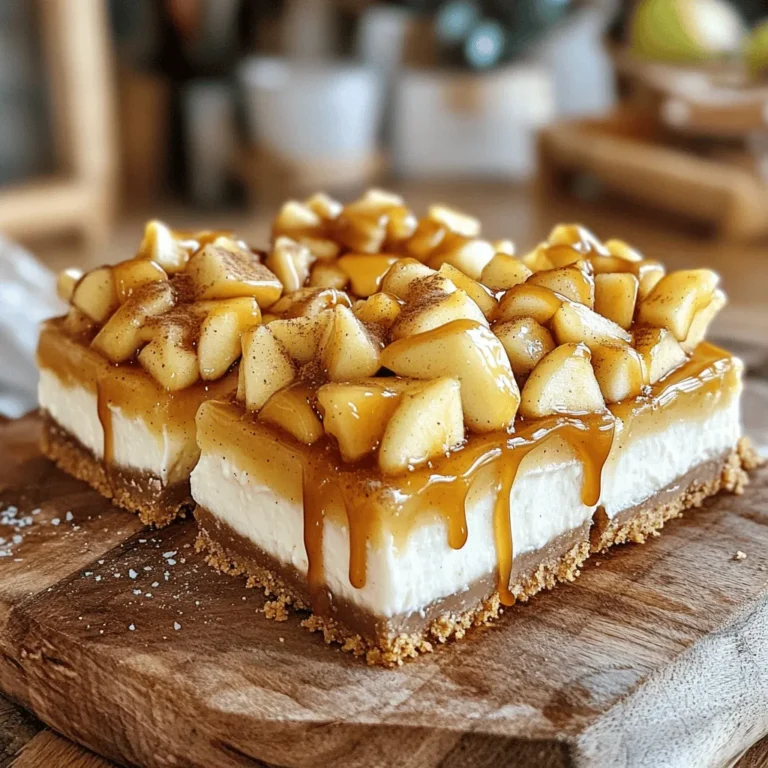
Caramel Apple Pie Cheesecake Bars Tasty Dessert Treat
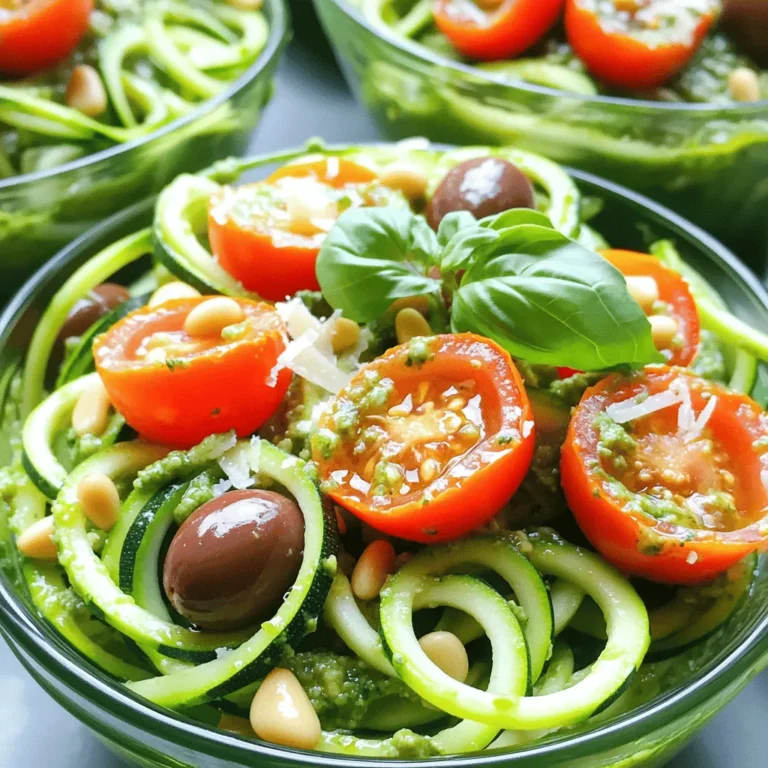
Basil Pesto Zucchini Noodle Salad Fresh and Flavorful
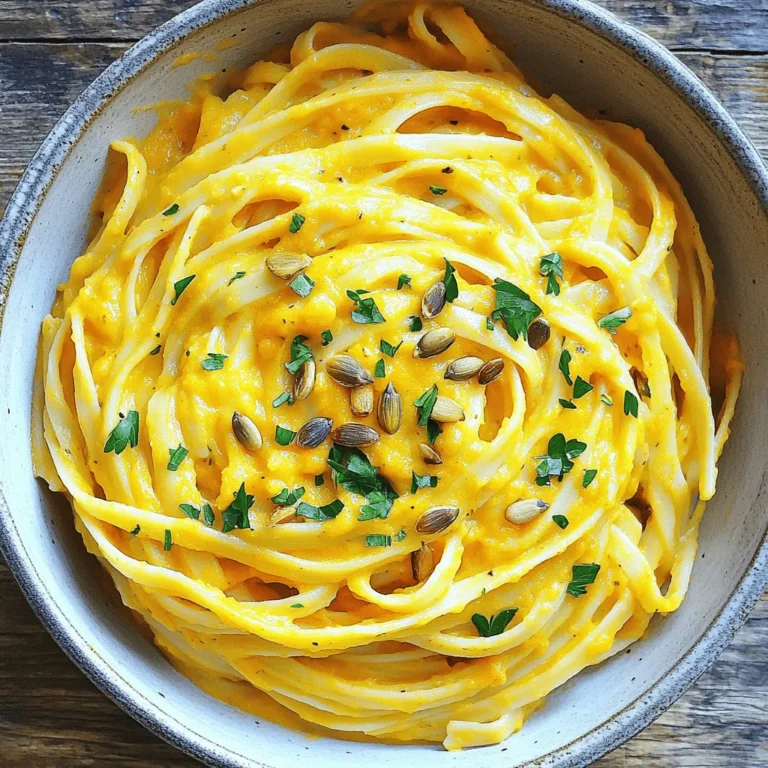
Vegan Pumpkin Alfredo Pasta Creamy and Simple Dish
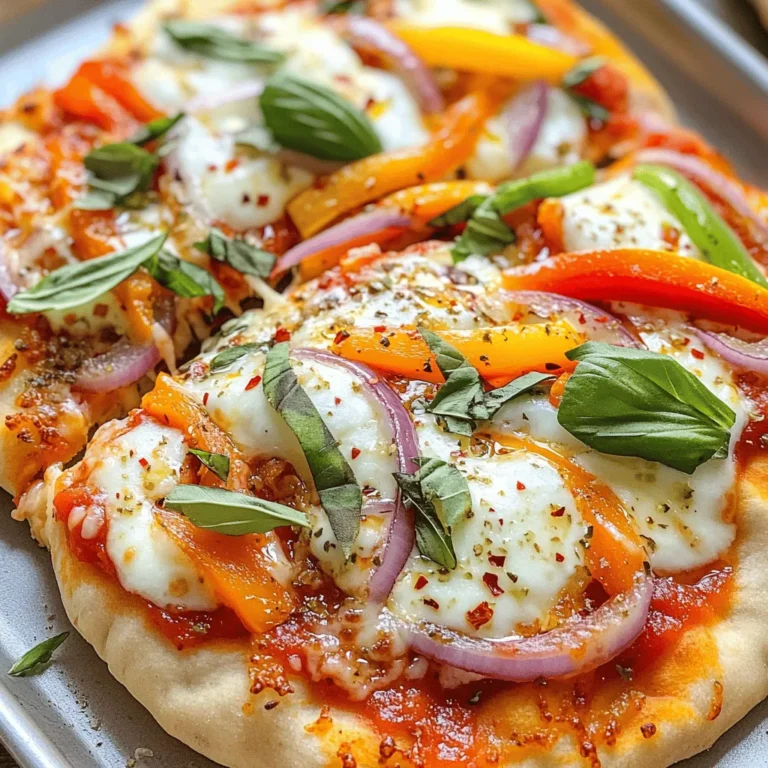
Spicy Garlic Naan Pizza Flavorful and Easy Recipe
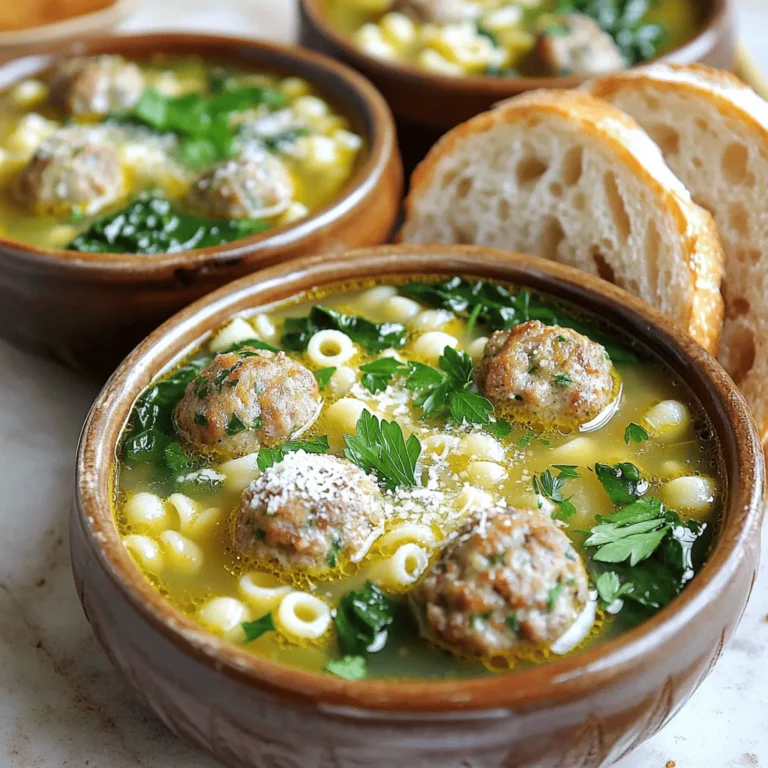
Italian Wedding Soup Flavorful and Heartwarming Dish
PREV
1
…
8
9
10
…
18
NEXT