If you love sweet treats, you'll adore my Cherry Pie Crumble Bars! These bars combine juicy cherries, a buttery crumble, and a hint of lemon for a treat that's hard to resist. In just a few easy steps, you can create dessert magic right in your kitchen. Whether you choose fresh or frozen cherries, this recipe is sure to please. Ready to impress your taste buds? Let’s get baking!
Why I Love This Recipe
- Deliciously Fruity: The combination of sweet cherries and a hint of lemon juice creates a delightful flavor that is both refreshing and comforting.
- Textural Contrast: The crunchy crumble topping paired with the soft cherry filling makes every bite a perfect mix of textures.
- Easy to Make: With simple ingredients and straightforward steps, this recipe is perfect for bakers of all skill levels.
- Perfect for Sharing: These bars are easy to slice into portions, making them ideal for gatherings, potlucks, or a sweet treat at home.
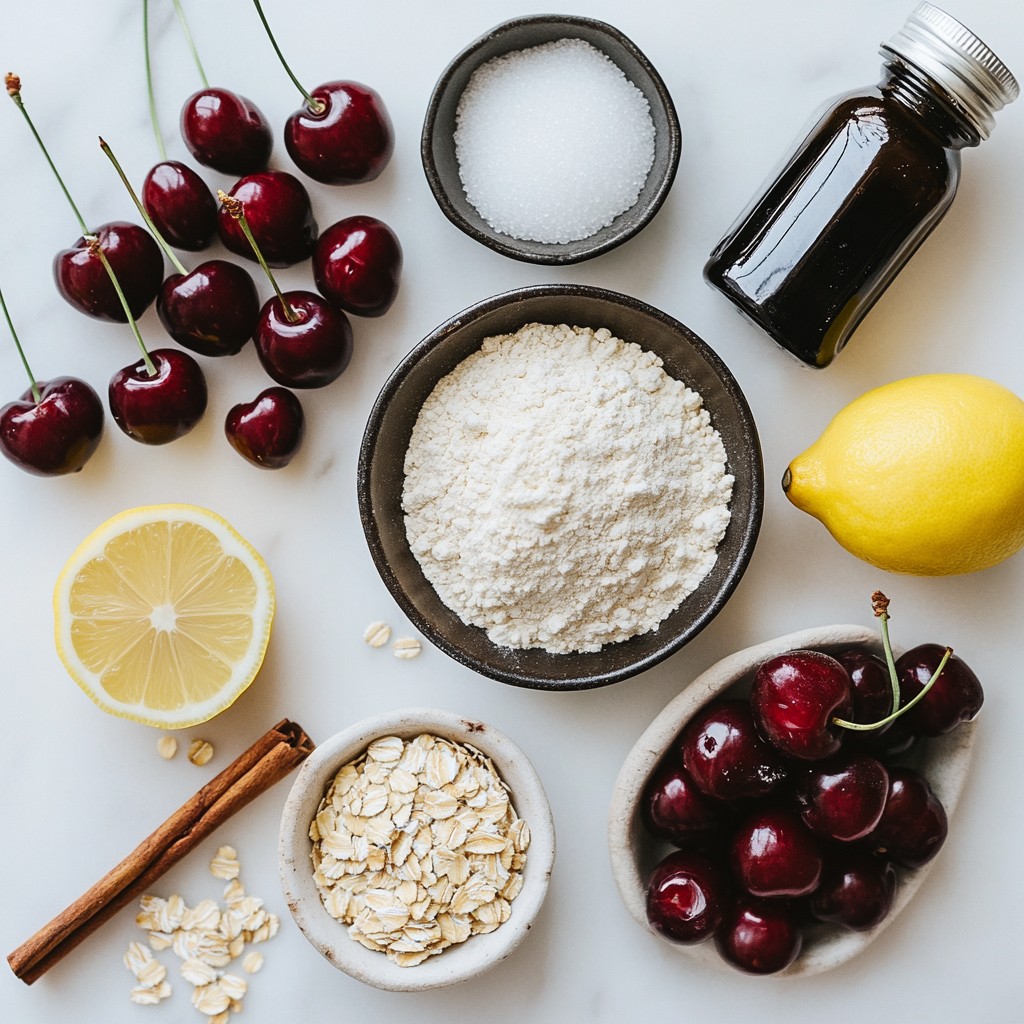
Ingredients
Fresh or Frozen Cherries
You can use 2 cups of fresh or frozen cherries for this recipe. If you pick fresh cherries, choose ripe, sweet ones. They should be firm and juicy. If you use frozen cherries, thaw them first. Drain any excess liquid before adding them to the filling. This way, your bars won’t turn soggy.
Sugar and Lemon Juice
You need 1 cup of granulated sugar, split into two parts of 1/2 cup each. This sugar sweetens the cherries and adds flavor. The juice of 1 tablespoon of fresh lemon helps balance the sweetness. It brightens the cherry flavor and adds a zing. Mix these with the cherries for a tasty filling.
Essential Baking Ingredients
The base and topping require some key ingredients. You will need:
- 3 cups all-purpose flour
- 1 cup rolled oats
- 1 cup unsalted butter, melted and slightly cooled
- 1 teaspoon baking powder
- 1/2 teaspoon salt
- 1 teaspoon ground cinnamon
These ingredients create a crumbly texture. The flour and oats form a sturdy base. The butter binds everything together and adds richness. The baking powder helps the topping rise, while salt and cinnamon enhance all the flavors. Together, these ingredients make your cherry pie crumble bars truly special.
Step-by-Step Instructions
Preheat the Oven
Set your oven to 350°F (175°C). This will get it hot and ready. Prepare a 9x13 inch baking pan by greasing it lightly. You can also line it with parchment paper. This makes it easy to lift the bars out later.
Prepare the Cherry Filling
In a medium saucepan, mix the halved cherries with 1/2 cup of granulated sugar. Add the lemon juice, cornstarch, and vanilla extract. Cook over medium heat. Stir often until the mixture bubbles and thickens, about 5-7 minutes. Remove from heat and let it cool for a bit.
Make the Crumble Mixture
In a large bowl, whisk together the flour, rolled oats, the remaining 1/2 cup of sugar, baking powder, salt, and ground cinnamon. Make sure everything is well combined.
Create the Base
Drizzle the melted butter into the dry ingredients. Mix until you see a coarse crumb texture. Reserve about 1 cup of this mixture for the topping later. Press the remaining crumble mixture into the bottom of your prepared pan. Bake this crust for 10-12 minutes until it turns lightly golden.
Add Cherry Filling
Once the crust is baked, take it out of the oven. Carefully pour the cooled cherry filling over the hot crust. Spread it evenly across the surface.
Top with Reserved Crumble
Sprinkle the reserved crumble mixture evenly over the cherry filling. Make sure to cover it well. This will help create a nice topping.
Bake Again
Put the pan back in the oven. Bake for another 25-30 minutes. Watch for the topping to turn golden brown and the filling to bubble.
Cool and Serve
Let the cherry crumble bars cool completely in the pan. Once cooled, slice into squares. For a special touch, dust the top with powdered sugar before serving.
Tips & Tricks
Ideal Cherry Selection
When choosing cherries, look for bright, shiny ones. Fresh cherries should feel firm and smell sweet. If you use frozen cherries, thaw and drain excess juice. This helps keep your bars from being too soggy. Always taste a cherry first. This way, you’ll know if they are sweet enough.
Perfect Crumble Texture
The crumble should be coarse and sandy. Mix the dry ingredients well before adding butter. This helps create a nice crumb. When you add melted butter, mix just until combined. Over-mixing can make it dense. Reserve some crumble for the top. This adds a nice crunch.
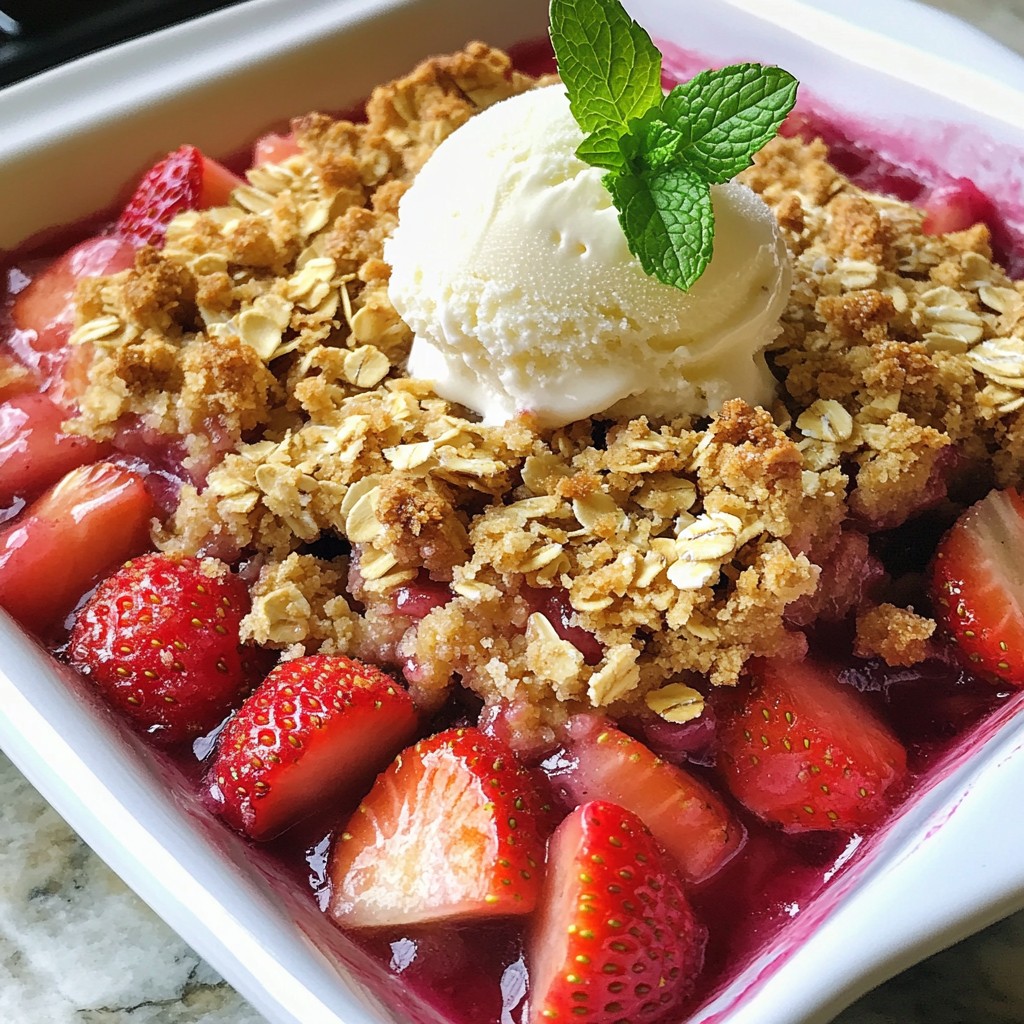
Serving Suggestions
Let the bars cool completely before slicing. This helps them hold their shape. Dust with powdered sugar for a pretty touch. You can serve them with whipped cream or vanilla ice cream. Both pair well with cherry flavors. For a fun twist, add a sprig of mint for color.
Pro Tips
- Use Fresh Cherries for Best Flavor: If possible, opt for fresh cherries in season, as they provide a superior taste and texture compared to frozen ones.
- Let the Bars Cool Completely: Allowing the bars to cool completely in the pan helps them set properly, making slicing easier and preventing them from falling apart.
- Experiment with Spices: Don't hesitate to customize the crumble topping with spices like nutmeg or cardamom for a unique flavor twist.
- Serve Warm with Ice Cream: For an indulgent treat, serve the cherry crumble bars warm with a scoop of vanilla ice cream on top.
Variations
Using Different Fruits
You can switch the cherries for other fruits. Berries, like blueberries or raspberries, work well. Apples and peaches also make great choices. Adjust the sugar based on the fruit's sweetness. For tart fruits, add a bit more sugar. This gives each bar a unique taste.
Gluten-Free Options
To make gluten-free bars, swap the all-purpose flour for gluten-free flour. Look for blends that work well in baking. Oats can also be gluten-free if labeled as such. Check the labels carefully to avoid gluten. This way, everyone can enjoy these treats.
Adding Spices and Extras
You can add spices for extra flavor. Try nutmeg or ginger for a warm twist. Chopped nuts, like walnuts or almonds, add crunch. You can also mix in chocolate chips for a sweet touch. Experiment with flavors to make it your own.
Storage Info
Best Practices for Storing
To keep your cherry pie crumble bars fresh, store them in an airtight container. This helps prevent them from drying out. Place the bars in a single layer if possible. If you stack them, add parchment paper between layers to avoid sticking. Store them at room temperature for up to three days. For longer storage, the fridge is a better option. The bars can last about a week in the fridge.
Freezing Instructions
You can freeze cherry pie crumble bars for even longer storage. First, let the bars cool completely. Then, wrap them tightly in plastic wrap or aluminum foil. Place the wrapped bars in a freezer-safe bag or container. They can last for up to three months in the freezer. When you are ready to enjoy them, simply thaw them in the fridge overnight before serving.
Reheating Tips
To reheat your cherry pie crumble bars, preheat your oven to 350°F (175°C). Place the bars on a baking sheet and heat for about 10-15 minutes. This will warm them up and make the topping nice and crisp again. You can also microwave a single bar for about 20-30 seconds for a quick treat. Enjoy them warm or at room temperature!
FAQs
Can I use canned cherries for this recipe?
Yes, you can use canned cherries. Just make sure to drain them well. Canned cherries have added juice. You may need to adjust the sugar to avoid making it too sweet. This choice saves time and still gives a great flavor.
How do I know when the bars are fully baked?
You will know the bars are done when the topping turns golden brown. The cherry filling should bubble slightly around the edges. Use a toothpick to check. If it comes out clean, the bars are ready.
How long do cherry crumble bars last?
Cherry crumble bars stay fresh for about three to five days. Store them in an airtight container at room temperature. For longer storage, you can freeze them. They last up to three months in the freezer.
You learned how to make delicious cherry crumble bars. We covered choosing the best cherries, mixing the right ingredients, and following step-by-step instructions. I shared tips for a perfect crumble and fun variations you can try. Storing and reheating the bars was also discussed for your convenience.
Remember, these bars are easy to make and always a hit. Enjoy baking and experimenting in your kitchen!