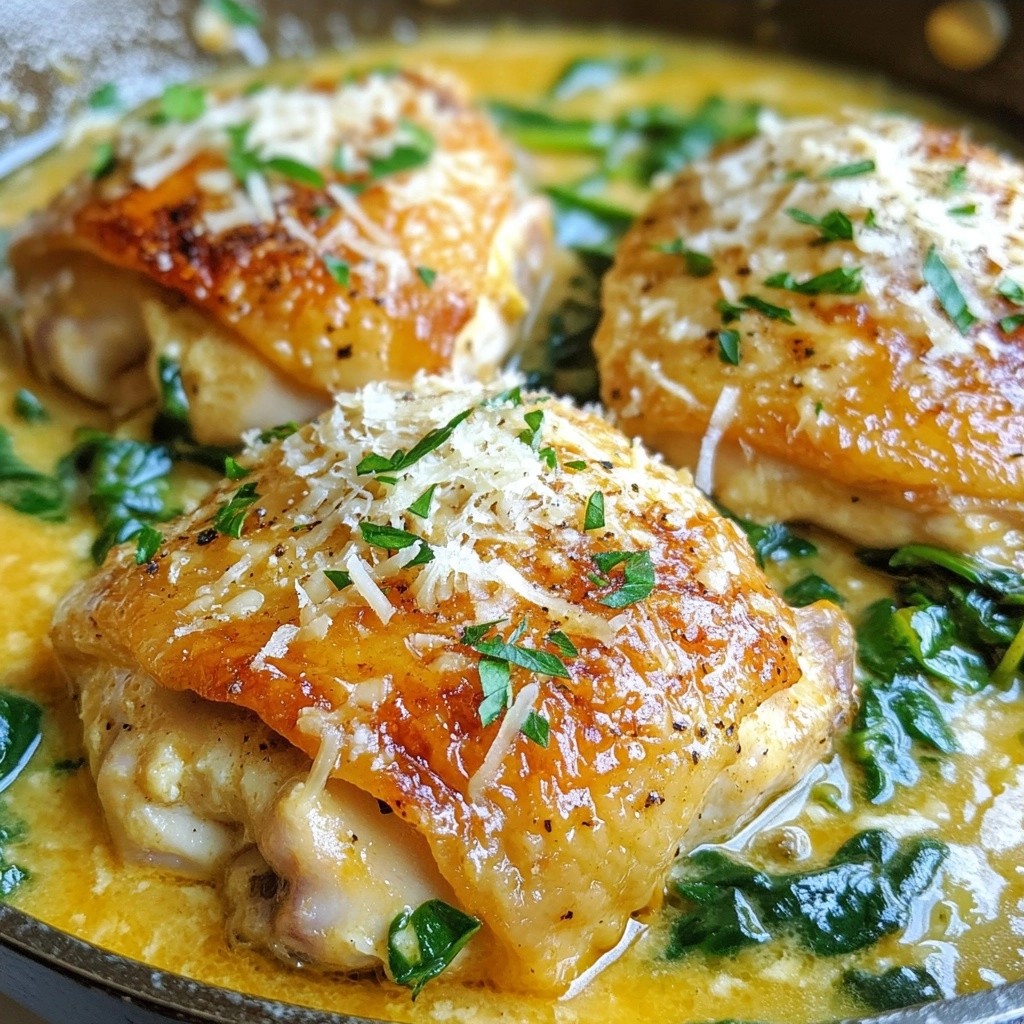
Looking to whip up a delicious meal without breaking the bank? My Economical Creamy Garlic Chicken Skillet recipe is perfect for you! With simple ingredients and easy steps, you can create a flavorful dish that's both satisfying and budget-friendly. Whether you’re a busy parent or just want a quick dinner, this skillet meal promises taste without the fuss. Let’s dive in and see how you can make this creamy delight tonight!
Why I Love This Recipe
- Irresistible Creaminess: This recipe features a rich, creamy sauce that envelops the chicken, making every bite indulgent and satisfying.
- Quick and Easy: With just 25 minutes of total cooking time, this dish is perfect for a weeknight dinner without sacrificing flavor.
- Flavorful Garlic Punch: The fresh garlic adds depth and aroma, enhancing the overall taste profile of the dish.
- Versatile Pairings: This creamy garlic chicken pairs beautifully with crusty bread or pasta, making it a versatile choice for any meal.
Ingredients
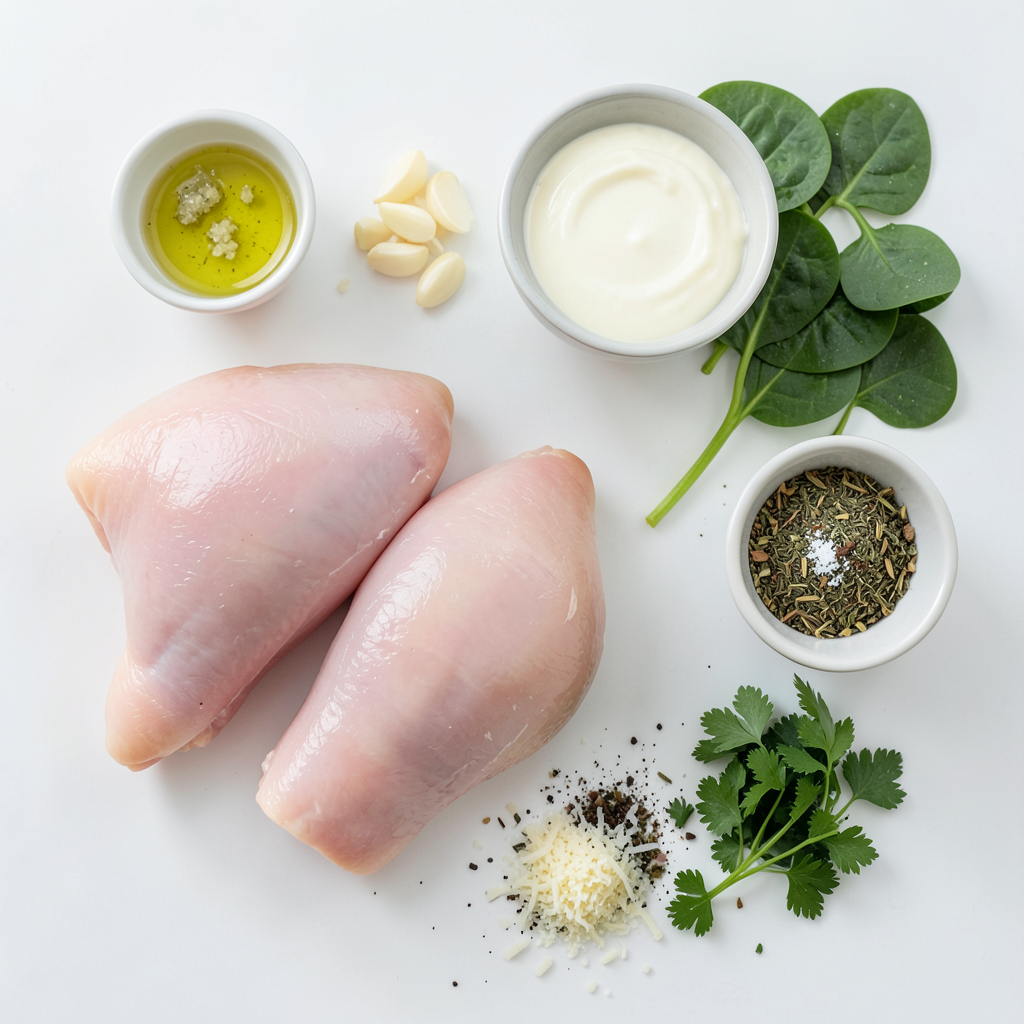
List of Ingredients for Economical Creamy Garlic Chicken Skillet
- 4 boneless, skinless chicken thighs
- 2 tablespoons extra virgin olive oil
- 4 cloves fresh garlic, finely minced
- 1 cup low-sodium chicken broth
- 1 cup rich heavy cream
- 1 cup fresh or frozen spinach
- 1 teaspoon dried Italian herb blend
- Fresh salt and cracked pepper, to taste
- ½ cup freshly grated Parmesan cheese
- Fresh parsley, chopped (for garnish)
Explanation of Ingredient Choices
I chose chicken thighs for their juicy flavor and low cost. They stay tender and moist during cooking. Extra virgin olive oil adds richness and depth. Fresh garlic gives a bold taste that brightens the dish. Low-sodium chicken broth keeps the sodium in check while still adding flavor. Heavy cream makes the sauce creamy and smooth. Spinach brings a pop of color and nutrients. The Italian herb blend enhances the dish with a mix of savory flavors. Parmesan cheese adds a salty, nutty finish. Fresh parsley brightens the plate and adds a fresh touch.
Tips for Cost-Saving Ingredients
To save money, buy chicken thighs in bulk. They freeze well for later use. Look for store brands for olive oil and chicken broth to cut costs. Frozen spinach works just as well as fresh and is often cheaper. Purchase garlic by the bag; it lasts a long time. Grate your own Parmesan cheese instead of buying pre-grated, as it's usually cheaper and tastes better. These small switches help you stay on budget while making a delicious meal.
Step-by-Step Instructions
Detailed Cooking Steps for Creamy Garlic Chicken
1. Season the Chicken: Start by seasoning both sides of the chicken thighs. Use salt, cracked pepper, and the dried Italian herbs. This step is key for flavor.
2. Heat the Oil: In a large skillet, heat the extra virgin olive oil over medium heat. Wait until it shimmers.
3. Sear the Chicken: Place the chicken thighs in the skillet. Sear them for about 6-7 minutes on each side. They should turn golden brown. The internal temperature must reach 165°F (75°C). Move the chicken to a plate and keep it warm.
4. Sauté the Garlic: Add the finely minced garlic to the same skillet. Sauté for about 30 seconds until you smell its aroma. Stir constantly to prevent burning.
5. Deglaze with Broth: Slowly pour the chicken broth into the skillet. Use a wooden spoon to scrape up any browned bits from the bottom. This adds great flavor.
6. Add the Cream: Lower the heat to a simmer. Pour in the rich heavy cream and stir. Mix until the sauce is creamy and slightly thickened.
7. Incorporate the Spinach: Fold in the spinach. Let it simmer for 2-3 minutes. If using frozen spinach, ensure it heats through.
8. Melt the Cheese: Gradually stir in the freshly grated Parmesan cheese. Make sure it melts completely into the sauce.
9. Return the Chicken: Place the seared chicken thighs back into the skillet. Spoon the creamy sauce over each piece. Simmer for another 2-3 minutes.
10. Garnish: Before serving, sprinkle chopped parsley on top for a fresh touch.
Important Cooking Techniques
- Searing: This technique locks in flavor and keeps the chicken juicy. Ensure your skillet is hot enough before adding the chicken.
- Deglazing: This step captures all the flavorful bits left in the skillet, adding depth to your sauce.
- Simmering: Lower heat allows flavors to blend beautifully without overcooking the ingredients.
Suggested Timing for Each Step
- Seasoning the Chicken: 5 minutes
- Heating the Oil: 2 minutes
- Searing the Chicken: 12-14 minutes (6-7 minutes per side)
- Sautéing the Garlic: 30 seconds
- Deglazing: 2 minutes
- Adding Cream and Simmering: 5 minutes
- Incorporating Spinach: 2-3 minutes
- Melting Cheese: 2 minutes
- Returning Chicken and Final Simmer: 2-3 minutes
- Garnishing: 1 minute
With these steps, you’ll create a rich and creamy dish that’s full of flavor and perfect for any occasion.
Tips & Tricks
How to Achieve the Best Flavor
To make the most flavorful creamy garlic chicken, follow these simple tips:
- Season the chicken well. Use salt, pepper, and herbs. This adds depth.
- Sear the chicken until golden. This creates a great crust and adds taste.
- Sauté the garlic just right. Cook until fragrant, but do not burn it.
- Deglaze the skillet after cooking chicken. Scrape up the browned bits for flavor.
- Use low-sodium broth. This keeps your dish tasty without being too salty.
Common Mistakes to Avoid
Avoid these common mistakes to keep your dish perfect:
- Overcooking the chicken can make it dry. Cook until it reaches 165°F (75°C).
- Burning the garlic turns it bitter. Stir it carefully and watch the time.
- Not simmering the sauce long enough. Let it thicken for a creamy texture.
- Skipping the Parmesan. This cheese adds richness to your sauce. Don't miss it!
Methods for Thickening the Sauce
If your sauce needs thickening, try these methods:
- Add more cheese. Grate in extra Parmesan for a thicker sauce.
- Use a cornstarch slurry. Mix cornstarch with water, then stir it in.
- Simmer longer. Reducing the sauce will help it thicken naturally.
- Add cream slowly. This allows for better control over the sauce's thickness.
These tips will help you create a creamy garlic chicken that bursts with flavor!
Pro Tips
- Perfect Searing: Ensure your skillet is hot enough before adding the chicken. This helps achieve a golden crust and locks in the juices.
- Garlic Timing: Add garlic to the skillet just after removing the chicken to prevent burning. This will maintain its aromatic flavor without bitterness.
- Thickening the Sauce: For a thicker sauce, let it simmer longer after adding the cream. Keep stirring to prevent sticking and ensure a creamy texture.
- Flavor Boost: For extra depth, consider adding a splash of white wine to deglaze the skillet before adding the chicken broth.
Variations
Alternative Proteins for the Recipe
You can swap chicken thighs for other proteins. Try boneless chicken breasts if you prefer. They cook quickly and stay juicy. For a twist, use pork chops. They add a nice flavor and pair well with garlic. If you want a lighter option, fish like salmon works too. Cook it gently to keep it moist.
Vegetarian Options for Creamy Garlic Sauce
To make this dish vegetarian, skip the meat and use hearty veggies. Zucchini, mushrooms, or eggplant work great. Start by sautéing them before adding garlic. Use vegetable broth instead of chicken broth for flavor. To make the sauce creamy, use plant-based cream or coconut milk. These options keep the richness without the meat.
Flavor Profile Variations (Herbs & Spices)
Change the herbs to create new flavors. If you like a kick, add red pepper flakes. Thyme and rosemary can give a lovely aroma. For a fresh taste, try adding lemon zest or juice. It brightens the dish. Experiment with different spices like cumin or smoked paprika for a unique twist. Each variation makes this dish truly yours!
Storage Info
Proper Storage Methods for Leftovers
After you enjoy your creamy garlic chicken, store leftovers in an airtight container. This keeps the dish fresh. Allow the chicken to cool down before sealing it. If you don’t have an airtight container, wrap the dish tightly with plastic wrap. Make sure to cover all areas to prevent air from getting in.
How Long Does It Last in the Fridge?
Properly stored, your creamy garlic chicken lasts up to three days in the fridge. Make sure to check for any signs of spoilage before eating. If it looks or smells off, it’s best to toss it. For optimal taste, eat it within this time frame.
Reheating Instructions for Best Results
To reheat, gently warm the chicken in a skillet over low heat. This helps keep the chicken moist and the sauce creamy. Stir the sauce often to avoid sticking. You can also use the microwave. Heat in short bursts, stirring in between, until warm. Be careful not to overheat it, as this can dry it out.
FAQs
Can I use frozen chicken thighs?
Yes, you can use frozen chicken thighs. Just make sure to thaw them first. This helps ensure even cooking. You can thaw them in the fridge overnight or use the microwave. Cook them the same way as fresh chicken. Just check that they reach 165°F (75°C) to be safe.
What can I substitute for heavy cream?
If you want a lighter option, you can use half-and-half or whole milk. For a dairy-free choice, try coconut milk or cashew cream. These alternatives still offer a creamy texture. Just keep in mind that the flavor may change slightly.
Is it possible to make this dish in advance?
Yes, you can make this dish in advance. Cook it fully, then cool it down. Store it in an airtight container in the fridge. It will last about three days. When you're ready to eat, just reheat it on the stove. Add a splash of broth if it looks thick. This keeps the sauce creamy and delicious.
This blog post shared how to make an economical creamy garlic chicken skillet. We covered ingredient choices, step-by-step cooking, and ways to save money. You learned about flavor tips, common mistakes, and how to store leftovers properly. Cooking this dish can be easy and fun while saving money. Explore variations with proteins, sauces, or spices to keep meals fresh. Enjoy trying new flavors in your meals. Your kitchen can be a place for creativity and taste.