
Are you ready to make a Lemon Cream Cheese Danish Braid that will impress everyone? This fresh and tasty treat combines bright lemon flavor with creamy filling, all wrapped in flaky pastry. I’ll guide you step-by-step through the process, from selecting the right ingredients to perfecting the braid technique. Whether you're baking for a special occasion or just a fun weekend treat, let’s dive into this delicious recipe together!
Why I Love This Recipe
- Deliciously Tangy: The combination of cream cheese and lemon creates a perfectly balanced flavor that is both creamy and refreshing.
- Beautiful Presentation: The braid technique gives this pastry an elegant look, making it an impressive addition to any brunch or gathering.
- Easy to Make: Using store-bought puff pastry simplifies the process, allowing you to enjoy homemade goodness without the fuss.
- Versatile Treat: This danish can be served warm or at room temperature, making it a great option for any occasion.
Ingredients
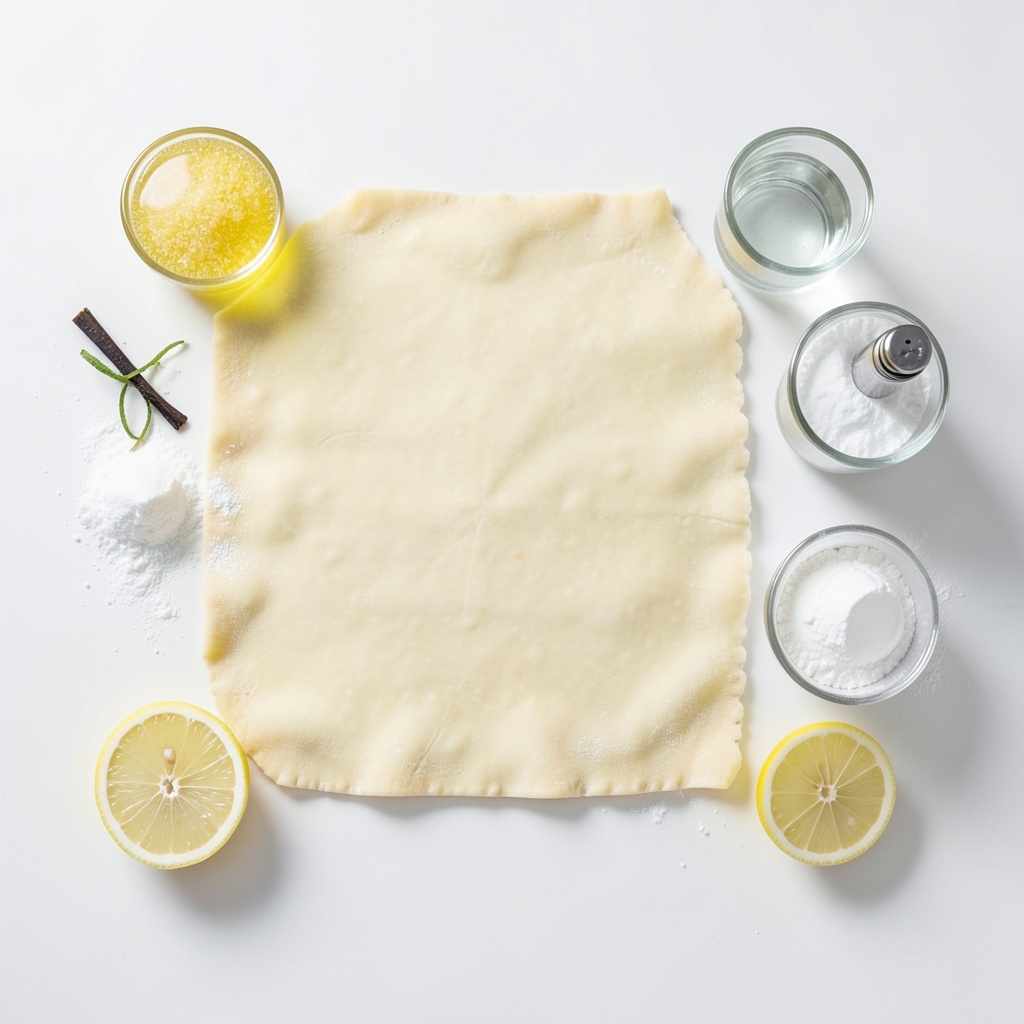
List of Ingredients
- 1 sheet of puff pastry (thawed)
- 8 oz cream cheese, softened at room temperature
- 1/4 cup granulated sugar
- 1/4 cup freshly squeezed lemon juice
- 1 tablespoon lemon zest (from about 1 lemon)
- 1 teaspoon pure vanilla extract
- 1 egg (for egg wash)
- 1 tablespoon water
- Powdered sugar (for dusting)
- Fresh lemon slices (for garnish, optional)
Ingredient Notes
Each ingredient plays a key role. The puff pastry gives a light, flaky base. Cream cheese adds richness. Granulated sugar balances the tartness of lemon. Fresh lemon juice and zest bring bright flavor. Vanilla extract adds warmth. Egg and water create a glossy finish. Powdered sugar adds sweetness and visual appeal.
Substitutions
If you don't have puff pastry, use pie crust. Swap cream cheese with ricotta for a lighter filling. To reduce sugar, use honey or maple syrup. For a vegan option, try a plant-based cream cheese. You can also use lime juice instead of lemon for a different twist.
Step-by-Step Instructions
Preheat and Prepare Baking Sheet
First, preheat your oven to 400°F (200°C). This step is key for a nice, flaky pastry. Next, line your baking sheet with parchment paper. This helps to stop the braid from sticking when it bakes.
Roll Out and Cut Puff Pastry
Now, take your thawed puff pastry and place it on a lightly floured surface. Roll it out gently to smooth out any creases. You want to make it a bit larger. Use a sharp knife or pizza cutter to slice the pastry into three equal vertical sections. Remember, leave about 1 inch uncut at the top and bottom. This will help when you braid the pastry.
Prepare the Cream Cheese Mixture
In a mixing bowl, add the softened cream cheese. Beat it with an electric mixer until it’s creamy and smooth. Gradually mix in the granulated sugar, freshly squeezed lemon juice, lemon zest, and vanilla extract. Keep mixing until everything is well blended and creamy. This mixture adds a rich flavor to your braid.
Assemble and Braid the Pastry
Spread the creamy mixture evenly down the center section of your sliced pastry. Be careful to leave the diagonal strips clear. To braid, start at the top of the cut sections. Fold the diagonal strips alternately over the cream cheese filling. Pinch the ends of the braid to seal in the filling. This step creates a lovely braid look.
Apply Egg Wash and Bake
In a small bowl, whisk together 1 egg and 1 tablespoon of water. This egg wash gives your braid a nice golden color. Use a pastry brush to apply it generously over the top of the braid. Now, transfer your braid to the prepared baking sheet. Place it in the preheated oven and bake for 20-25 minutes, or until the pastry is puffed and golden brown.
Cool and Dust with Powdered Sugar
After baking, let the braid cool on the baking sheet for a few minutes. This helps it set before serving. Lightly dust the top with powdered sugar for sweetness and a nice look. You can also add fresh lemon slices on the side or on top for a charming finish. Enjoy your delicious Lemon Cream Cheese Danish Braid!
Tips & Tricks
How to Achieve the Perfect Braid
To make a lovely braid, start with your puff pastry. You must cut it into three equal sections. Leave about one inch at the top and bottom uncut. This gap helps to hold the filling. When you fold the strips, alternate them. Cross the left strip over the middle, then the right over the new middle. Keep doing this until you reach the end. Pinch the ends tightly to seal in the yummy cream cheese filling.
Baking Tips for a Golden Finish
To get a nice golden color, use an egg wash. Mix one egg with a tablespoon of water. Brush this mix over the top of your braid before baking. This step is key for that beautiful, shiny look. Make sure your oven is preheated to 400°F (200°C). Bake for about 20 to 25 minutes. Look for puffiness and a deep golden color.
Serving Suggestions
Once your danish braid cools, dust it with powdered sugar for a sweet touch. You can also add fresh lemon slices on the side. They make the dish look bright and fun! Serve it warm with coffee or tea. This treat is great for breakfast or dessert. Enjoy sharing it with friends and family!
Pro Tips
- Chill the Pastry: For a flakier texture, keep the puff pastry in the refrigerator until you're ready to use it. This will help it maintain its shape during baking.
- Experiment with Flavors: While lemon is refreshing, try adding other citrus zest like lime or orange for a unique twist on the classic flavor.
- Perfect Your Braid: Practice makes perfect! Don’t worry if your first braid isn’t perfect; just focus on creating a pattern that looks appealing to you.
- Monitor Baking Time: Keep an eye on the pastry while it bakes. Ovens can vary, so check for a golden color rather than relying solely on the timer.
Variations
Adding Fruit Fillings
You can add fruit to the cream cheese filling. Berries work great. Try fresh blueberries, raspberries, or strawberries. Chop the fruit into small pieces. Mix them into the cream cheese before you spread it on the pastry. This adds color and extra flavor. You can also use canned pie filling. Just drain it well before mixing.
Flavor Combinations
Explore different flavors for a unique twist. Swap the lemon juice for orange or lime juice. Add a bit of almond extract instead of vanilla. You can even mix in a dash of cinnamon for warmth. Each change creates a new taste. Experiment to find your favorite flavor blend.
Gluten-Free Alternatives
If you need a gluten-free option, use gluten-free puff pastry. Many brands offer good options. Be sure to check the label for allergens. You can also make a simple crust using almond flour or coconut flour. Just mix with butter and an egg. Press it into your baking sheet, and then follow the same steps for filling and braiding. Enjoy your delicious treat without gluten!
Storage Info
How to Store Leftovers
To keep your Lemon Cream Cheese Danish Braid fresh, store it in an airtight container. Place it at room temperature for up to two days. If you want it to last longer, put it in the fridge. It will stay good for about a week when refrigerated.
Reheating Guidelines
When you’re ready to enjoy leftovers, reheating is simple. Preheat your oven to 350°F (175°C). Place the braid on a baking sheet. Heat it for about 10-15 minutes. This warms it through and keeps the pastry crispy. Avoid the microwave, as it can make the pastry soggy.
Freezing Tips
You can freeze the Danish braid for later. Wrap it tightly in plastic wrap. Then, place it in a freezer bag. It will stay fresh for up to three months. When you’re ready to eat it, thaw it overnight in the fridge. Reheat as mentioned before for the best taste and texture.
FAQs
What is a Danish braid?
A Danish braid is a type of pastry made from puff pastry. It has a sweet filling, often cream cheese or fruit. The pastry is cut into strips and braided together. This creates a beautiful design that looks fancy but is easy to make.
Can I make this recipe in advance?
Yes, you can prepare the filling a day before. Store it in the fridge until you are ready to use it. You can also shape the braid and chill it before baking. Just remember to let it sit at room temperature for about 15 minutes before baking.
How do I know when the Danish is done baking?
The Danish is done when it turns golden brown and puffs up nicely. You can also check the bottom. It should feel firm to the touch. If you see a nice shine from the egg wash, that's a good sign too!
This blog post covered how to make a tasty Danish braid. You learned about the key ingredients, step-by-step instructions, and tips for success. We explored fun variations and how to store your leftovers. Remember, practice makes perfect when braiding. Always check for that golden finish to know your Danish is ready. Enjoy your baking journey and impress your friends with this delightful treat!