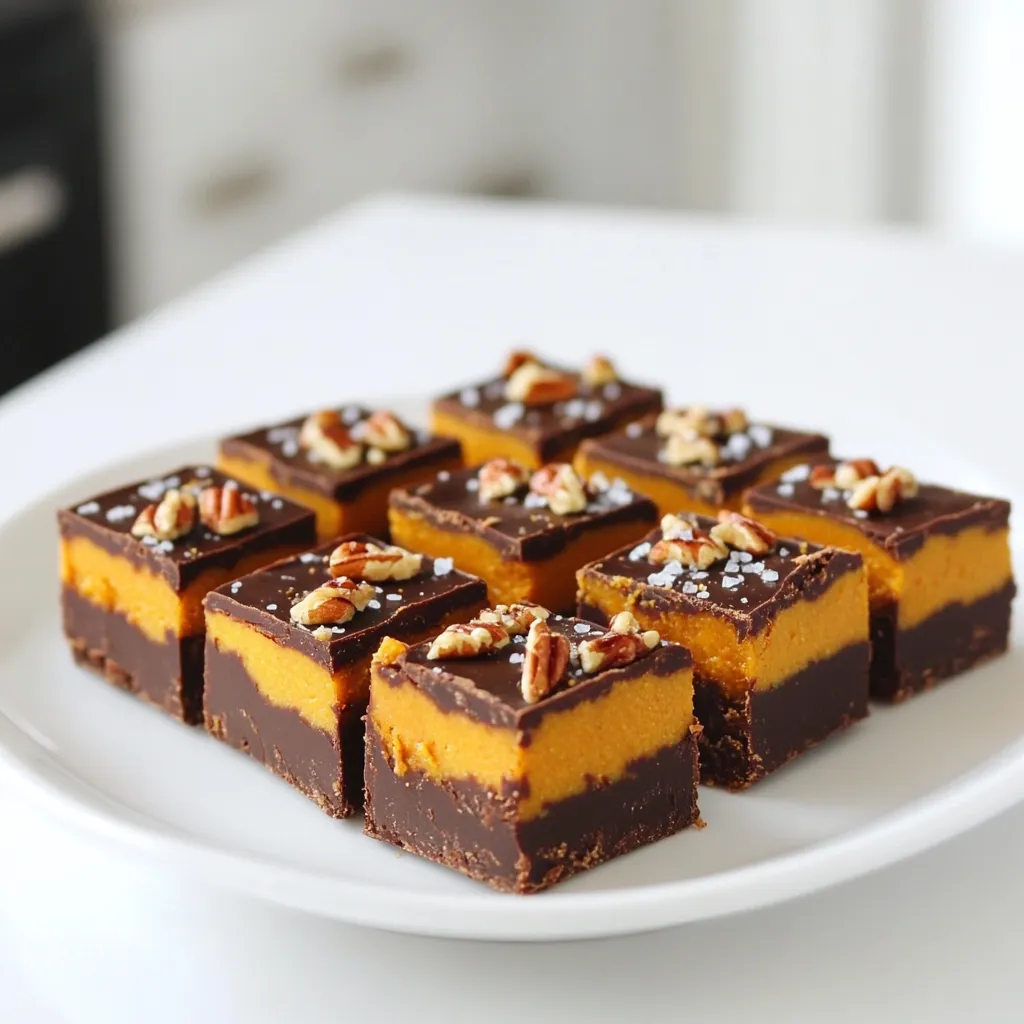
If you love simple, indulgent treats, you need this No-Bake Chocolate Peanut Butter Pumpkin Fudge recipe! This rich, creamy dessert combines the warm flavors of pumpkin and peanut butter with the satisfying crunch of chocolate—perfect for any occasion. I’ll guide you through each step, from gathering the ingredients to serving suggestions. Let’s unleash your inner dessert chef and make this tasty treat that everyone will adore!
Ingredients
List of Ingredients
To make this no-bake chocolate peanut butter pumpkin fudge, you will need:
– 1 cup pumpkin puree
– 1/2 cup creamy peanut butter
– 1/2 cup pure maple syrup
– 1 cup dark chocolate chips
– 1/4 teaspoon pumpkin pie spice
– 1/4 teaspoon salt
– 1/2 cup crushed graham crackers
Optional Toppings
You can add some extra crunch and flavor with these toppings:
– Chopped pecans
– Chopped walnuts
Ingredient Substitutions
If you need to swap ingredients, here are some ideas:
– Use almond butter instead of peanut butter for a nut-free option.
– Swap maple syrup for honey or agave syrup for a different sweetener.
– Try using white chocolate chips if you prefer a sweeter fudge.
These ingredient choices can help fit different diets and tastes. Feel free to experiment!
Step-by-Step Instructions
Melting the Chocolate and Peanut Butter
Start by taking a medium saucepan. Set it over low heat. Add 1 cup of dark chocolate chips and 1/2 cup of creamy peanut butter. Stir this mix with a spatula. Keep stirring until it melts and is smooth. Make sure there are no lumps. This step is key for a rich taste.
Combining with Pumpkin and Spices
Once the chocolate and peanut butter mix well, take the saucepan off the heat. Now, mix in 1 cup of pumpkin puree and 1/2 cup of pure maple syrup. Add 1/4 teaspoon of pumpkin pie spice and 1/4 teaspoon of salt. Stir well until everything is blended. You want a nice, even mixture that looks creamy and inviting.
Preparing the Baking Dish and Chilling
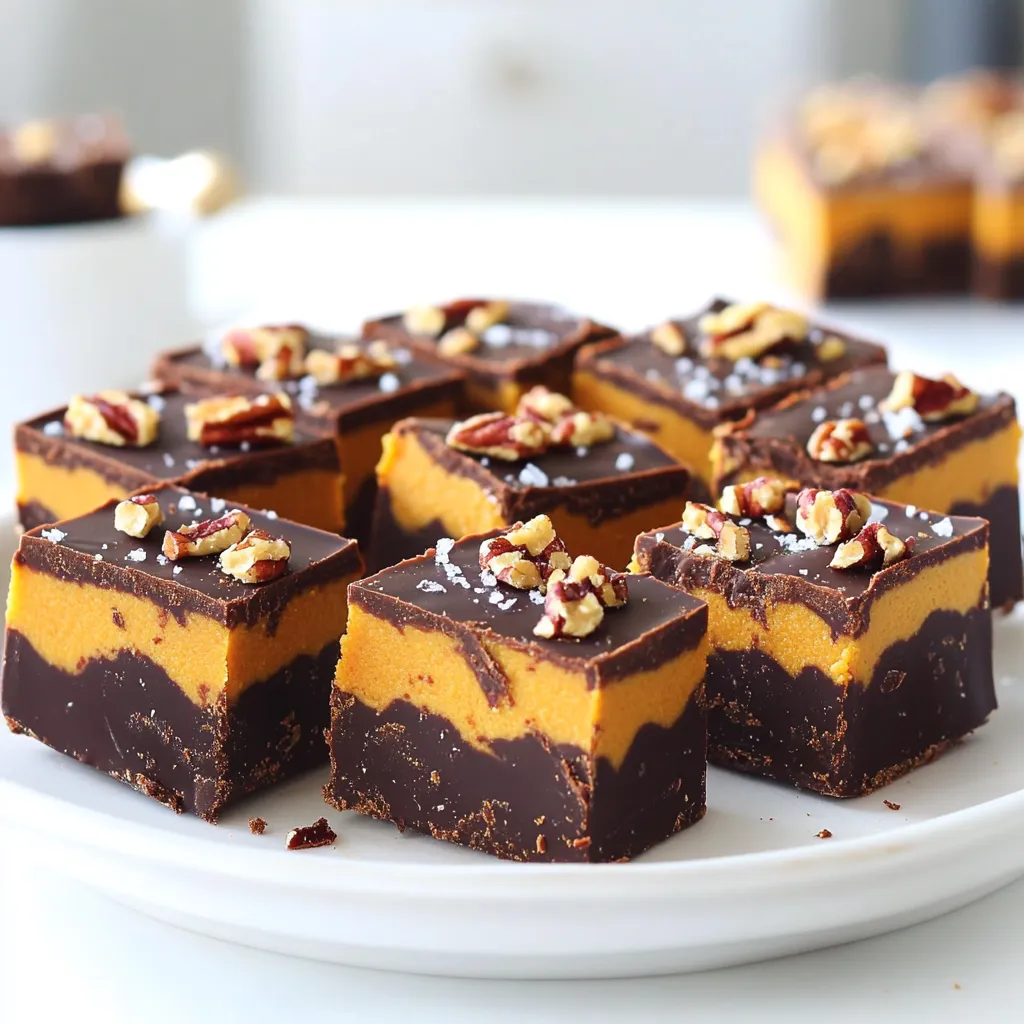
Next, grab an 8-inch square baking dish. Line it with parchment paper. Leave some paper hanging over the edges. This will help you lift the fudge out later. Pour the fudge mix into the dish. Use a spatula to spread it evenly. Smooth the top for a nice look. If you like, sprinkle chopped pecans or walnuts on top. Press them lightly into the fudge.
Now, place the dish in the fridge. Let it chill for at least 2 hours. You want it to be firm and set. Once ready, lift the fudge out using the parchment paper. Cut it into 16 squares. Enjoy your delicious treat!
Tips & Tricks
How to Achieve the Perfect Texture
To get the best texture, use smooth peanut butter. Creamy peanut butter blends well with chocolate. Mix the pumpkin puree in slowly. This keeps the fudge creamy and smooth. Make sure to fold in the crushed graham crackers gently. This adds a nice crunch without overmixing.
Serving Suggestions
Serve your fudge on a pretty plate. You can drizzle extra melted chocolate on top. This makes it look fancy! Sprinkle a bit of pumpkin pie spice for flair. For a fun twist, add chopped nuts like pecans or walnuts on top. These toppings enhance the flavor and crunchy texture.
Common Mistakes to Avoid
One common mistake is rushing the melting process. Always melt chocolate on low heat. High heat can burn the chocolate. Another mistake is not chilling long enough. Make sure to let it set for at least two hours. This helps the fudge firm up. Lastly, don’t skip the salt. It balances the sweetness and boosts flavor.
Variations
Flavor Variations (e.g., Adding Nutmeg or Cinnamon)
You can get creative with flavors in your fudge. Adding nutmeg or cinnamon gives it a warm, cozy feel. Just a pinch can brighten up the taste. If you want a stronger spice kick, try mixing in a bit more. You’ll find that small changes can lead to big flavor shifts. Feel free to experiment until you find your favorite blend!
Alternative Sweeteners
If you want to change the sweetness, that’s easy! You can swap pure maple syrup with honey or agave syrup. Each option will add a unique taste to your fudge. If you’re looking for sugar-free options, consider using stevia or monk fruit sweetener. These alternatives keep the fudge sweet without extra sugar. Just adjust the amount to suit your taste.
Dietary Adjustments (e.g., Vegan Options)
Making this fudge vegan is simple! Use almond butter or sunflower seed butter instead of creamy peanut butter. For sweetener, stick with pure maple syrup. Also, check your dark chocolate chips. Some brands are dairy-free. This way, everyone can enjoy this tasty treat! Always read labels to ensure all ingredients match your diet needs.
Storage Info
Best Storage Methods
To keep your fudge fresh, place it in an airtight container. Use parchment paper to separate layers if you stack pieces. This helps prevent sticking. Store it in the fridge for best results.
How Long Does It Last?
This no-bake chocolate peanut butter pumpkin fudge lasts about one week in the fridge. After that, it may lose its great taste and texture. Check for any signs of spoilage before eating.
Freezing Instructions
You can freeze the fudge for longer storage. Cut it into squares before freezing. Wrap each square tightly in plastic wrap and place them in a freezer-safe bag. It will keep well for about three months in the freezer. When you’re ready to enjoy it, thaw it in the fridge overnight.
FAQs
Can I make this fudge in advance?
Yes, you can make this fudge ahead of time. It stays fresh in the fridge for up to one week. Making it in advance gives the flavors time to mix. You can enjoy it on a busy day or share it at a party. Just store the fudge in an airtight container. This keeps it soft and tasty.
What is the best way to cut no-bake fudge?
To cut no-bake fudge easily, chill it well first. Once it is firm, lift it out using the parchment paper. Place it on a cutting board. Use a sharp knife for clean edges. You can warm the knife slightly to help cut through the fudge. Wipe the knife between cuts to keep them neat.
How can I make it more chocolatey?
If you want extra chocolate flavor, add more chocolate chips. You can mix in 1/4 cup more when melting the chocolate and peanut butter. Another option is to drizzle melted chocolate over the top before it sets. This gives a rich, beautiful finish. You can even try using dark cocoa powder in the mixture for a deeper taste.
This blog post covered how to make delicious no-bake fudge. We explored the key ingredients, optional toppings, and even ingredient swaps. I shared step-by-step instructions to melt, mix, and chill your fudge. Plus, I offered handy tips to help you avoid common mistakes. You learned about flavor variations and how to store your fudge properly.
In summary, this recipe is easy and fun. It lets you get creative with flavors. You can impress friends and family with tasty treats that are hard to resist. Enjoy making your fudge!