
LATEST RECIPES


LET'S GET COOKING!
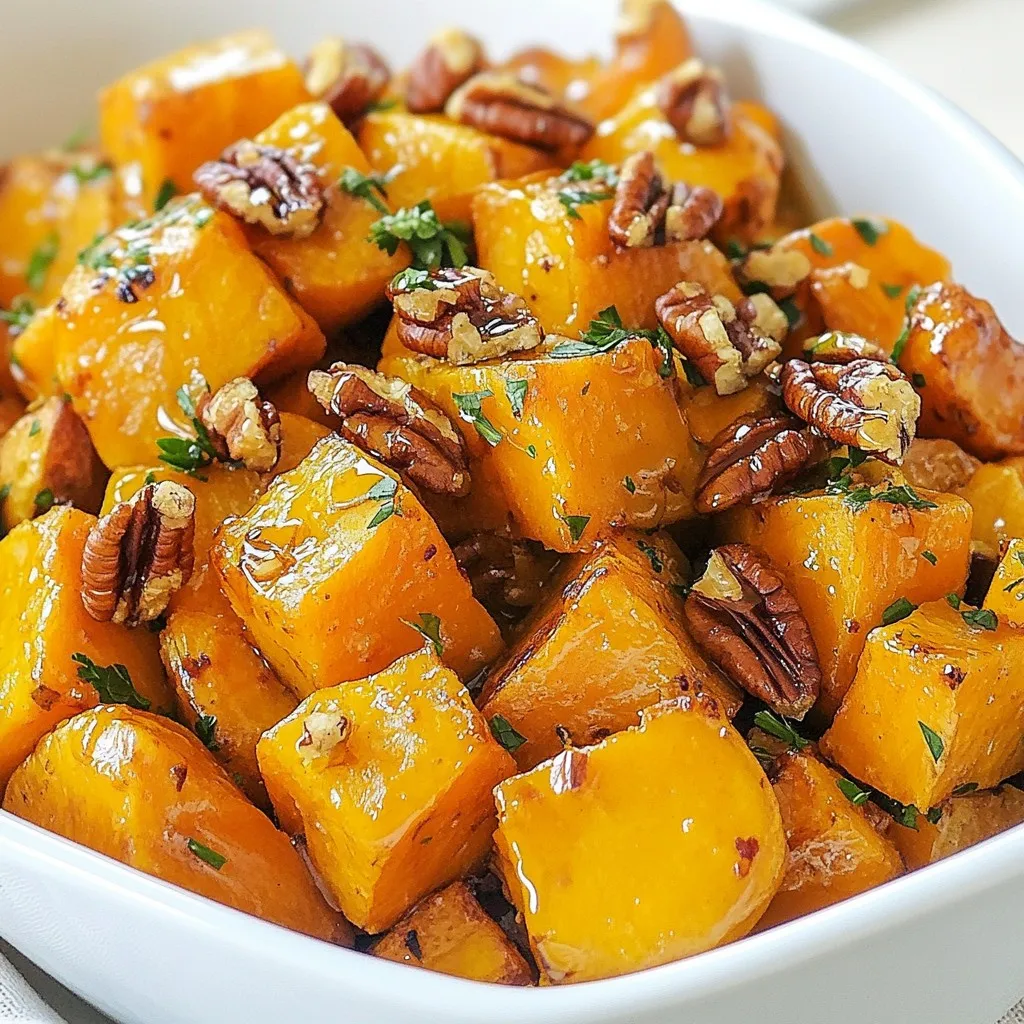
Maple Pecan Roasted Sweet Potatoes Tasty and Simple
Looking for a simple yet delicious side dish? You’ll love my Maple Pecan Roasted Sweet Potatoes! This recipe combines sweet potatoes, maple syrup, and pecans...
Read Full Recipe →