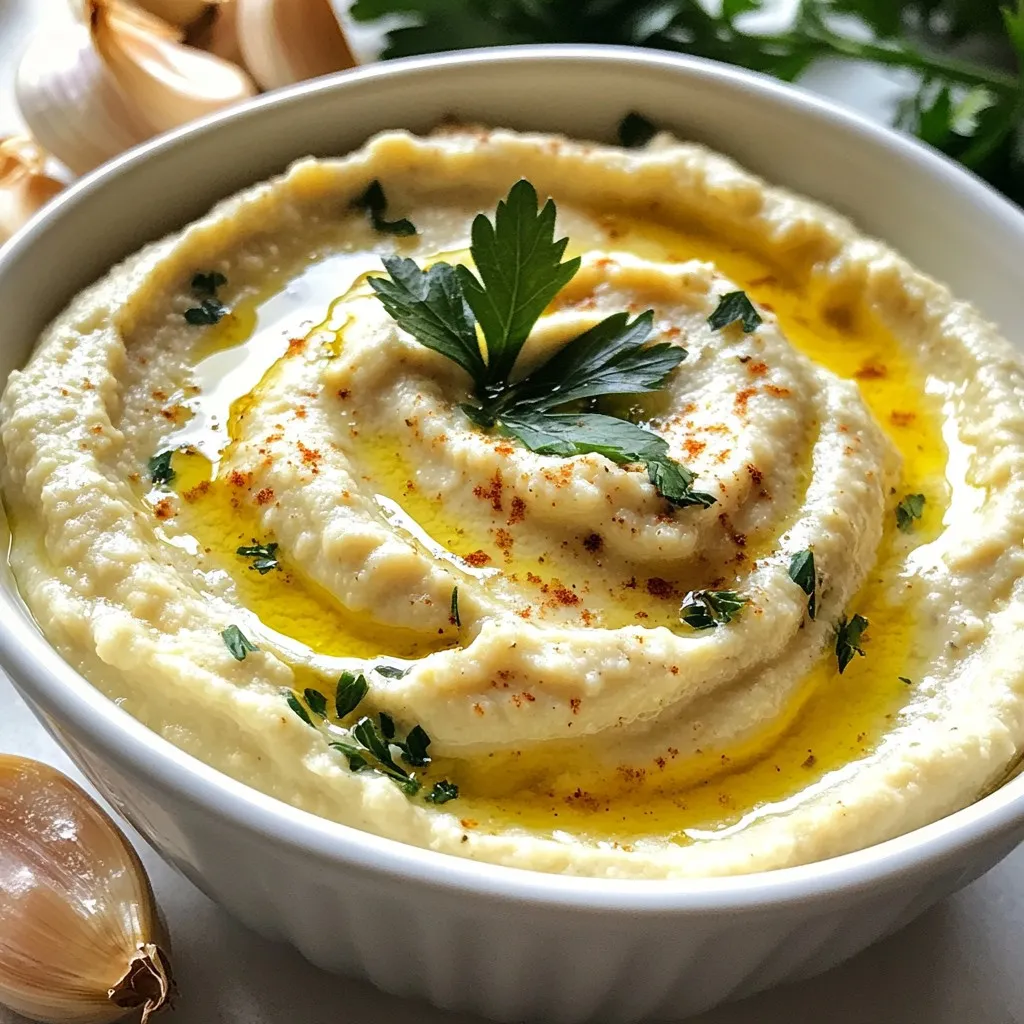
Looking for a dip that’s both creamy and packed with flavor? You’ve come to the right place! My Roasted Garlic White Bean Dip is an easy and tasty treat for any gathering. With simple ingredients and a few easy steps, you’ll impress everyone with your culinary skills. Plus, I’ll share tips, variations, and storage advice to make it even better. Let’s dive into the world of delicious dips!
Why I Love This Recipe
- Delicious Flavor: This dip combines the rich, sweet notes of roasted garlic with the creamy texture of cannellini beans, creating a flavor that’s both comforting and irresistible.
- Healthy Ingredients: Packed with protein and fiber from beans and healthy fats from olive oil and tahini, this dip is a nutritious choice for any gathering.
- Versatile Serving Options: Whether you pair it with fresh veggies, pita chips, or crusty bread, this dip is perfect for any occasion, from casual snacking to elegant entertaining.
- Easy to Make: With simple ingredients and straightforward steps, this recipe is quick to prepare, making it an ideal option for both novice and experienced cooks.
Ingredients
List of Required Ingredients
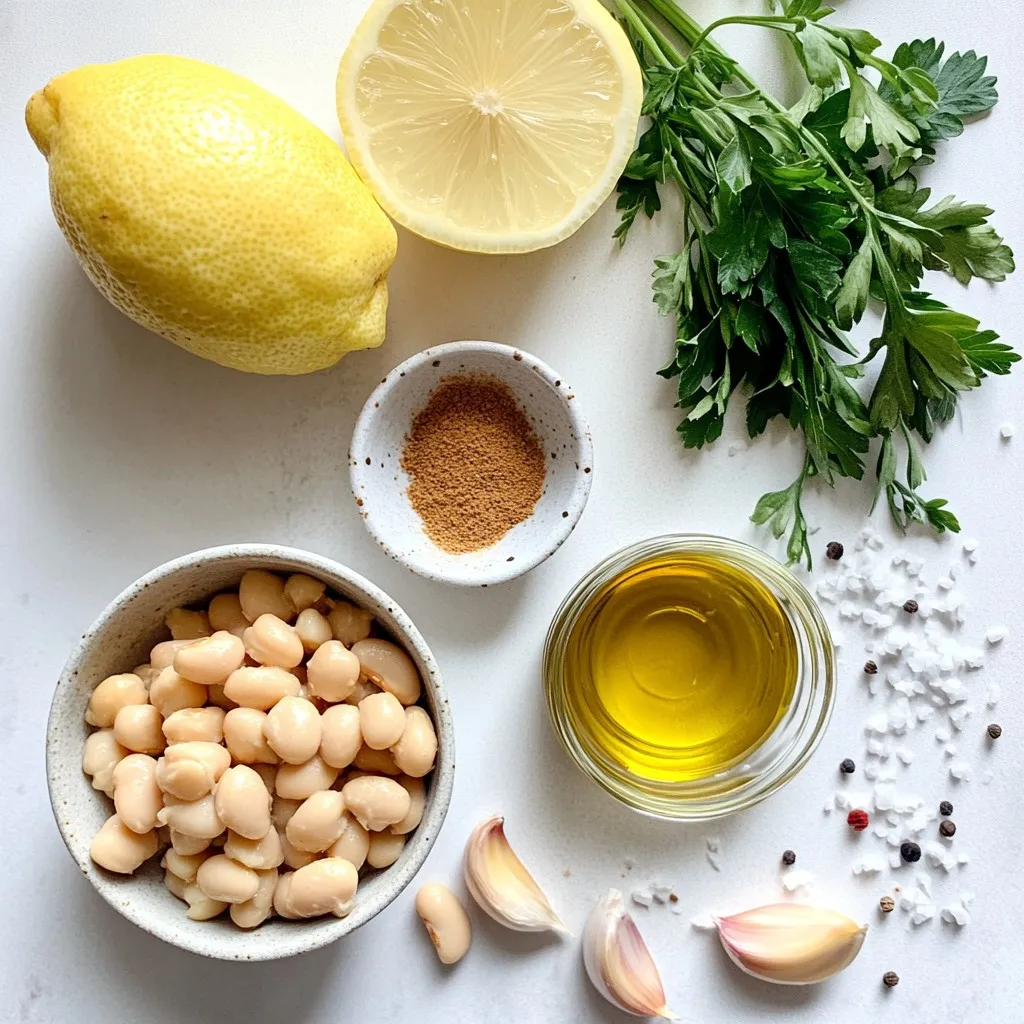
To make roasted garlic white bean dip, gather these key ingredients:
– 2 cups cooked cannellini beans (or 1 can, drained and rinsed)
– 1 whole head of garlic
– 2 tablespoons tahini
– 2 tablespoons high-quality olive oil, plus extra for drizzling
– 2 tablespoons fresh lemon juice
– 1 teaspoon ground cumin
– Sea salt and freshly cracked black pepper to taste
– Fresh herbs (like parsley or thyme) for garnish
Optional Ingredients and Substitutions
You can customize your dip with these optional ingredients:
– Fresh vegetables for dipping, like carrots or cucumber
– Pita chips for a crunchy side
– Crusty bread for a heartier option
If you want a nutty flavor, you can swap tahini for almond butter.
Tips for Choosing Ingredients
When selecting ingredients, choose high-quality olive oil for the best flavor. Look for fresh garlic heads that feel firm and heavy. If you use canned beans, check the labels for low sodium options. Fresh herbs should be vibrant and fragrant. Always taste as you go to ensure your dip has the right balance.
Step-by-Step Instructions
Preheat the Oven and Prepare the Garlic
First, set your oven to 400°F (200°C). This is the perfect temperature for roasting garlic. Next, take a whole head of garlic. Slice off the top about 1/4 inch. This exposes the cloves and helps them roast well. Drizzle a little olive oil on the cut surface. This adds great flavor. Then, wrap the garlic tightly in aluminum foil. This keeps it moist while it roasts.
Roasting the Garlic
Now, place the wrapped garlic on a baking sheet. Put it in your preheated oven. Roast for 30 to 35 minutes. The garlic is ready when it feels soft and smells sweet. You can easily squeeze the roasted cloves out of their skins. The golden color shows it’s done just right.
Blending the Dip and Achieving the Right Consistency
While the garlic roasts, it’s time to prepare the dip. In a food processor, add two cups of cooked cannellini beans. If using canned beans, drain and rinse them first. Then, add two tablespoons of tahini and two tablespoons of olive oil. Squeeze in the juice of one lemon. Add one teaspoon of ground cumin, and season with sea salt and black pepper. Blend these ingredients until they mix well.
Finalizing and Serving the Dip
Once the garlic is roasted, unwrap it and let it cool for a minute. Squeeze the soft garlic cloves into the food processor. Discard the skins. Blend everything until it is smooth. If the dip is too thick, add a bit of water or more olive oil. Blend again to reach your perfect creamy texture. Taste your dip and adjust seasoning if needed. Spoon the dip into a bowl and drizzle olive oil on top for extra richness. Finally, sprinkle fresh herbs over the dip for a colorful finish. Enjoy it with fresh veggies, pita chips, or crusty bread!
Tips & Tricks
How to Roast Garlic Perfectly
Roasting garlic brings out its sweet, rich flavor. Start by preheating your oven to 400°F (200°C). Cut off the top of the whole head of garlic, about 1/4 inch. This exposes the cloves inside. Drizzle some olive oil over the cut side. Wrap the garlic tightly in foil to keep it moist. Roast it for 30 to 35 minutes. The garlic is ready when the cloves feel soft. You can squeeze them right out of their skins.
Enhancing Flavor Profiles
To boost the dip’s taste, try adding spices. Ground cumin adds warmth, while lemon juice gives brightness. Fresh herbs like parsley or thyme add color and freshness. You can even mix in a pinch of smoked paprika for a smoky flavor. Experiment with flavors until you find the perfect balance.
Adjusting Consistency and Seasoning
After blending your dip, check the texture. If it’s too thick, add a splash of water or olive oil. Blend again until smooth. Taste it to ensure it’s just right. You might want to add more sea salt, black pepper, or lemon juice. Adjust these elements to fit your taste. This way, you create a dip that’s creamy and flavorful, perfect for sharing.
Pro Tips
- Choose Fresh Garlic: Select a head of garlic that feels firm and has tight, unblemished skin. Fresh garlic will yield the best flavor for your dip.
- Adjust Consistency Wisely: If the dip is too thick, add a tablespoon of water at a time until you reach your desired creaminess, but be cautious not to make it too runny.
- Enhance Flavor with Herbs: Experiment with different fresh herbs like basil or chives for varied flavor profiles that complement the dip beautifully.
- Make Ahead: This dip can be made a day in advance. Store it in the refrigerator in an airtight container to allow the flavors to meld even more.
Variations
Adding Spices or Herbs
You can easily change the flavor of your dip by adding spices or herbs. Try adding paprika for a smoky taste. A pinch of cayenne pepper gives it a nice kick. For a fresh twist, mix in herbs like dill or basil. These flavors can brighten the dip and make it unique. Don’t be afraid to experiment and find your favorite mix!
Dairy-Free and Vegan Options
This dip is naturally dairy-free and vegan. The tahini adds creaminess without any dairy. If you want to boost the flavor, consider adding nutritional yeast. It gives a cheesy taste without any animal products. This makes the dip perfect for everyone, whether they follow a vegan diet or not.
Alternative Serving Suggestions
You can serve this dip in many fun ways. Pair it with fresh veggies like carrots, cucumbers, or bell peppers. Pita chips and crusty bread are also great options. For a more filling meal, spread the dip on sandwiches or wraps. You can even use it as a topping for baked potatoes. The ways to enjoy this dip are endless!
Storage Info
Storing Leftover Dip
Once you finish your dip, store any leftovers in an airtight container. This keeps the dip fresh. Place it in the fridge for up to five days. Make sure to seal it tightly to prevent air from getting in. If it thickens in the fridge, just add a bit of olive oil or water when you serve it again.
Freezing Recommendations
You can freeze this dip for later use. Just scoop the dip into a freezer-safe container. Leave some space at the top, as the dip will expand. It can stay in the freezer for up to three months. When you’re ready to eat it, thaw it overnight in the fridge. Mix it well before serving.
Reheating Instructions
To reheat the dip, warm it gently in a small pot over low heat. Stir it often to avoid burning. You can also microwave it. Just heat in short intervals, stirring in between. If it’s too thick after reheating, add a splash of water or olive oil to get that creamy texture back. Enjoy it warm!
FAQs
Can I use canned beans instead of cooked?
Yes, you can use canned beans. Just rinse and drain the beans first. This saves time. Canned cannellini beans work best for this dip. They are soft and creamy. Using canned beans gives you a quick start. However, always check for added salt in canned beans.
How long does the dip last in the fridge?
The dip lasts about 4 to 5 days in the fridge. Store it in an airtight container to keep it fresh. Before serving, give it a quick stir. If it thickens, add a little olive oil or water. This helps restore its creamy texture.
What can I serve with Roasted Garlic White Bean Dip?
You can serve this dip with many tasty options. Here are some ideas:
– Fresh vegetables like carrots, cucumbers, or bell peppers
– Crispy pita chips
– Slices of crusty bread
– Crackers or toast points
– Fresh herbs for garnish
These pairings add flavor and texture to your dip. Enjoy mixing and matching!
In this post, we covered how to make a tasty roasted garlic white bean dip. We discussed key ingredients, cooking steps, and helpful tips. You learned about variations and how to store leftovers.
This dip is easy to customize. Whether you add herbs or try vegan options, the dip will shine. Enjoy making it for your next gathering or snack! Your guests will love the flavor