
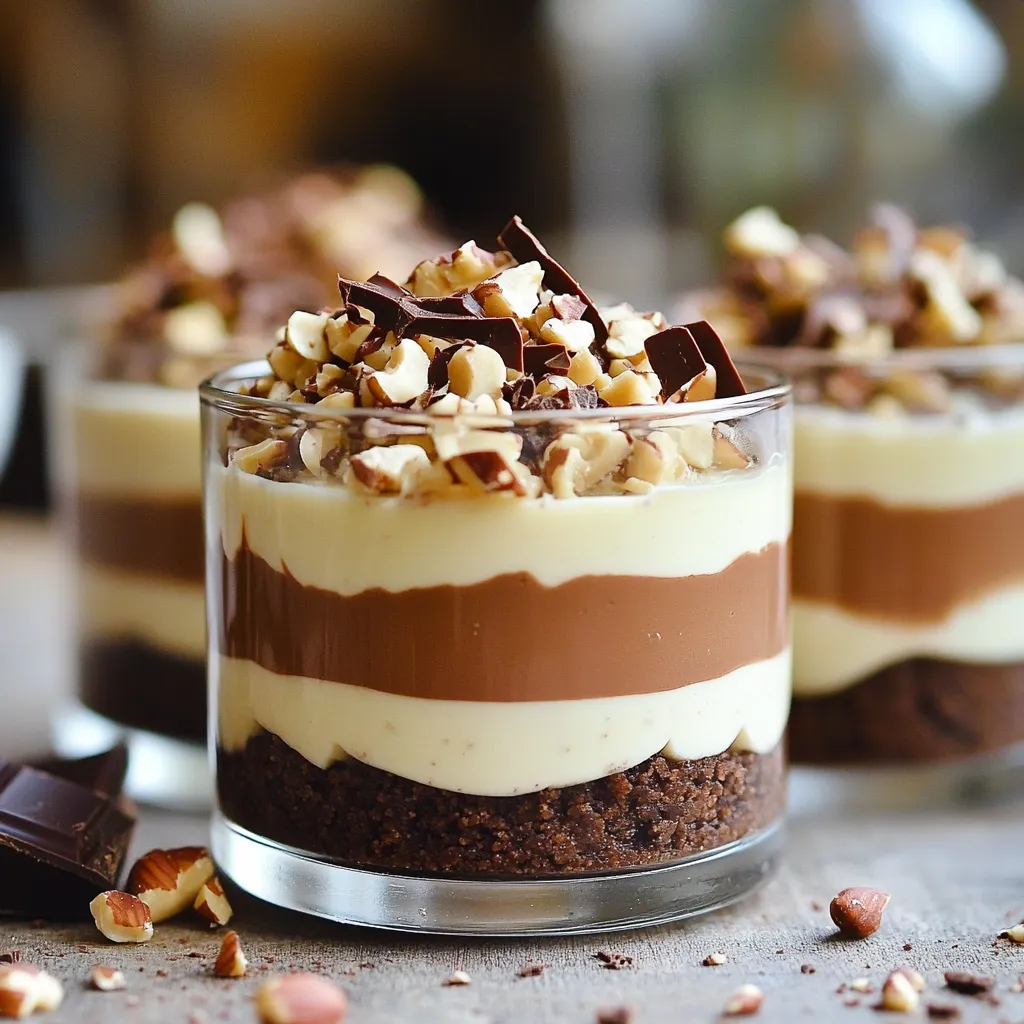
Looking for a simple yet indulgent dessert? These No-Bake Chocolate Hazelnut Cheesecake Cups are the perfect treat! With a rich, creamy filling and a crunchy cookie crust, you’ll satisfy your sweet tooth in no time. Plus, they require no baking at all! Follow my step-by-step guide, and impress your friends and family with this delightful dessert. Let’s dive into the delicious details!

Ingredients
List of Required Ingredients
– 1 cup chocolate cookie crumbs
– 4 tablespoons unsalted butter, melted
– 8 oz cream cheese, softened
– 1/2 cup powdered sugar
– 1/2 cup hazelnut spread
– 1 teaspoon pure vanilla extract
– 1 cup heavy whipping cream
– 1/2 cup crushed hazelnuts (for garnish)
– Extra chocolate shavings (optional, for garnish)
These ingredients create a rich and creamy treat. The chocolate cookie crumbs form a delightful crust. The melted butter helps bind the crumbs together, making it sturdy. Cream cheese adds a smooth texture. Powdered sugar sweetens the mix, while hazelnut spread gives it that wonderful nutty flavor.
Vanilla extract enhances the taste, making it even more delicious. Heavy whipping cream is key to creating a light and airy filling. Crushed hazelnuts on top add a nice crunch. If you want to be extra fancy, sprinkle chocolate shavings for a lovely touch.
Gather these ingredients, and you’re ready to make something amazing!
Step-by-Step Instructions
Preparing the Cookie Crust
1. In a medium bowl, combine the chocolate cookie crumbs and melted butter.
2. Mix until the crumbs are coated, like damp sand.
3. Distribute the mixture evenly into serving cups.
4. Press down firmly to form a solid crust in each cup.
5. Place the cups in the fridge while you make the filling.
Making the Cheesecake Filling
1. In a new bowl, beat the softened cream cheese until smooth.
2. Add powdered sugar, hazelnut spread, and vanilla extract.
3. Blend the mixture until it becomes light and airy.
Whipping the Cream
1. In another bowl, whip the heavy cream until soft peaks form.
2. Carefully fold the whipped cream into the hazelnut cream cheese mixture.
3. Spoon the filling over the chilled crusts, smoothing the tops.
Chilling the Cheesecake Cups
1. Cover the cups and refrigerate for 2-3 hours.
2. This chilling time helps the cheesecake set properly.
3. For best results, ensure they are fully chilled before serving.
Tips & Tricks
Perfecting the Cheesecake Texture
Using room temperature ingredients is key. When cream cheese warms up, it mixes better. This helps avoid lumps in your filling. Always take the cream cheese out before you start. Let it sit for about 30 minutes.
When you whip the cream, soft peaks are your goal. This means the cream should hold its shape but still be soft. After whipping, fold the cream into the hazelnut mixture. Use a gentle motion. This keeps the filling light and fluffy.
Presentation Suggestions
Clear dessert cups are perfect for showcasing your cheesecake. You can see the layers, which makes it look fancy. To make it even prettier, add some extra hazelnut spread on top. A drizzle adds a nice touch.
For garnishing, sprinkle crushed hazelnuts over the cups. You can also add chocolate shavings for a rich look. These simple steps make your dessert stand out.
Serving Suggestions
For serving, take the cheesecake cups out of the fridge just before you dig in. This keeps them cold and firm. You can also serve them with a cup of coffee or tea for a warm touch.
If you want to add more desserts, pair these cups with fresh fruit. Berries or bananas add a nice contrast. Enjoy your tasty creation!
Variations
Flavor Variations
You can change the nut spread if you want. Almond or peanut butter works great. This switch gives a new taste and vibe. Adding flavor extracts can also make a big difference. A touch of coffee extract brings warmth. Orange extract adds a fresh twist.
Dietary Modifications
If you need gluten-free options, look for gluten-free cookie crumbs. Many brands offer tasty choices. For a dairy-free version, use vegan cream cheese and coconut cream. Both options work well in this recipe. They still give you that creamy texture.
Seasonal Twists
You can add seasonal flavors too. In fall, mix in pumpkin puree and spices for a festive treat. During winter, peppermint extract gives a cool touch. Fresh fruits like berries can brighten the dessert in summer. You can even layer some slices on top for fun.
Storage Info
Best Practices for Refrigeration
To store leftover cheesecake cups, cover them tightly with plastic wrap or a lid. This keeps them fresh and prevents odors from other foods. Place the cups in the fridge for up to three days. For the best taste, eat them within the first two days. The longer they sit, the softer the crust gets.
Freezing Options
You can freeze these cheesecake cups if you need to save them longer. First, cover each cup with plastic wrap and then place them in a freezer bag. This helps keep the flavors intact. They can stay in the freezer for up to one month. When you are ready to eat them, move the cups to the fridge to thaw overnight. Avoid refreezing once they thaw. This keeps the texture smooth and creamy.
FAQs
Can I make these cheesecake cups ahead of time?
Yes, you can make these cheesecake cups a day in advance. They taste even better after chilling overnight. Just store them in the fridge until you are ready to serve.
What is the best way to remove the cheesecake cups from their containers?
To serve without mess, use a spoon to gently scoop out the cheesecake. If you used clear cups, you can also slide the cheesecake out by twisting slightly. This method helps keep the layers intact.
Can I use a different type of crust?
Absolutely! You can use graham cracker crumbs or even a nut crust. Just make sure to adjust the butter amount as needed for your chosen crust. Each option offers a unique taste that pairs well with the cheesecake.
How long do these no-bake cheesecake cups last in the fridge?
These cheesecake cups last about 3-4 days in the fridge. Look for signs of spoilage, like a change in texture or smell, before serving. If they seem off, it’s best to discard them for safety.
This blog showed how to make delicious no-bake cheesecake cups. You learned about the essential ingredients, step-by-step instructions, and tips for perfecting your dessert. Remember to chill your cups properly for the best texture. You can try different flavors or modify the recipe for dietary needs. These cheesecake cups are not just tasty; they also look great! Enjoy making and sharing them with friends and family. Your dessert skills will shine with these easy-to-follow steps.
