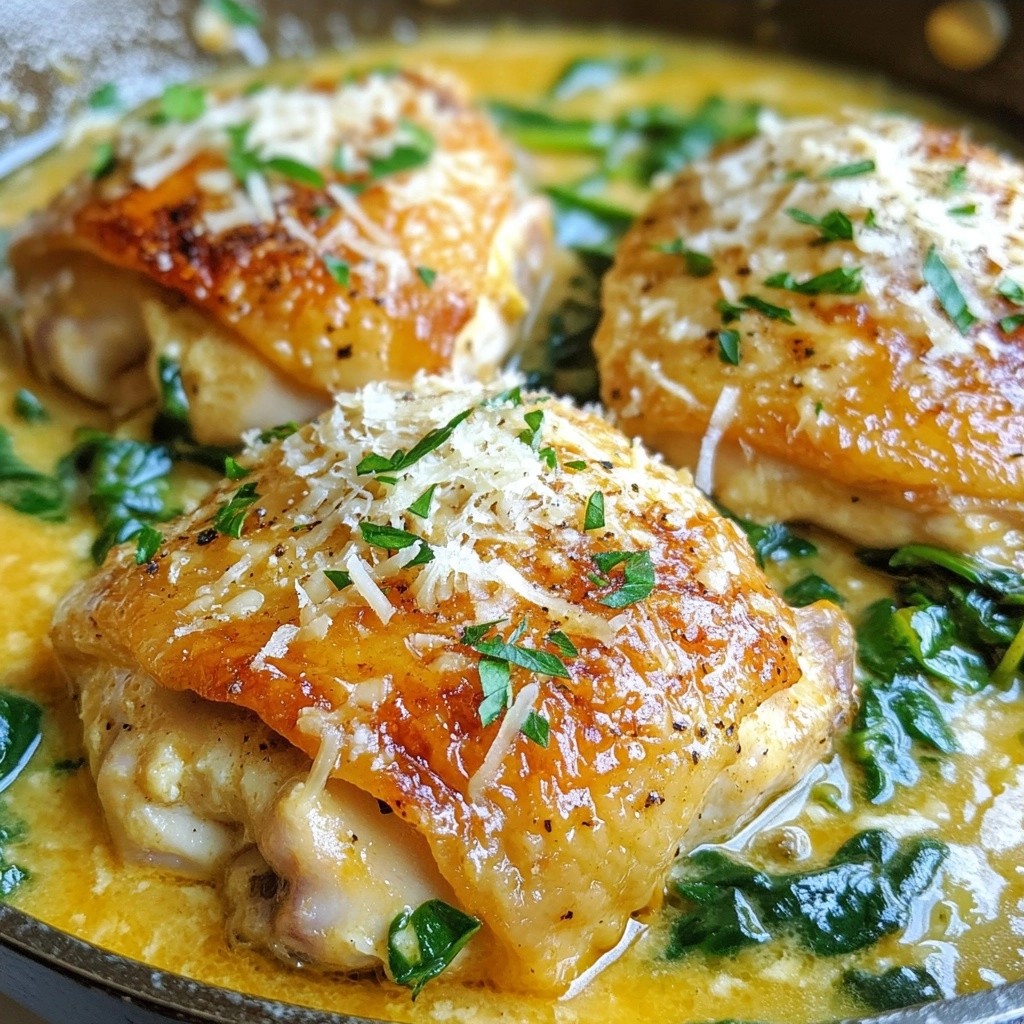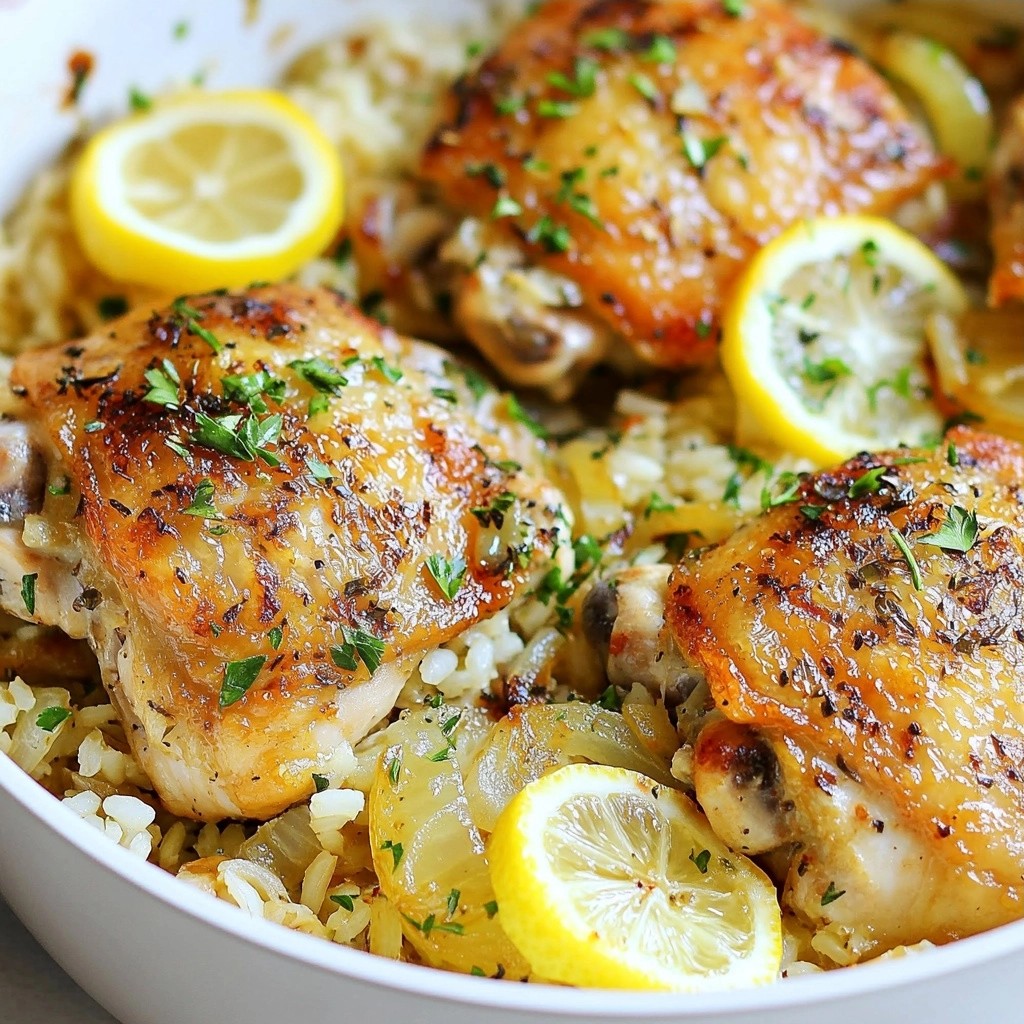
Looking for a tasty, wallet-friendly dinner idea? You're in the right place! My Economical Lemon Herb Chicken and Rice Skillet is simple, quick, and full of bright flavors. This dish combines juicy chicken thighs with fluffy rice, seasoned with fresh herbs and lemon zest. Perfect for busy weeknights or meal prep, it leaves you feeling satisfied without breaking the bank. Let’s dive into the recipe and get cooking!
Why I Love This Recipe
- Simple One-Pan Meal: This recipe combines all ingredients in a single skillet, making clean-up a breeze and allowing for maximum flavor infusion.
- Bright and Zesty Flavor: The addition of lemon zest and juice gives the dish a refreshing kick, elevating the overall taste profile.
- Perfectly Cooked Rice: The rice absorbs the chicken broth and lemon juice, resulting in fluffy grains that are rich in flavor.
- Customizable Ingredients: You can easily swap out herbs or add vegetables to make this dish your own, keeping it exciting every time you make it.
Ingredients
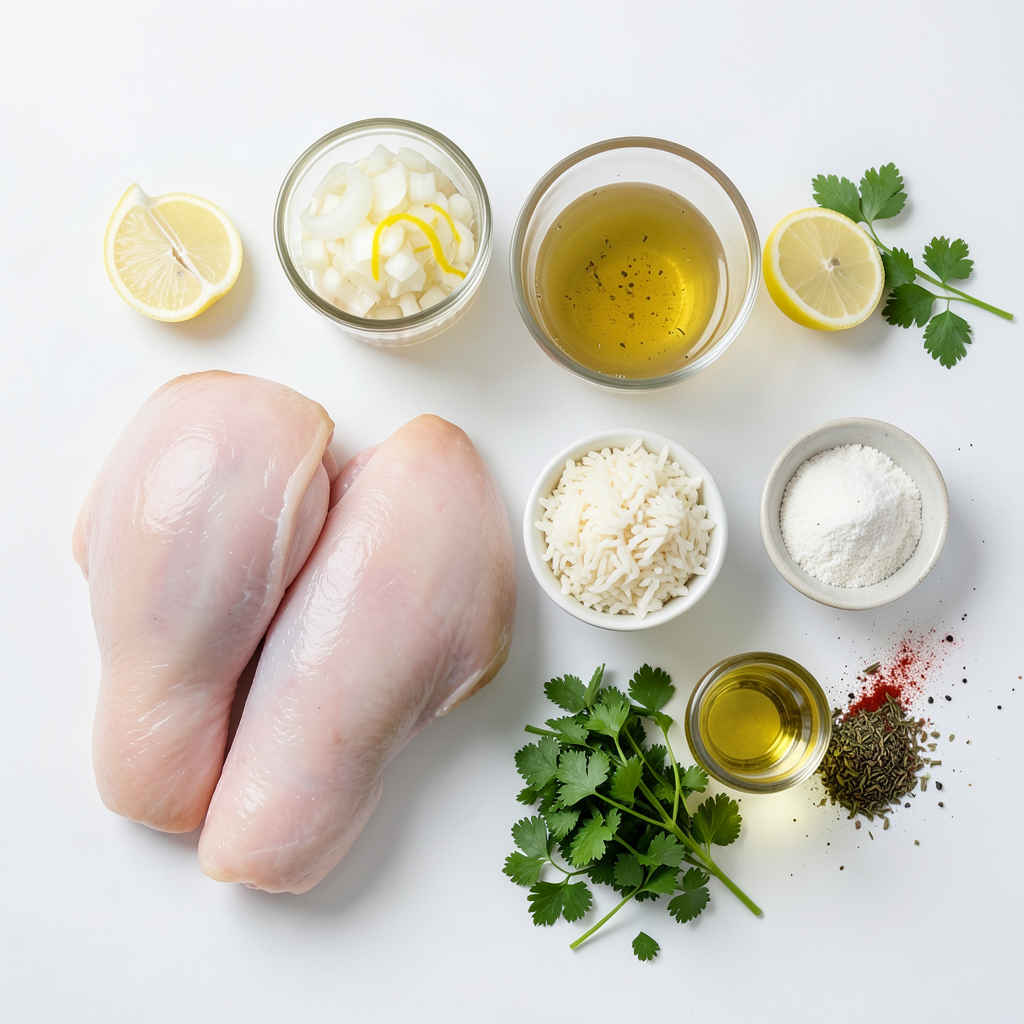
List of ingredients for Economical Lemon Herb Chicken and Rice Skillet
- 1 lb boneless, skinless chicken thighs
- 1 cup long-grain rice
- 2 cups low-sodium chicken broth
- 1 medium onion, finely chopped
- 2 cloves garlic, minced
- 1 large lemon, zested and juiced
- 1 teaspoon dried oregano
- 1 teaspoon dried thyme
- 1 teaspoon smoked paprika
- Kosher salt and freshly cracked black pepper to taste
- 2 tablespoons extra virgin olive oil
- 1/4 cup fresh parsley, finely chopped (for garnish)
Nutritional information of the key ingredients
- Chicken Thighs: High in protein, iron, and B vitamins. They add rich flavor.
- Rice: A good source of carbs, providing energy for your day.
- Onion: Offers vitamins C and B6, plus antioxidants for health.
- Garlic: Known for its health benefits, it boosts flavor and may help immunity.
- Lemon: Packed with vitamin C, it adds zest and brightness to the dish.
- Herbs and Spices: Oregano, thyme, and paprika enhance flavor without extra calories.
- Olive Oil: A healthy fat that adds richness and aids in nutrient absorption.
Notes on ingredient quality and substitutions
- Chicken: Choose organic or free-range for best taste and health benefits.
- Rice: Long-grain rice works best, but you can use brown rice for more fiber.
- Broth: Low-sodium is key for better control of salt in the dish.
- Fresh Herbs: Fresh parsley is great, but dried herbs can also work in a pinch.
- Lemon: Fresh lemons provide the best flavor. Bottled juice can lack zest and freshness.
- Garlic and Onion: Fresh is always best, but dried versions can be used if needed.
Feel free to mix and match based on what you have on hand. Cooking should be fun and flexible!
Step-by-Step Instructions
1. Heat the Oil
Start by heating 2 tablespoons of extra virgin olive oil in a large skillet over medium heat. You want the oil to shimmer. This step is key to building flavor.
2. Sauté the Onion
Once the oil shimmers, add 1 medium chopped onion. Sauté until it turns translucent, about 3-4 minutes. This gives a great base flavor to the dish.
3. Add Garlic
Next, add 2 cloves of minced garlic. Cook for 1 minute. Stir often so it doesn’t burn. You want it fragrant and golden.
4. Season the Chicken
While the onion and garlic cook, take 1 lb of chicken thighs. Season them with kosher salt, black pepper, oregano, thyme, and smoked paprika. Make sure to coat them well.
5. Brown the Chicken
Place the seasoned chicken in the skillet. Sear for 5-6 minutes, turning occasionally. You want it browned on all sides. This step locks in flavor and moisture.
6. Remove and Rest
Once browned, take the chicken out of the skillet and set it aside on a plate. Letting it rest helps it stay juicy while you cook the rice.
7. Toast the Rice
In the same skillet, add 1 cup of long-grain rice. Stir for about 2 minutes. This toasting step enhances the rice's nutty flavor.
8. Add Broth and Lemon
Pour in 2 cups of chicken broth. Add the juice and zest of 1 lemon. Stir well to mix the rice evenly in the liquid.
9. Cook the Chicken
Nestle the browned chicken back in the skillet. Make sure it's submerged in the broth. Bring the mixture to a gentle boil.
10. Simmer the Dish
Once boiling, reduce the heat to low. Cover the skillet with a tight lid. Let it simmer for 20 minutes. The rice should absorb all the liquid, and the chicken should cook through.
11. Fluff and Season
After simmering, remove the skillet from heat. Fluff the rice with a fork. Taste for seasoning and adjust salt and pepper if needed.
12. Serve and Garnish
Serve the dish hot. Garnish with 1/4 cup of finely chopped fresh parsley. This adds a pop of color and fresh flavor.
Tips for ensuring perfect chicken browning
- Make sure your skillet is hot enough before adding the chicken. A hot skillet helps create a nice sear.
- Avoid overcrowding the skillet. This lets the chicken brown well. If needed, cook in batches.
Importance of letting the rice rest
Letting the rice rest after cooking helps the flavors meld together. It also allows the rice to firm up a bit. This makes it easier to fluff and serve. Plus, it gives you time to prepare any sides or garnishes!
Tips & Tricks
Best practices for juicy chicken thighs
To get juicy chicken thighs, start with fresh meat. Thighs are great because they have more fat than breasts, which helps keep them moist. Season the chicken well before cooking. Use kosher salt and cracked black pepper. Let it sit for at least 15 minutes. This step helps the flavors soak in. Sear the chicken in hot oil until it turns golden brown. This adds flavor and locks in moisture.
Adjusting flavors with fresh herbs versus dried herbs
Fresh herbs bring bright flavors to your dish. Use them if you can. For this recipe, fresh parsley adds a nice touch. If you only have dried herbs, that works too. Use about one-third of the amount. Dried herbs are more concentrated. Add them early to let the flavors blend. Fresh herbs should be added at the end for a burst of freshness.
How to make the dish more budget-friendly
To save money, buy chicken thighs in bulk. They often cost less per pound. You can also use store-brand ingredients. They are usually just as good as name brands. For the rice, consider using brown rice, which is often cheaper and healthier. You can also add in frozen veggies. They are budget-friendly and help stretch the meal. Mix in peas or carrots for color and nutrition without breaking the bank.
Pro Tips
- Resting the Chicken: Allow the chicken to rest for a few minutes after cooking to let the juices redistribute, ensuring each bite is tender and juicy.
- Enhancing Flavor: Consider marinating the chicken in lemon juice, garlic, and herbs for a few hours before cooking for an extra boost of flavor.
- Rice Texture: Rinse the rice under cold water before cooking to remove excess starch, which helps achieve a fluffier texture.
- Garnishing: For an added touch of freshness, consider garnishing with lemon slices or extra herbs just before serving to enhance visual appeal.
Variations
Possible ingredient swaps (vegetable options, grains, etc.)
You can swap ingredients for more variety. Instead of chicken thighs, try drumsticks or breasts. If you want a vegetarian option, use chickpeas. For grains, brown rice or quinoa works well too. These swaps keep the dish tasty and diverse.
Cooking method alternatives (oven-baked, slow cooker variations)
If you prefer oven-baked chicken, start by searing the chicken in a skillet. Then, transfer it to a baking dish with rice and broth. Bake at 375°F for about 30-35 minutes. For a slow cooker, brown the chicken first, then place it in the slow cooker with rice and broth. Cook on low for 4-6 hours for a tender meal.
Suggestions for adding veggies (peas, bell peppers, etc.)
Adding veggies boosts flavor and nutrition. You can mix in frozen peas during the last 10 minutes of cooking. Chopped bell peppers or diced carrots work well too. Stir them in with the rice for a colorful, tasty dish. You can even add fresh spinach at the end for a pop of green.
Storage Info
How to store leftovers properly
To keep your leftover Lemon Herb Chicken and Rice Skillet fresh, let it cool first. Use an airtight container for storage. This helps keep moisture in and prevents drying out. Store it in the fridge for up to three days. If you want to keep it longer, freezing is a great option.
Reheating instructions for optimal taste and texture
When you’re ready to enjoy your leftovers, take them out of the fridge. You can reheat in a skillet over medium heat. Add a splash of chicken broth to keep it moist. Stir gently until heated through. You can also microwave it, but cover it with a paper towel. This keeps it from drying out and helps heat evenly.
Freezing tips for long-term storage
To freeze your dish, make sure it’s cooled completely. Portion it into freezer-safe bags or containers. Squeeze out as much air as possible to prevent freezer burn. Label the bags with the date, and store them for up to three months. When you are ready to eat, thaw it overnight in the fridge before reheating.
FAQs
Can I use bone-in chicken instead of boneless?
Yes, you can use bone-in chicken. It adds flavor and moisture. Just adjust the cooking time. Bone-in chicken takes longer to cook. Aim for about 30-40 minutes on low heat. Always check that the meat is cooked through and reaches 165°F for safety.
What can I serve with Lemon Herb Chicken and Rice?
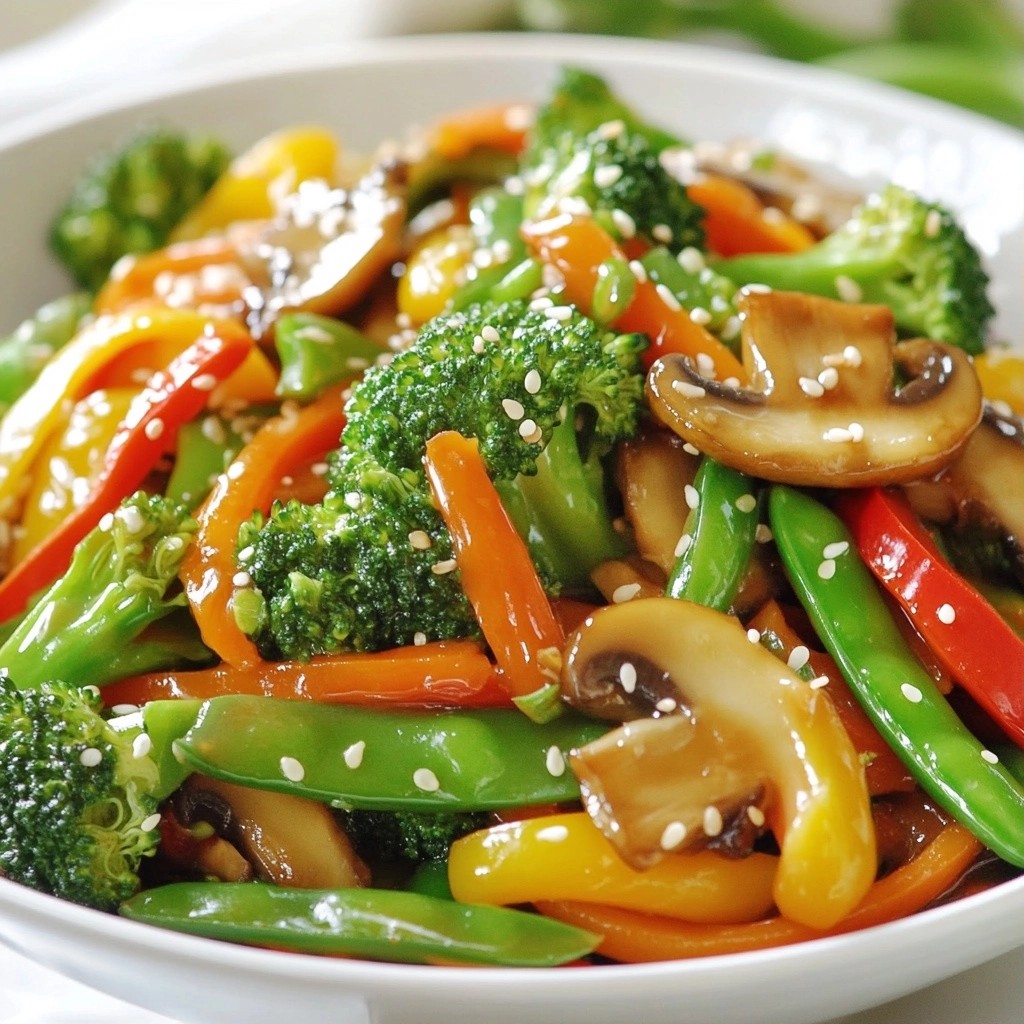
This dish pairs well with many sides. Consider serving a fresh salad or steamed veggies. Roasted broccoli or green beans add great color and taste. You can also serve it with a slice of crusty bread. A light lemon vinaigrette works well with salads.
How to make this recipe suitable for meal prep?
To meal prep, cook the dish as directed. Let it cool before storing. Divide it into containers for easy grab-and-go meals. You can store it in the fridge for up to four days. If you want to freeze it, keep it in airtight containers. Thaw in the fridge overnight before reheating.
This blog post covered how to make Economical Lemon Herb Chicken and Rice Skillet. We explored ingredients, cooking steps, and helpful tips. You learned about ingredient swaps and cooking methods to make this dish your own.
In the end, cooking can be fun and easy. With these tips, you can create a tasty meal that fits your budget. Enjoy your cooking adventure!