Are you ready to elevate your vegetable game? Lemon Garlic Green Beans are not just healthy—they're also bursting with flavor! This simple yet delicious dish hits all the right notes with fresh ingredients like garlic, lemon, and olive oil. Perfect as a side for dinner or a light lunch, I’ll show you how to cook them to crispy perfection. Let’s dive into this vibrant recipe that everyone will love!
Why I Love This Recipe
- Fresh and Vibrant: The bright green beans are not only visually appealing but also packed with nutrients, making this dish a healthy choice.
- Quick and Easy: This recipe comes together in just 20 minutes, making it perfect for busy weeknight dinners or last-minute gatherings.
- Flavor Explosion: The zesty lemon and fragrant garlic create a deliciously bold flavor profile that elevates the green beans to a whole new level.
- Customizable: You can easily adjust the spice level by adding more or fewer red pepper flakes, or even toss in other vegetables for a unique twist.
Ingredients
Main Ingredients
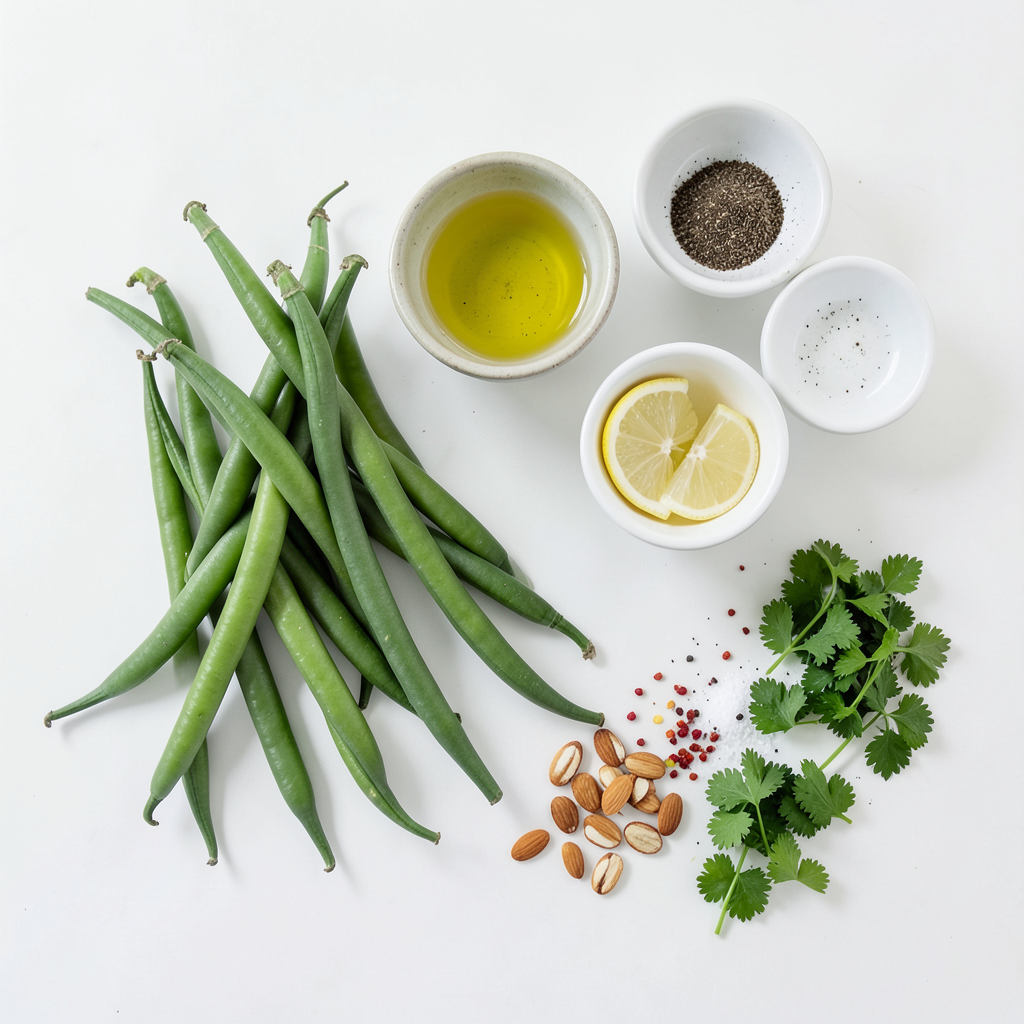
- 1 pound fresh green beans, trimmed
- 3 tablespoons olive oil
- 4 cloves garlic, minced
Flavor Enhancers
- Zest and juice of 1 lemon
- 1 teaspoon red pepper flakes (optional)
- Salt and pepper, to taste
Garnishing Options
- ¼ cup toasted sliced almonds
- Fresh parsley, chopped
Using fresh green beans is key. They add crunch and color. Olive oil enhances the flavor and adds healthy fats. Garlic gives a wonderful aroma and taste.
Lemon zest and juice brighten the dish. The red pepper flakes add a nice kick, but you can skip them. Salt and pepper round out the flavors.
Garnishing with toasted almonds adds a nice crunch. Fresh parsley not only looks pretty but adds flavor too. These ingredients work together to make lemon garlic green beans a tasty treat.
Step-by-Step Instructions
Preparation Steps
1. Bringing water to a boil and blanching green beans
Start by filling a large pot with water. Put it on high heat. Add a good amount of salt. Wait until the water boils. Once it bubbles, add 1 pound of fresh green beans. Blanch them for 3-4 minutes. You want them bright green and tender-crisp.
2. Transferring beans to ice water to cool
After blanching, grab a slotted spoon. Use it to take the green beans out of the pot. Place them in a bowl of ice water. This stops the cooking and keeps their color. Let them sit for a few minutes. Then, drain and set aside.
Cooking Steps
1. Heating olive oil and sautéing garlic
In a large skillet, pour 3 tablespoons of olive oil. Heat it on medium until it shimmers. Then, add 4 cloves of minced garlic. Sauté for about 1-2 minutes. Make sure the garlic smells good but does not brown.
2. Tossing green beans with garlic and adding lemon
Now, add the blanched green beans to the skillet. Toss them in the garlic oil until coated. Next, add the zest and juice of 1 lemon. If you like a kick, sprinkle in 1 teaspoon of red pepper flakes. Stir everything well and cook for another 2-3 minutes.
Final Touches
1. Seasoning and garnishing before serving
Season your dish with salt and pepper to taste. Once done, take the skillet off the heat.
2. Serving suggestions alongside grilled chicken or fish
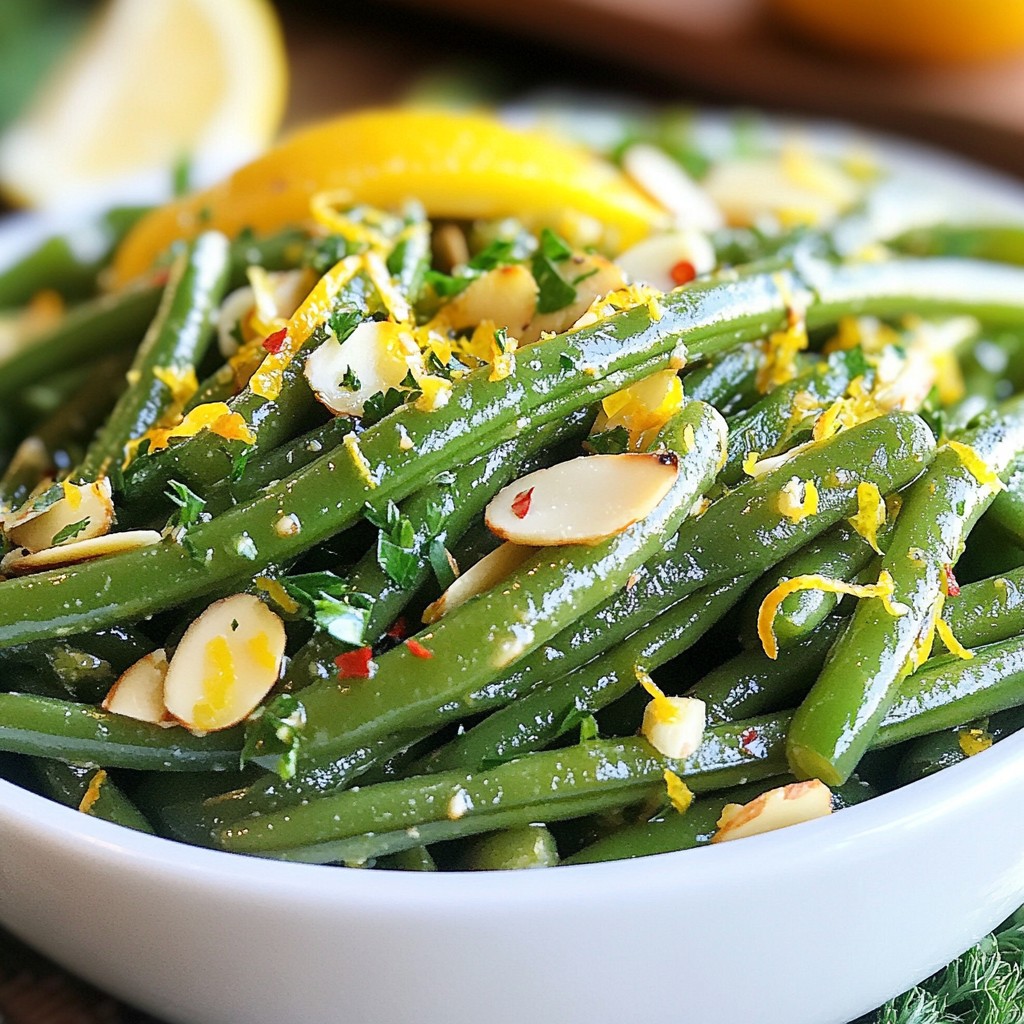
Transfer the green beans to a serving dish. Garnish with ¼ cup of toasted sliced almonds and some fresh chopped parsley. These beans make a great side dish for grilled chicken or fish. Enjoy!
Tips & Tricks
Blanching Perfectly
To achieve tender-crisp green beans, start with boiling salted water. Add your green beans and blanch them for 3-4 minutes. This quick cooking time keeps them bright green and crisp. The key to perfect beans is the ice water. After blanching, transfer the beans to a bowl of ice water. This stops the cooking process and locks in that vibrant color.
Enhancing Flavor
I always prefer fresh lemon over bottled juice. Fresh lemon gives a bright, zesty taste that you can’t beat. You can also play with flavors by adding spices or herbs. Try adding thyme or dill for an extra kick. Red pepper flakes add heat, so use them if you like spice.
Presentation Tips
When plating, think about color and texture. Place the green beans on a white plate for contrast. Top them with toasted sliced almonds for crunch. A sprinkle of fresh parsley adds a pop of green. This makes the dish look as good as it tastes. Serve it warm next to grilled chicken or fish, or mix it with quinoa for a healthy meal.
Pro Tips
- Blanching is Key: Blanching the green beans helps preserve their bright color and crisp texture. Make sure to plunge them into ice water immediately after boiling to stop the cooking process.
- Fresh is Best: Using fresh green beans enhances the flavor and texture of the dish. Choose beans that are bright green and firm to the touch.
- Adjust the Heat: If you enjoy a bit of spice, feel free to increase the amount of red pepper flakes or even add a pinch of cayenne pepper for extra kick.
- Garnish for Flavor: Toasted almonds add a wonderful crunch and nutty flavor. Make sure to toast them lightly in a dry skillet to enhance their taste.
Variations
Alternative Ingredients
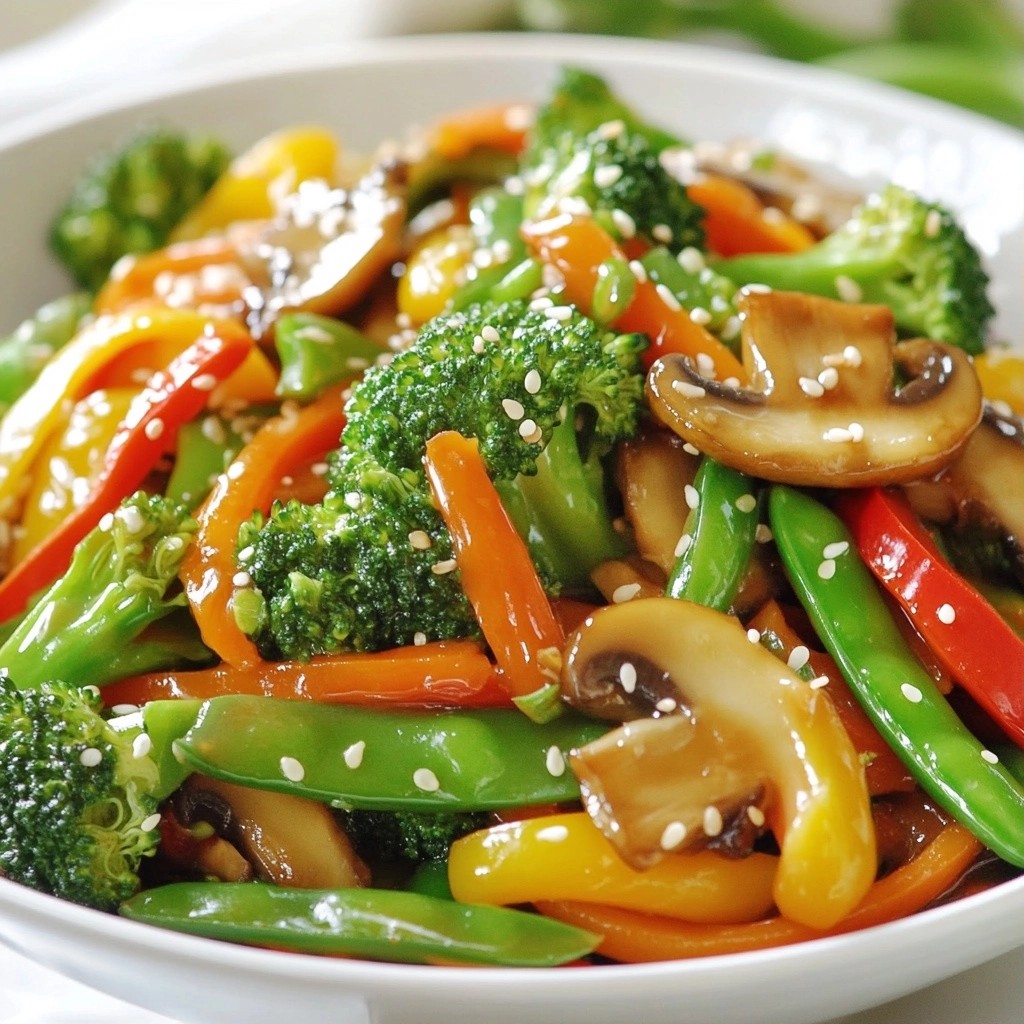
You can switch up the recipe by using other vegetables. Broccoli, asparagus, and snap peas work great with lemon and garlic. They all cook quickly and add unique flavors.
If you want to try a different oil, you can swap olive oil for avocado oil or melted coconut oil. Each oil brings its own taste, so have fun experimenting.
Dietary Modifications
To make this dish vegan, simply keep the ingredients as they are. It’s already free from animal products. For a gluten-free version, just check your garlic and oil for any added gluten.
If you need to lower sodium, use less salt. You can also skip the red pepper flakes for less heat and saltiness.
Seasonal Adaptations
Seasonal changes can add new flavors. In summer, try fresh basil or mint instead of parsley. In winter, use thyme or rosemary for a warm touch.
You can also mix in seasonal nuts. Pecans or walnuts provide a nice crunch and different taste. Just toast them lightly before adding to the dish.
Storage Info
Refrigeration Guidelines
Store your Lemon Garlic Green Beans in an airtight container. This keeps them fresh. You can store them in the fridge for up to three days. After that, they may lose their crisp texture and bright flavor.
Freezing Instructions
To freeze these green beans, first let them cool completely. Place portions in freezer bags. Squeeze out excess air and seal them tightly. You can keep them frozen for up to three months. When you’re ready to eat, thaw them in the fridge overnight. Reheat in a skillet for best results.
Best Served Fresh
Fresh green beans have a vibrant taste that stored beans lack. They taste crisp and bright when cooked right away. For meal prep, I recommend cooking only what you need. This way, you enjoy the best flavor and texture.
FAQs
How do I make Lemon Garlic Green Beans spicier?
To add heat, you can use red pepper flakes. Start with ½ teaspoon and taste. If you want more spice, add in small amounts until you reach your desired heat. You can also try fresh chili peppers. Slice them thin and toss them in with the garlic. This will give a fresh, bold heat.
Can I use frozen green beans for this recipe?
Yes, you can use frozen green beans. However, fresh is best for taste and texture. Frozen beans may lose some crunch. If you choose frozen, follow the package instructions for cooking. You may skip blanching since they are already blanched. Just sauté them in the skillet until heated through.
What are good side dishes to pair with Lemon Garlic Green Beans?
Lemon Garlic Green Beans pair well with many dishes. Here are a few ideas:
- Grilled chicken adds protein and flavor.
- Fish, like salmon or tilapia, works well too.
- Quinoa or brown rice makes a hearty vegetarian option.
- A crisp salad can balance the meal nicely.
These choices bring out the bright flavors of the green beans.
Lemon Garlic Green Beans offer freshness and flavor in each bite. We explored the key ingredients, from crisp beans and olive oil to the bright notes of lemon. You learned how to prepare them perfectly and added tips for flavor and presentation. These beans can fit any meal and adapt to your needs, too. Enjoy them fresh, but feel free to store leftovers for later. Keep experimenting with flavors and sides that complement this dish. Your kitchen will remain vibrant and delicious!